5 Key Essentials for Good Seed Germination
/Understanding a few key essentials for good seed germination can make seed starting easy and successful!
Seed Starting Supplies - Seed Raising mix, trays, pots or soil blocks, clear domed lid, heat mat, light, watering can and/or bottom water tray
· Proper Seed Raising Mix
When buying or making a seed raising soil, ensure that the mix is balanced with materials that maintain moisture and materials which are porous to allow drainage. Our ideal mix contains coco coir which retains moisture AND sand and perlite which keep the mix from becoming too heavy.
Our seed raising mix contains coco coir, perlite, our own made compost, sand and trace minerals.
· Correct temperature
Each seed has an optimal germination temperature usually between 12-27C with 23C being a sweet spot for many. Maintaining this constant temperature can be difficult, especially when starting our first seeds in Winter. We use a heat mat to achieve this.
Bottom heat helps seeds germinate faster and better. We also use domed clear lids to retain heat and moisture.
In our climate, insuring an optimal germination temperature and a warm ambient temperature with air circulation has provided us with quick germination and strong seedlings.
· The right amount of moisture
Seeds want to be in contact with moist soil to create just the right amount of humidity around them to soften the seed and stir germination. If the soil is too wet, the seed can rot. And if it is too dry, their new rootlets can shrivel up at a critical period in their growth.
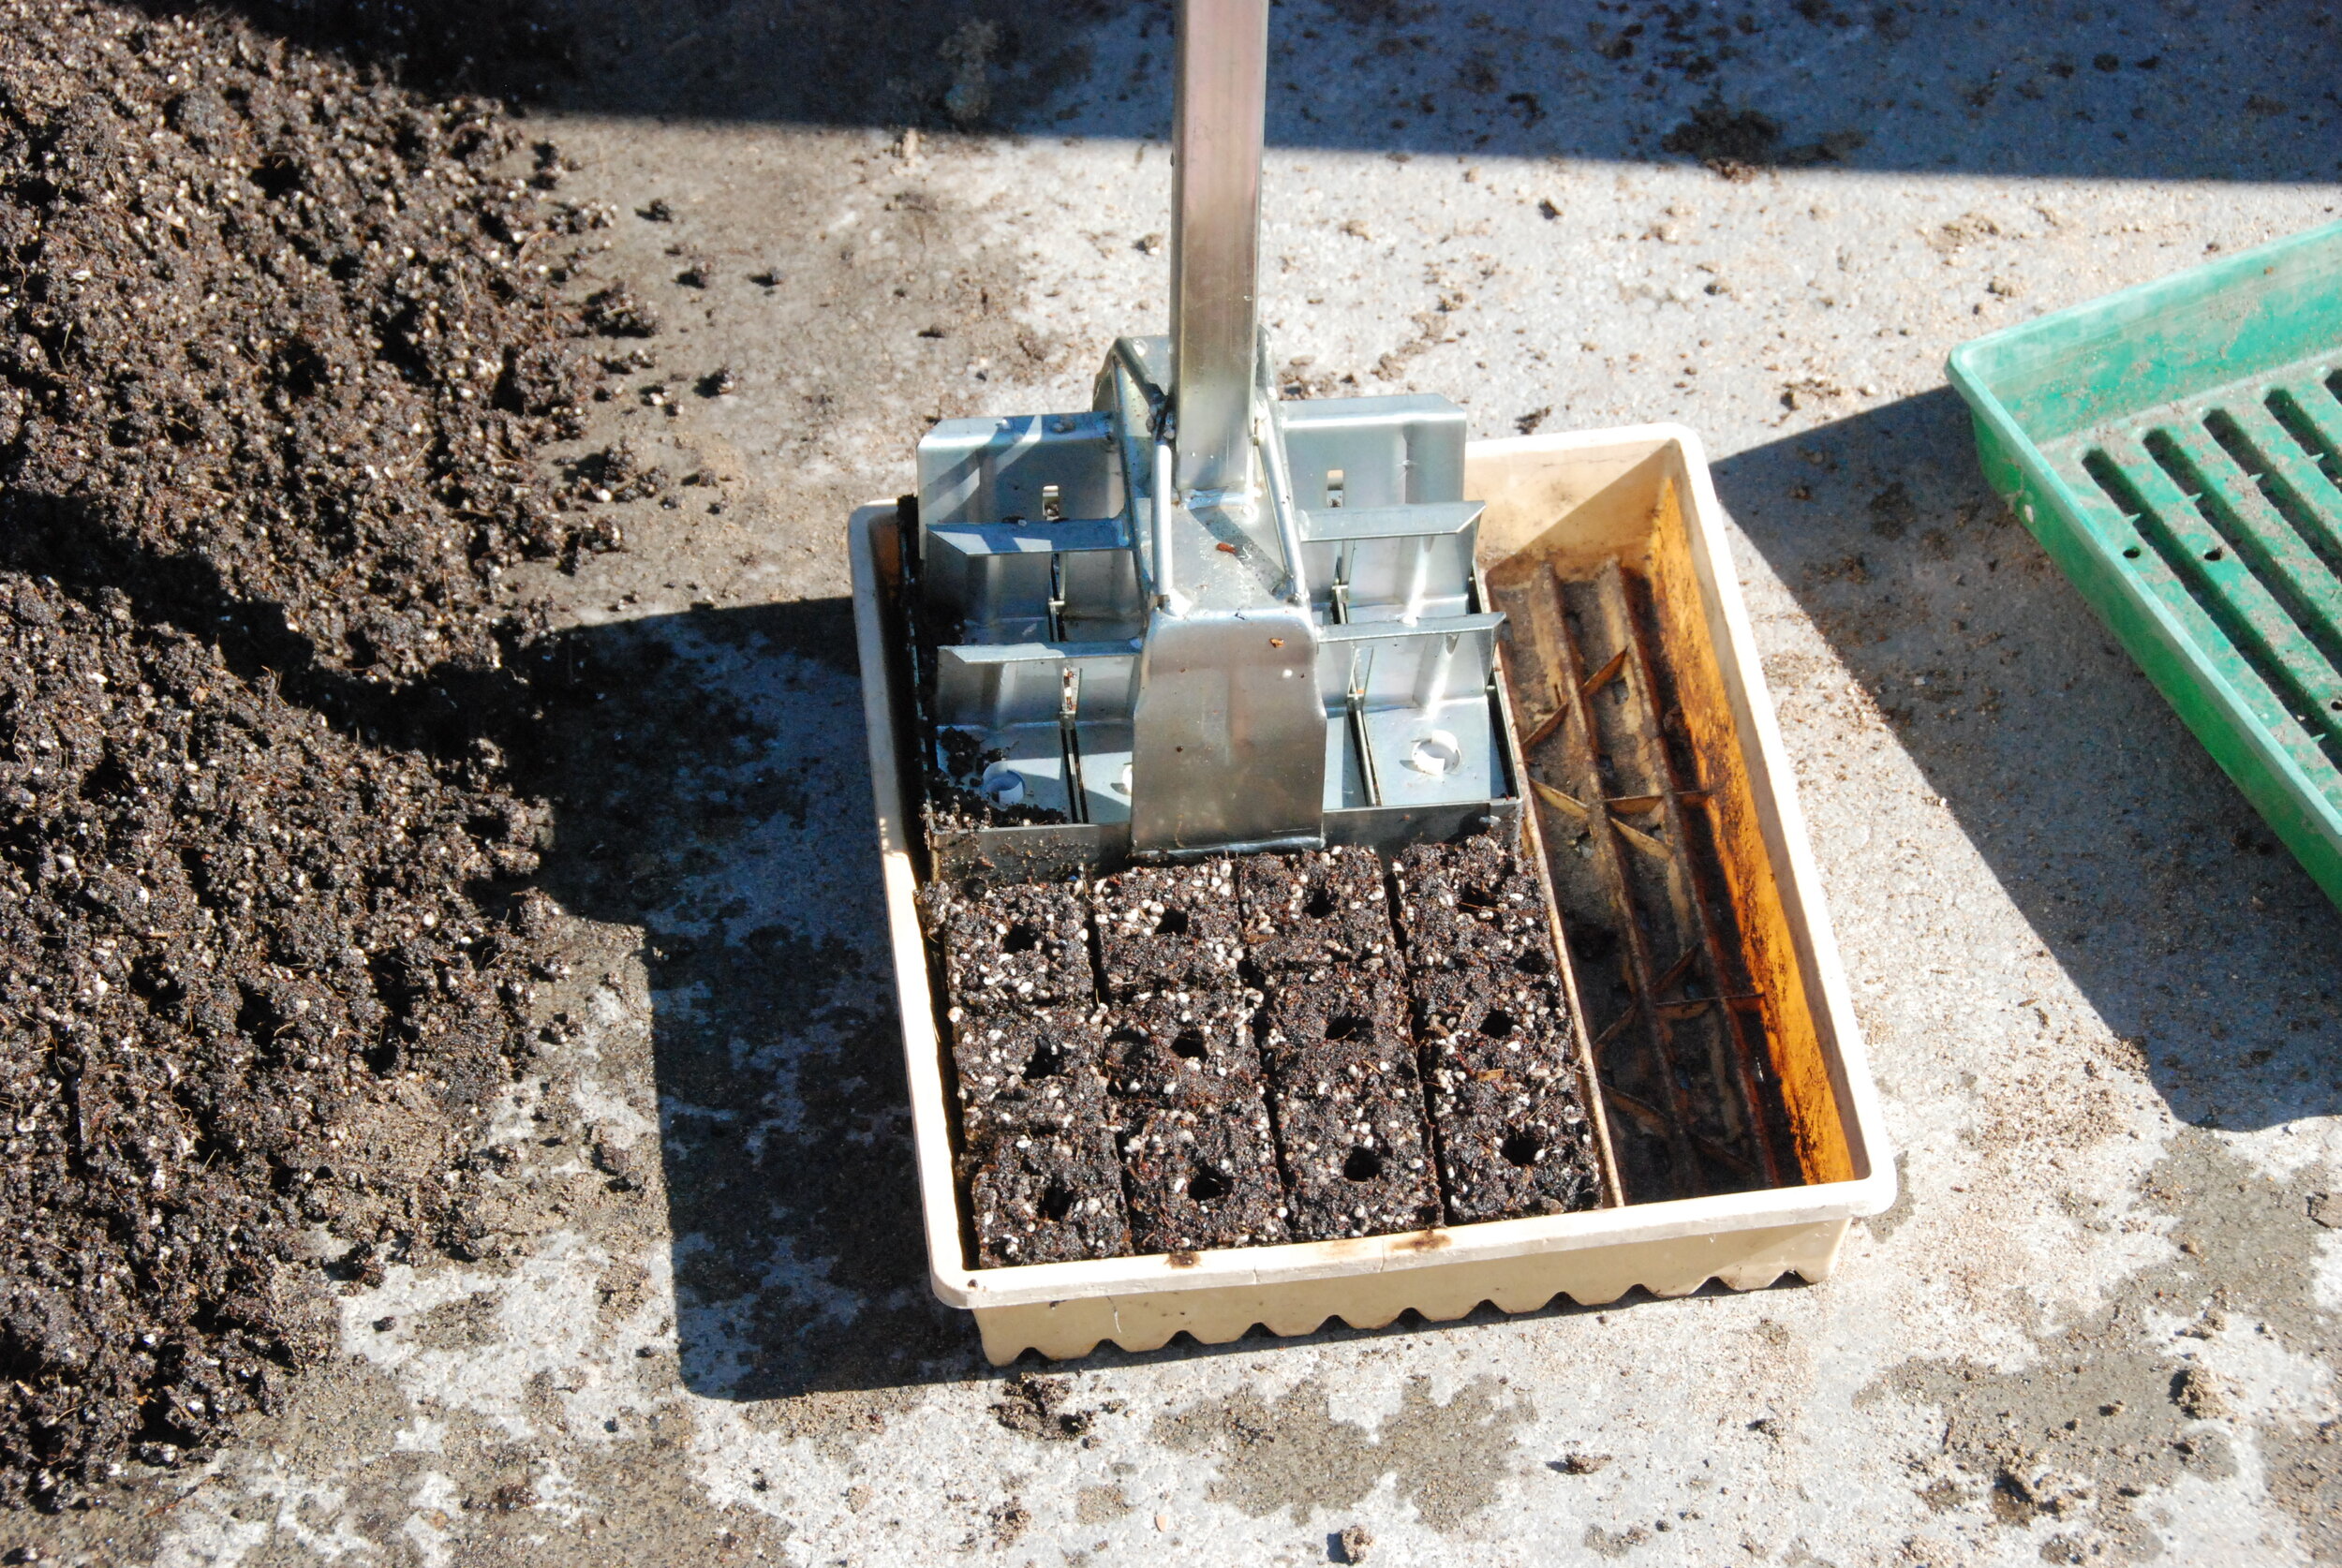
Pre wet your soil mix before filling your trays and ensure you firmly tap the tray or pot to settle the soil. Be careful to not over compact the soil by pressing it firmly into the cells.
You can bottom water the tray by setting it into solid tray or tub with 1-2cm of water, allowing the water to be pulled up into the soil. This protects your seeds from being dislodged.
For top watering, ensure you have a hose fitting or watering can that allows for a gentle even watering. If the spray is too heavy or directed, it will dislodge your seeds.
Especially with bottom heat, you need to check your trays using sight as well as weight to ensure they remain evenly moist - we just lift the edge of the tray and soon develop the ability to know whether just the top of the soil is dry or the whole mix is dry. We allow the top few millimeters of soil to dry out between overhead watering to ward off algae growth and fungal gnats and protect against damping off in new seedlings.
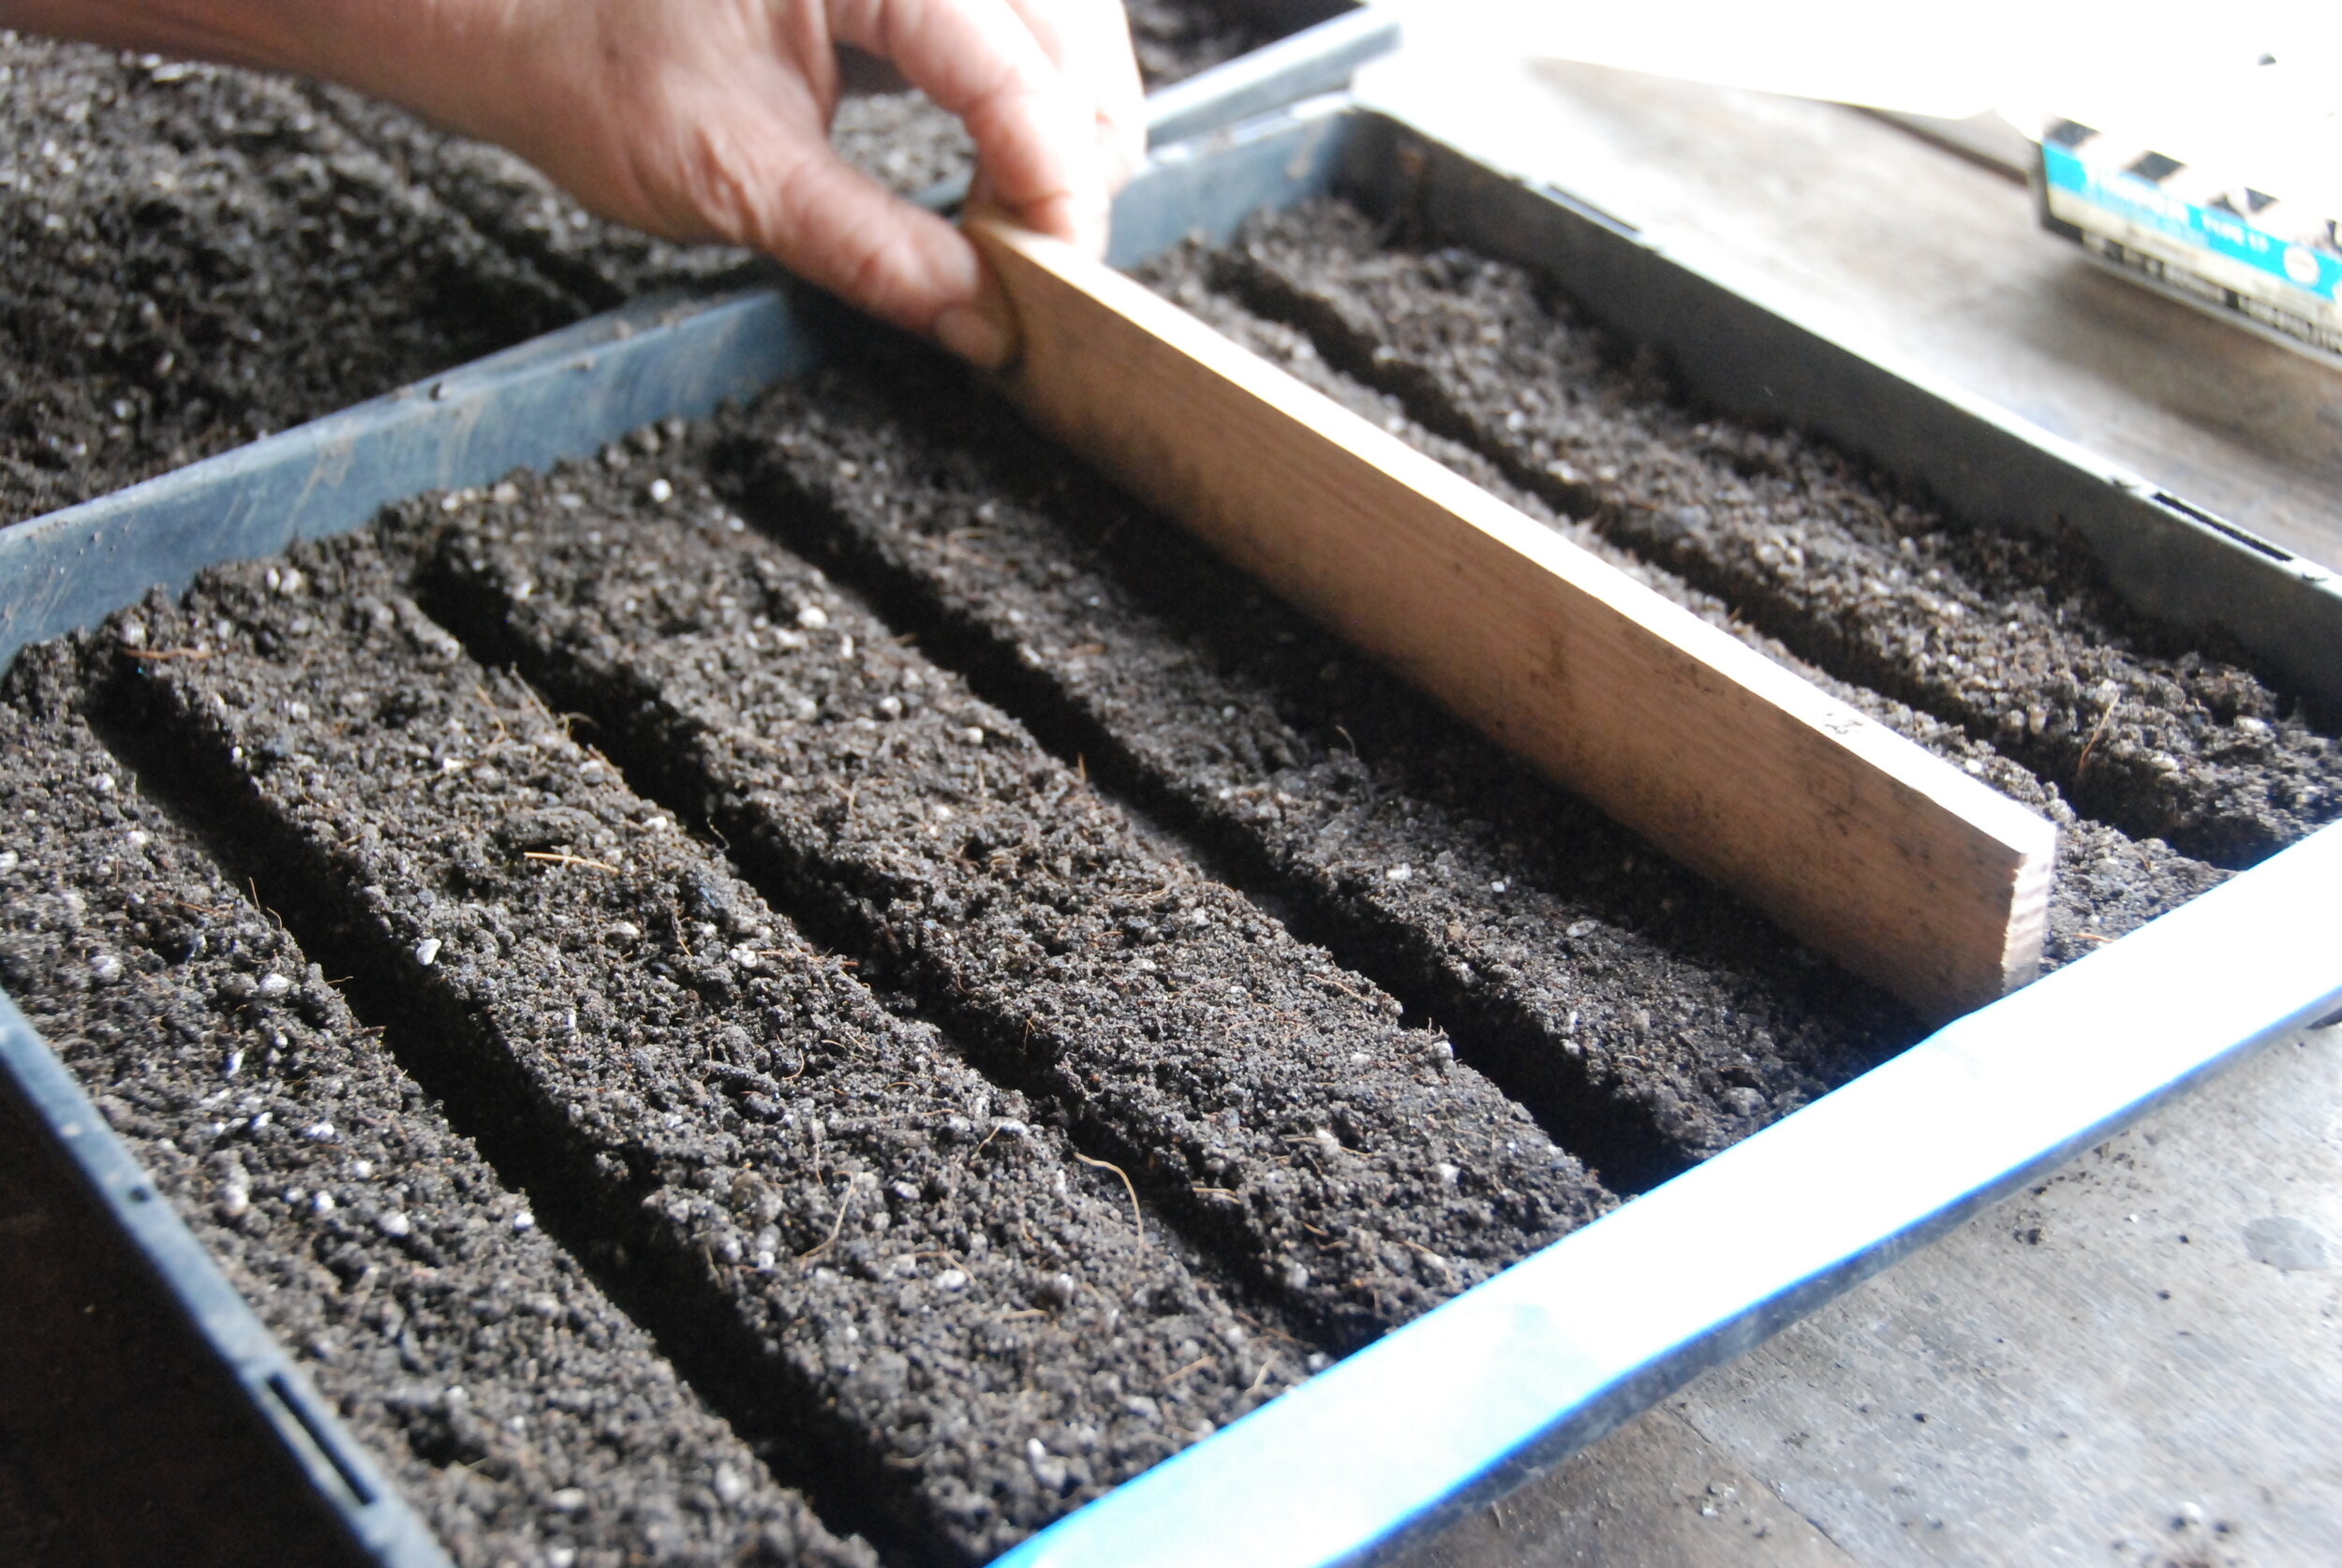
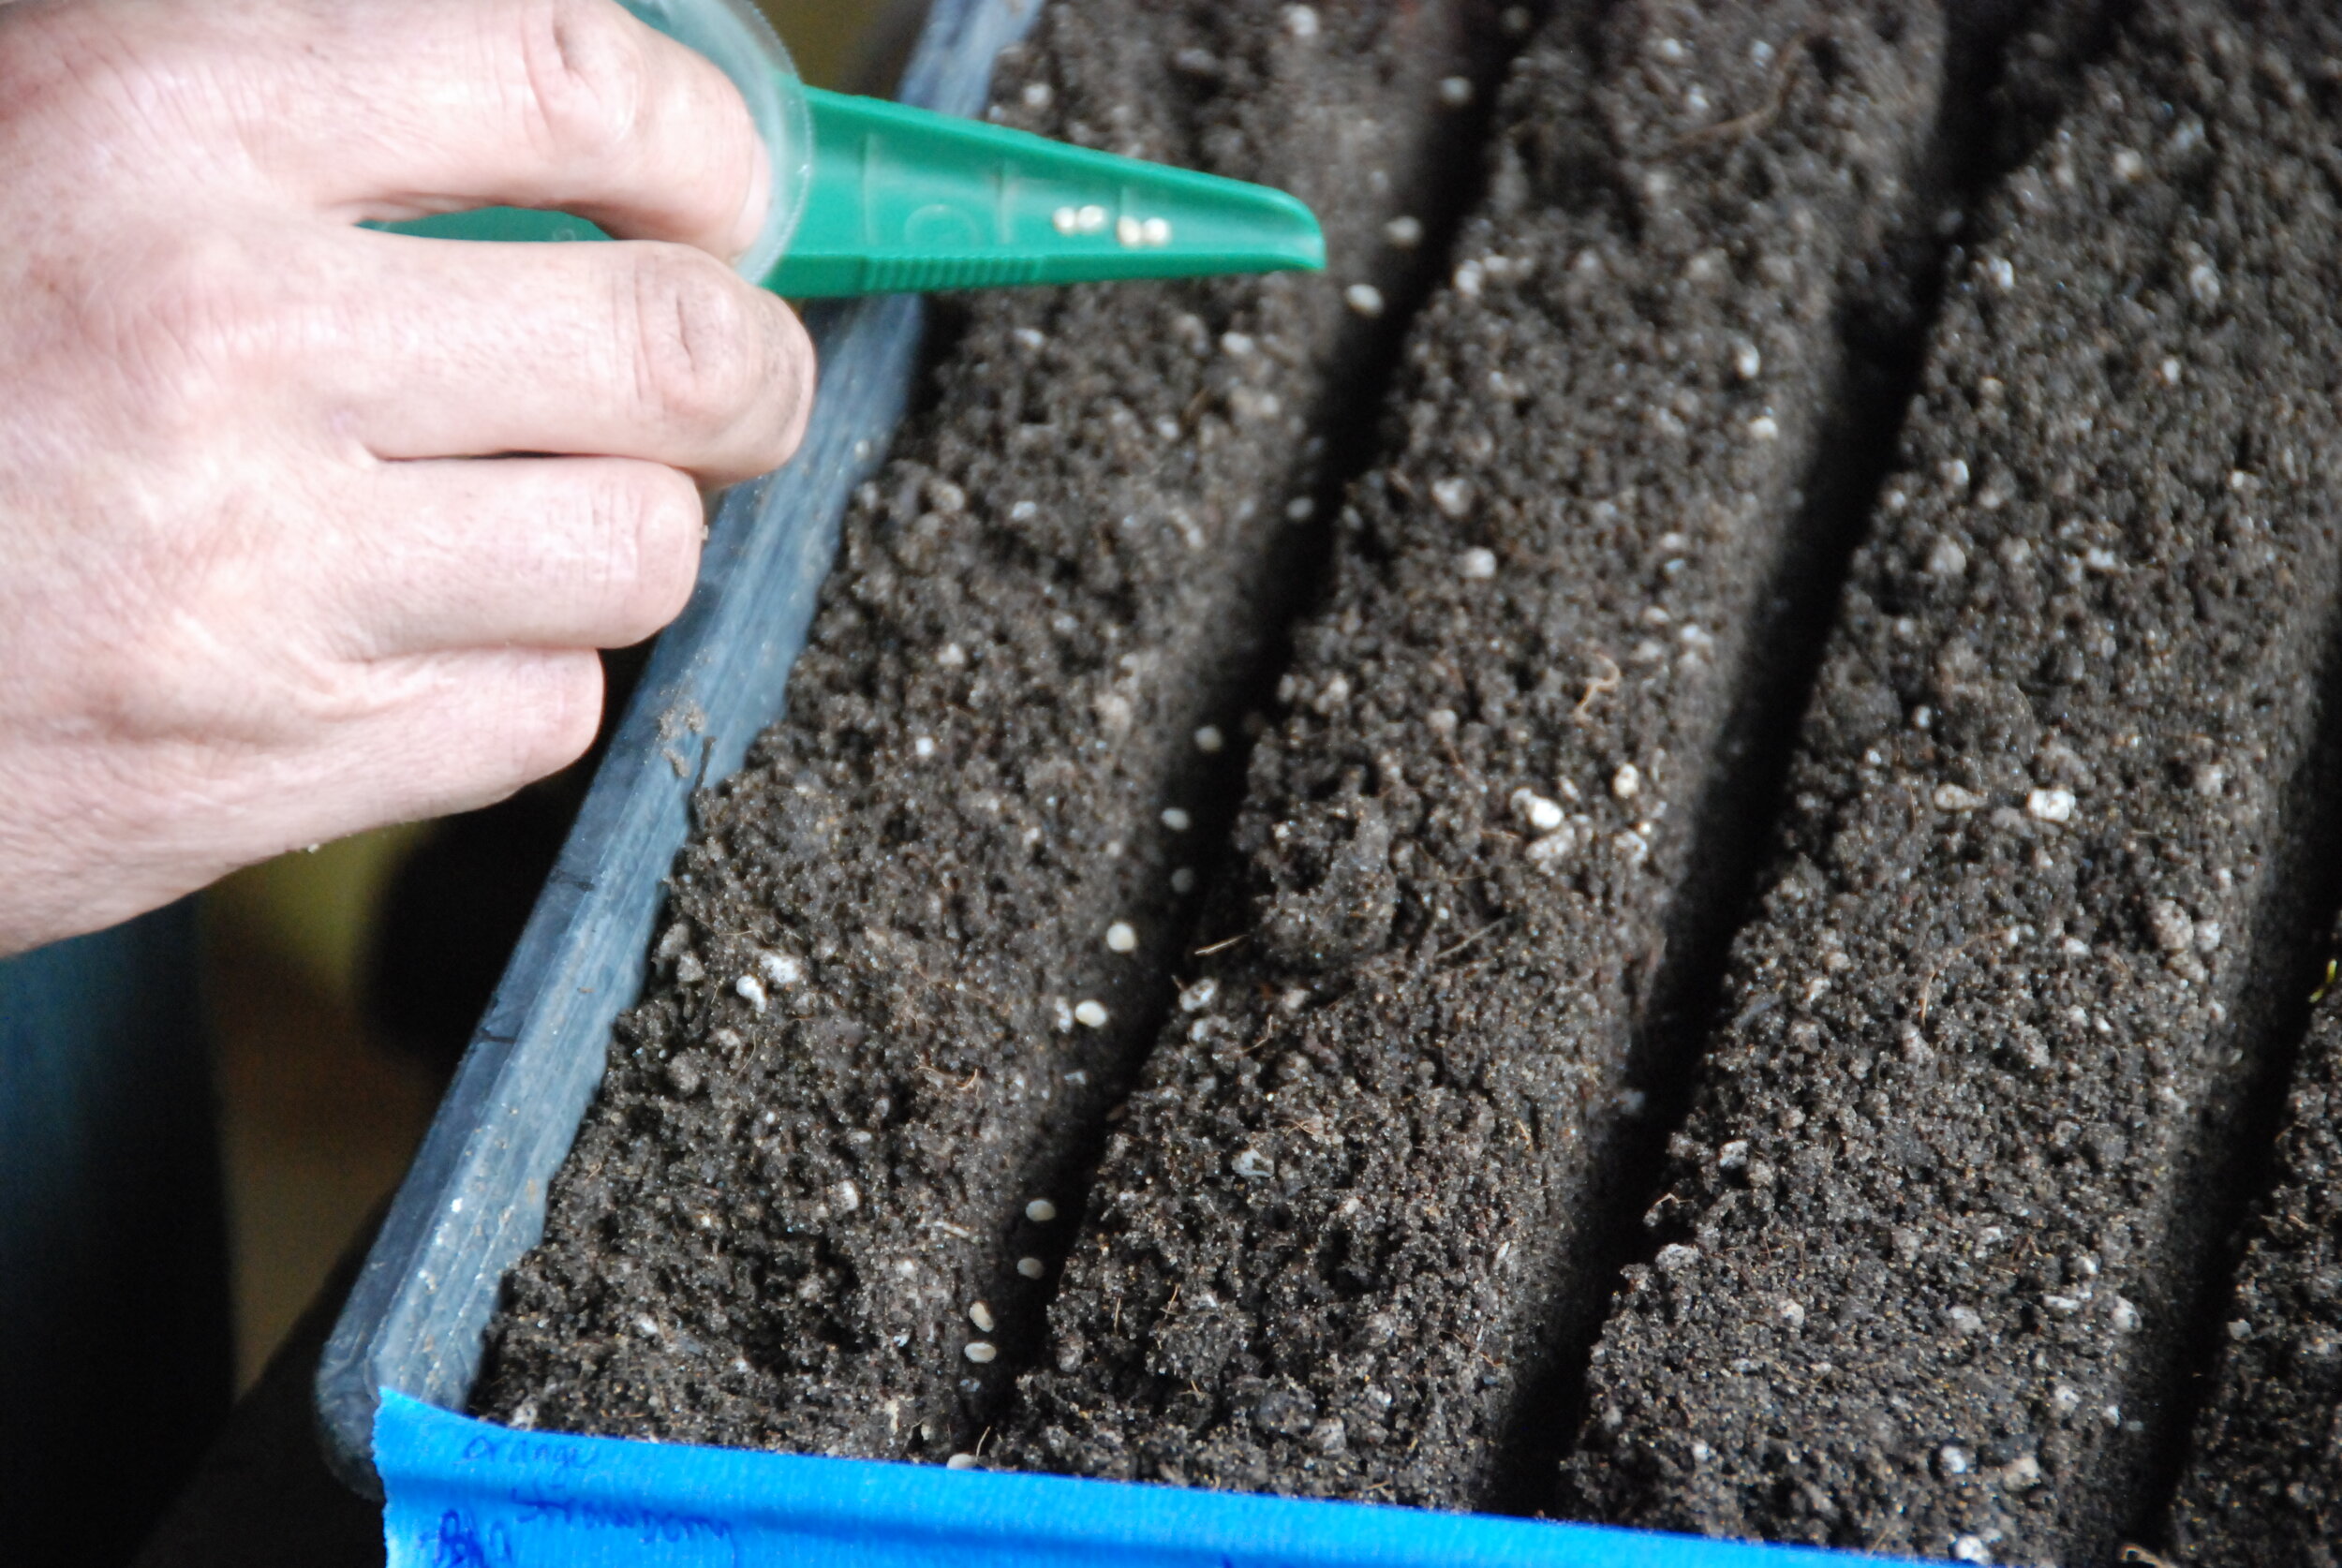
To save room on our heat mat, we often sown seeds in lines and then later, prick them out into individual cells.
· Correct depth
A general rule of thumb is to sow seed no deeper than twice the width of the seed. Check your seed packet for the correct sowing depth.
You can use your finger, a pencil or a dibbler to make the correct depression in your tray.
We cover the majority of seeds with vermiculite. Vermiculite helps to maintain moisture and ward off the fungus that causes damping off. It also helps to insulate against temperature and humidity changes in the greenhouse.
Again check your packet as not all seeds like to be covered.
Sprinkle vermiculite to cover seeds
· Light!
Some seeds require light to germinate, but many don’t and in some cases, light can prevent germination.
Once seeds have germinated, a strong light source close to the plants will ensure they grow with a sturdy stem. If plants are searching for light, they grow leggy and spindly.
We have painted the walls of our north facing glasshouse to reflect the light back on the plants, keeping them growing straight and stout.
You can also use a shop light hung overhead the seedlings. Ensure you put it close enough, raising it as the seedlings grow.
If you are using a northern window in your house, turn your seedlings daily to prevent them from leaning towards the light. And you can even hang a white background, such as a sheet or shower curtain.
I want our seedlings to be strong and stalky - like a Jack Russell farm dog!
