Step-By-Step Guide for Healthy Organic Tomato Seedlings
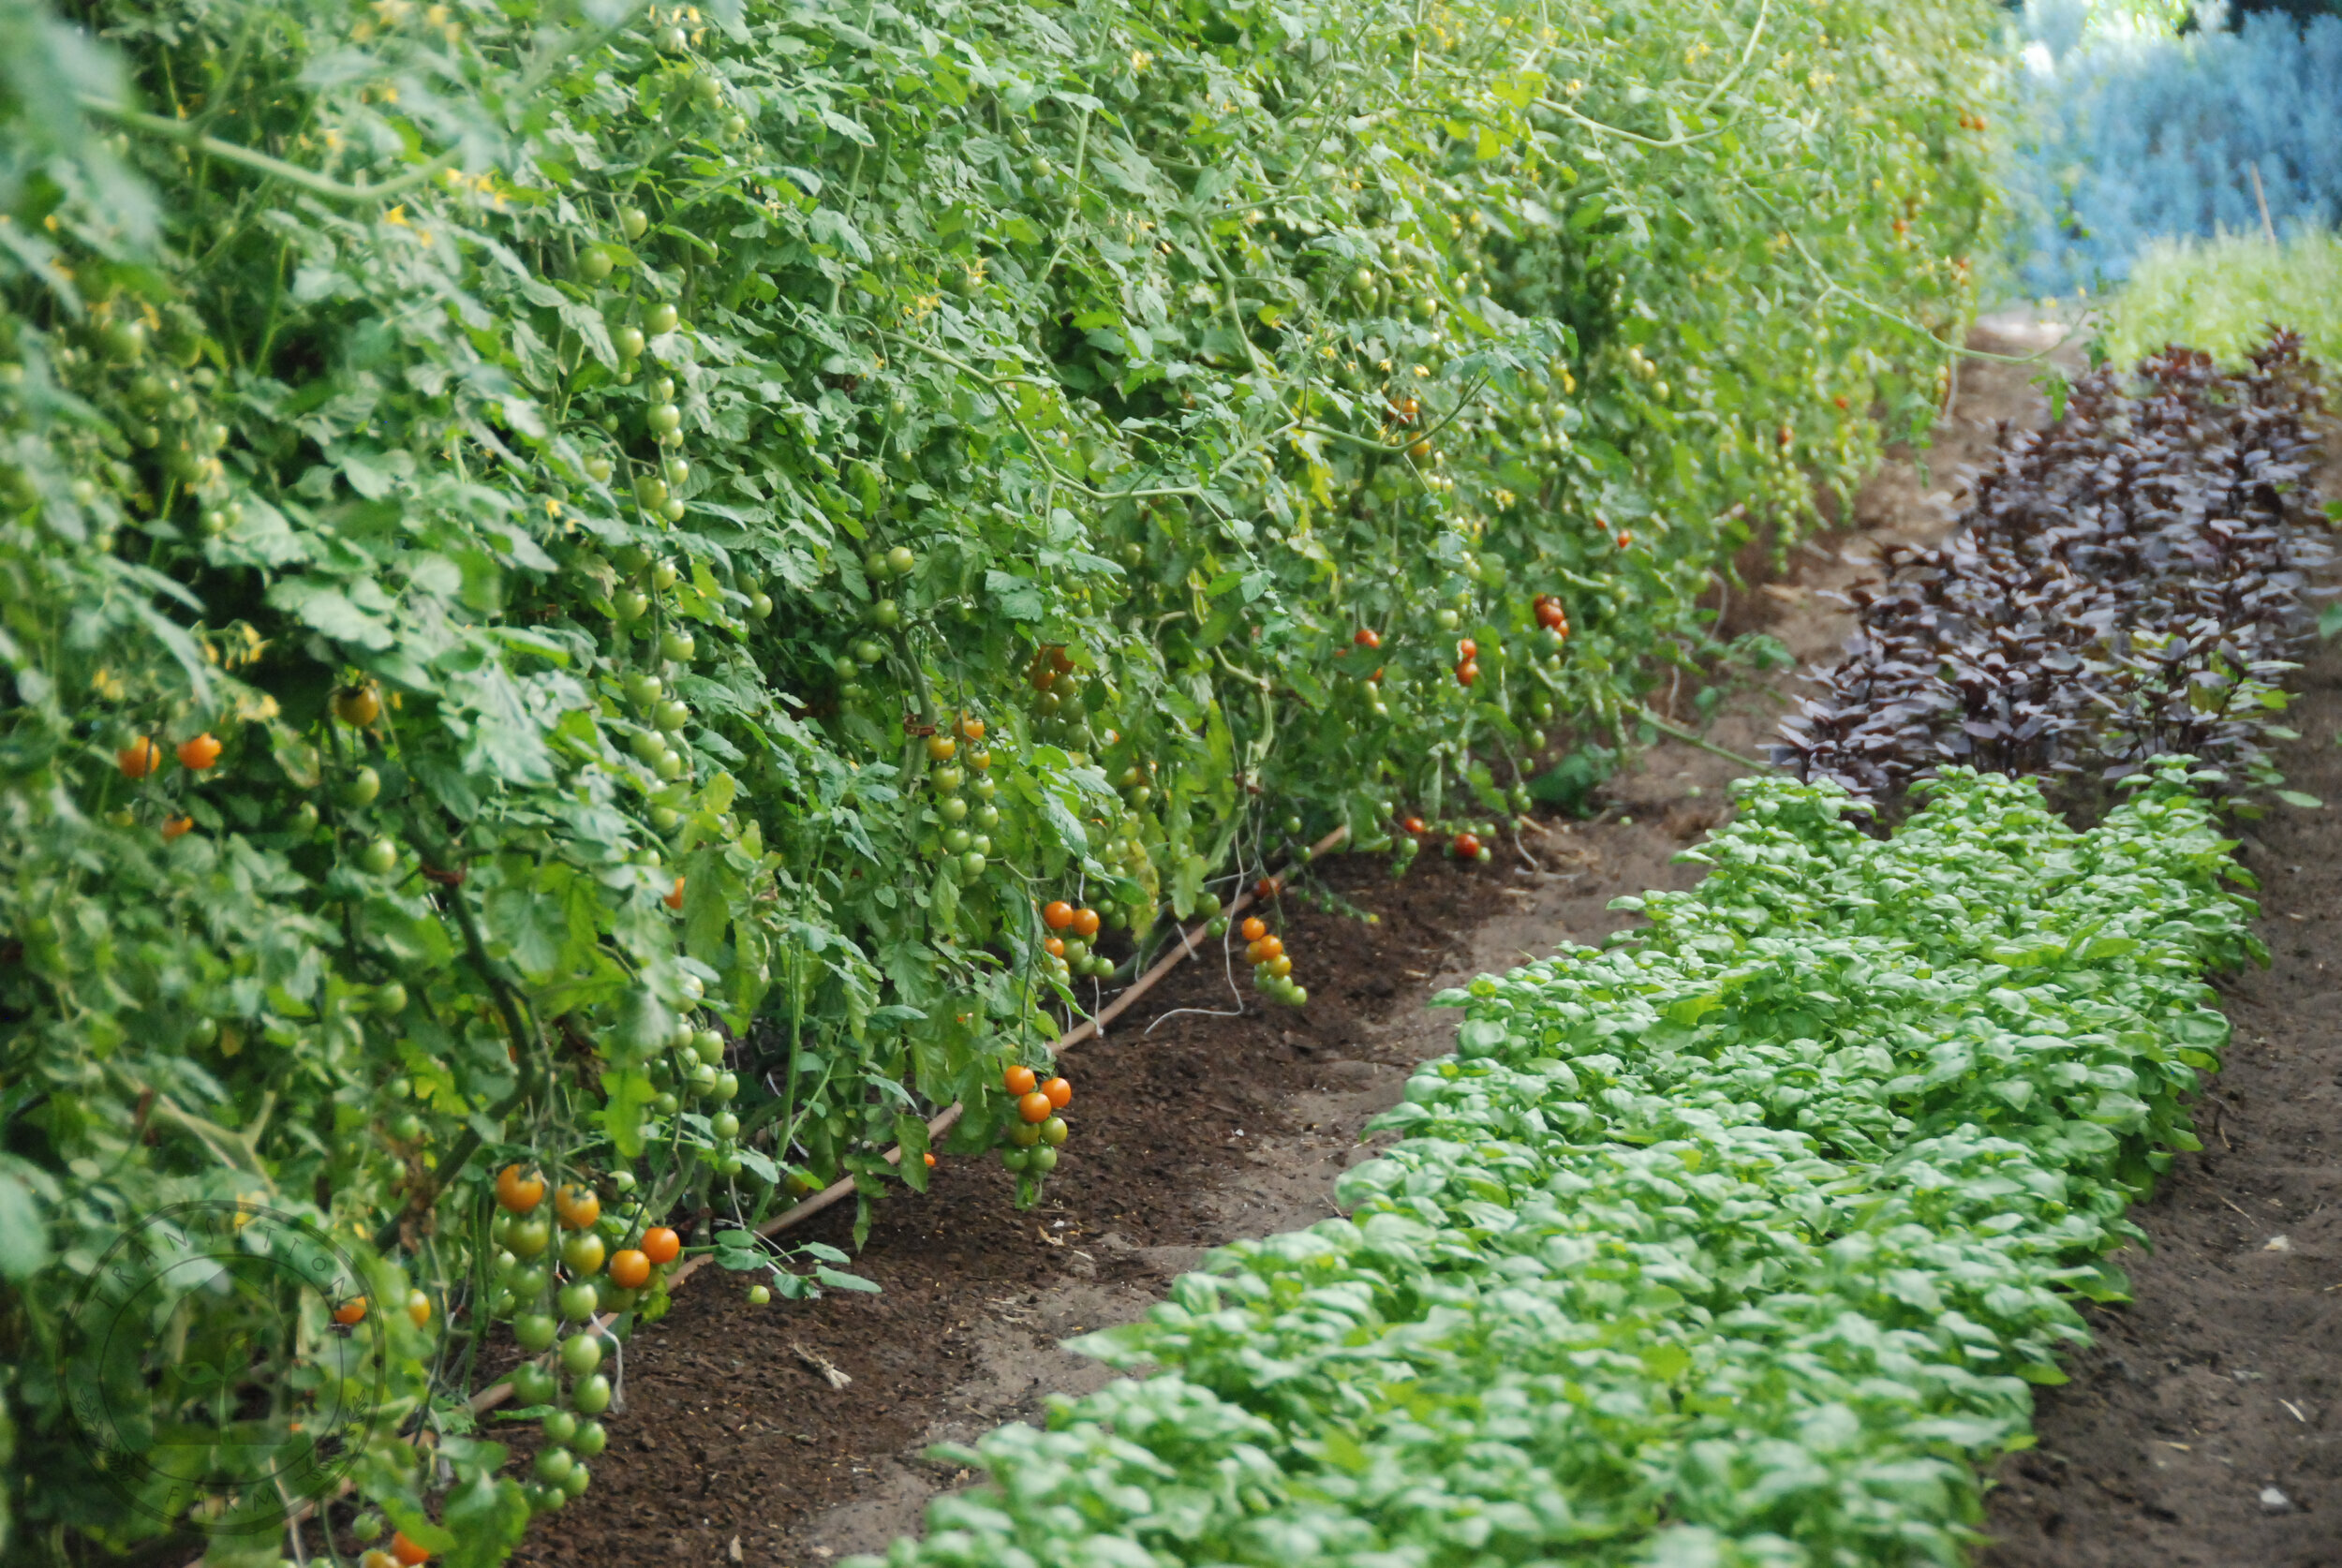
/The smell of tomato seedlings in the final days of Winter stirs Summer dreaming!
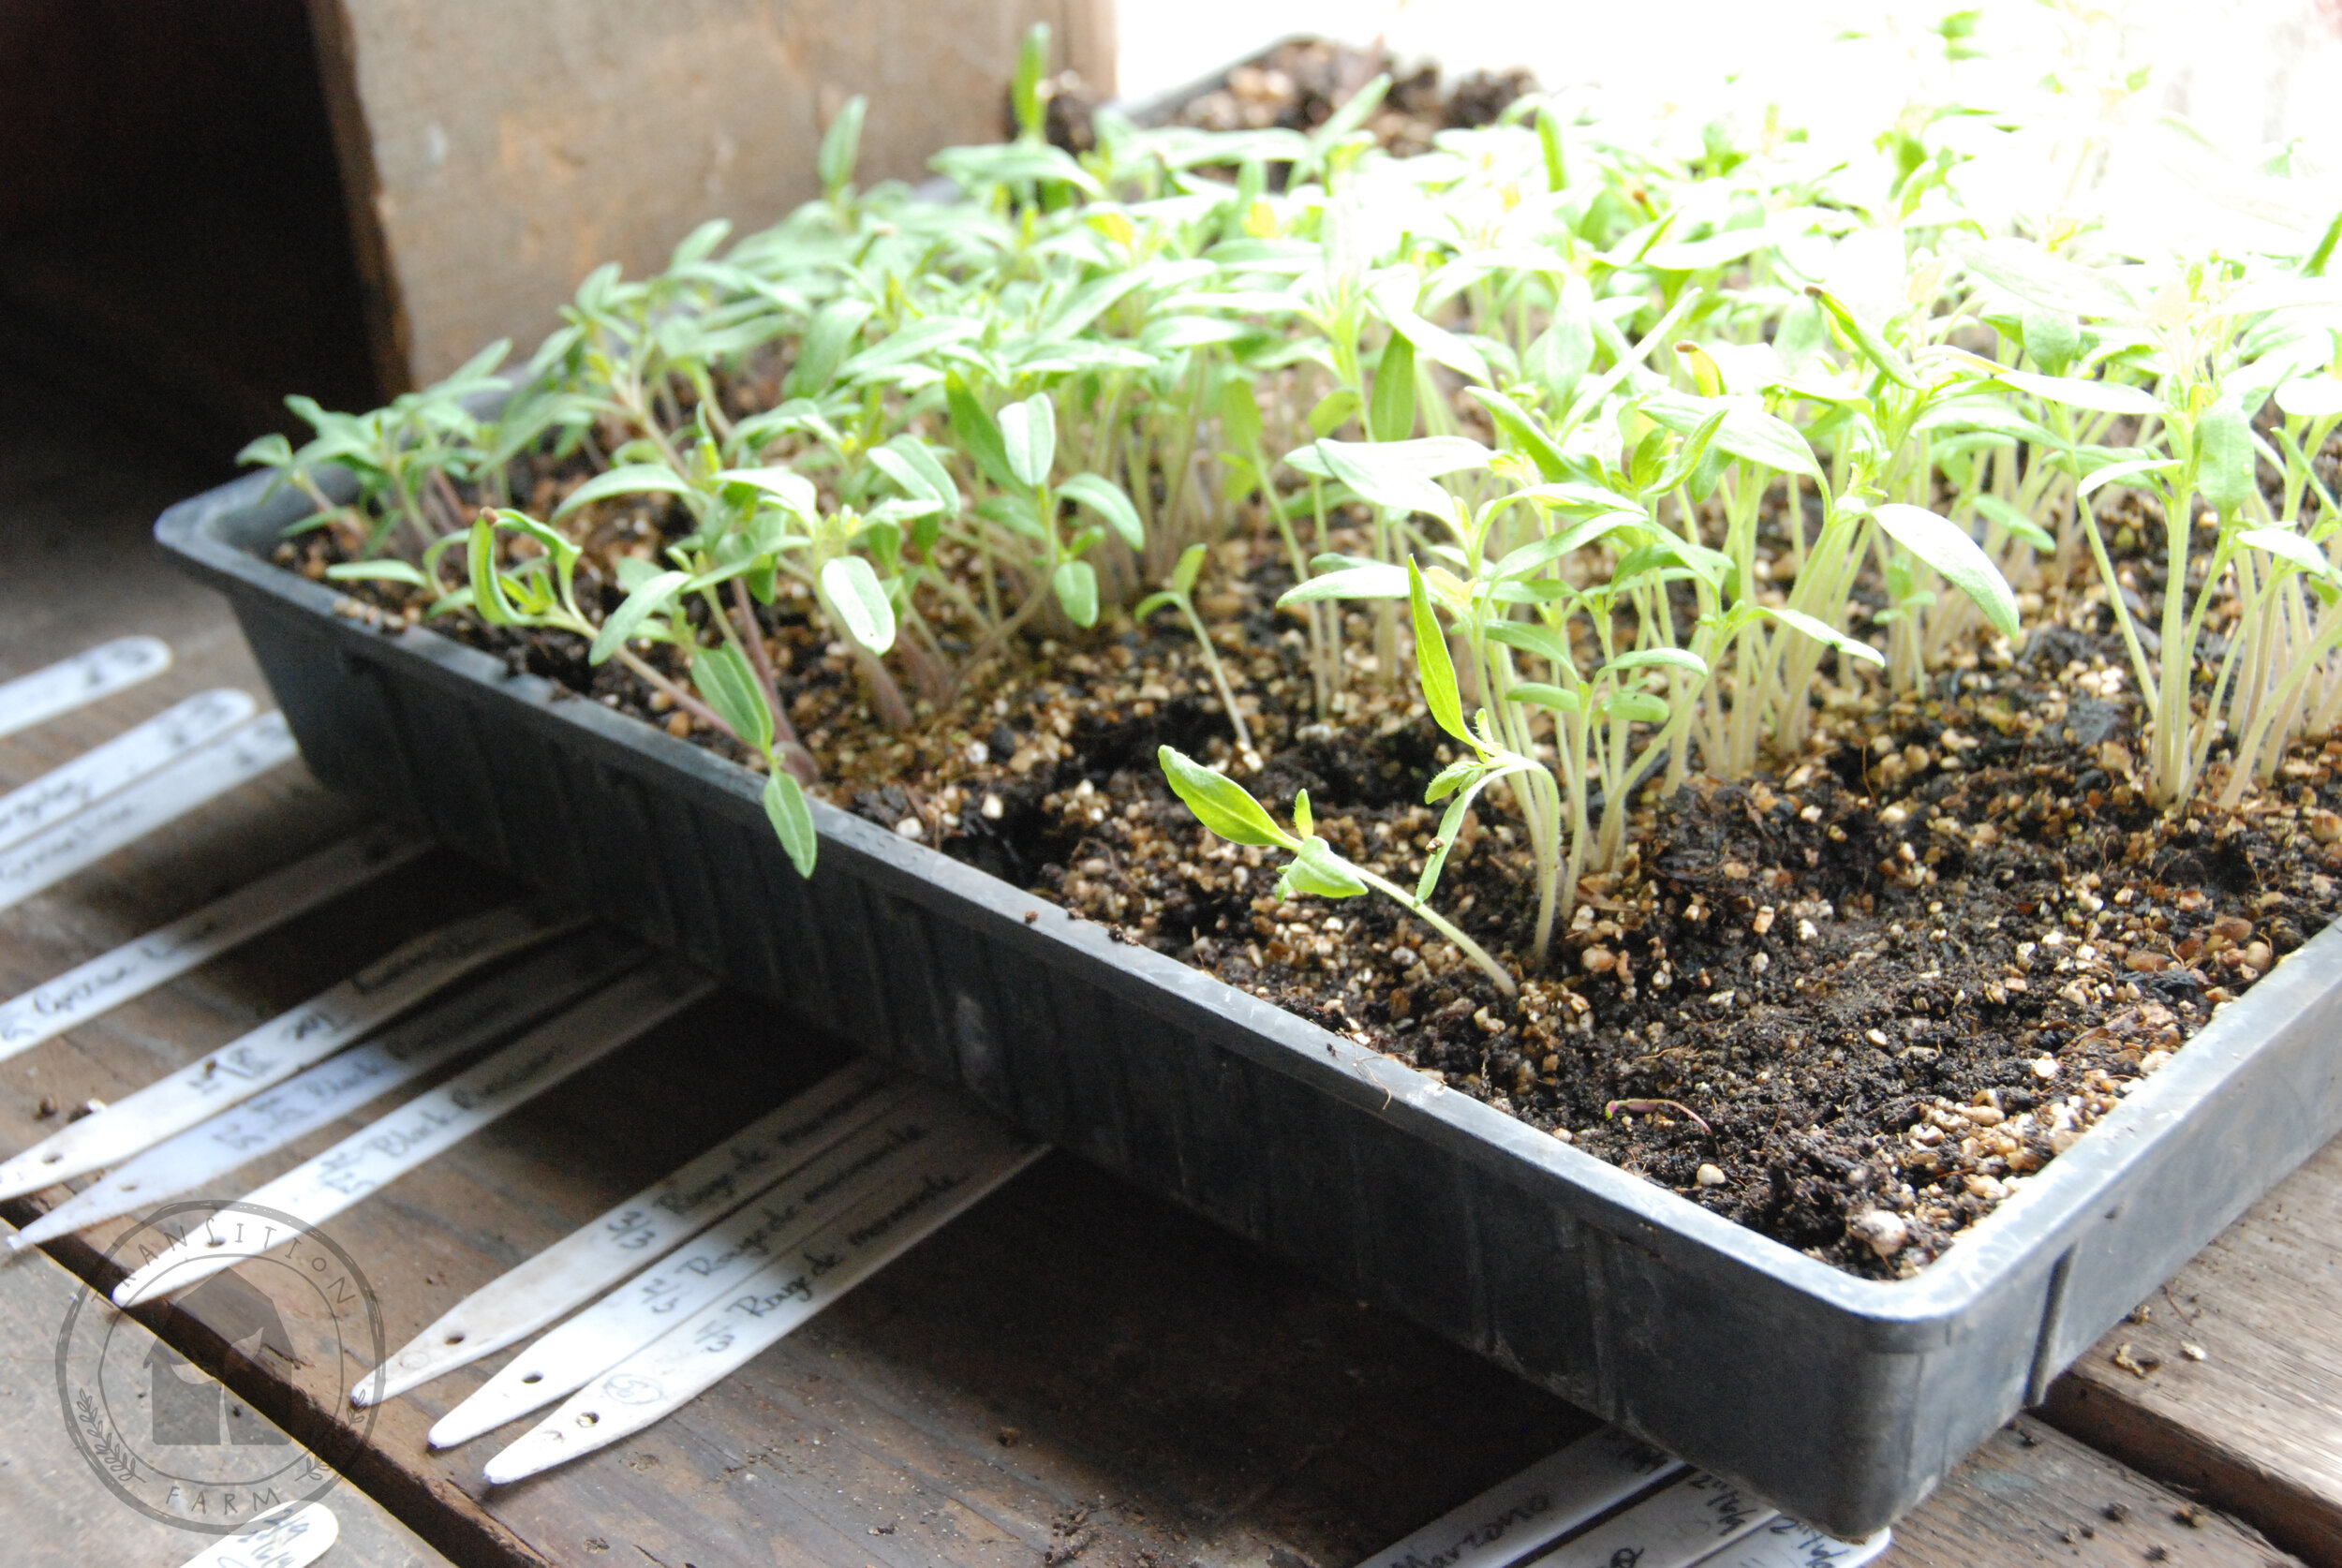
A growers favorites, we find tomatoes to be one of the easiest seeds to germinate.
Although we all want tomatoes for Christmas, RESIST STARTING TOO EARLY! Leggy, root bound or flowering transplants can delay your first fruit set and impact on the overall health of the plant.
Start your tomato seedlings 5-6 weeks before transplant and try to transplant when your nighttime temperatures are 17C and above. While tomatoes can handle colder temperatures, avoid consecutive nights that are below 7C.
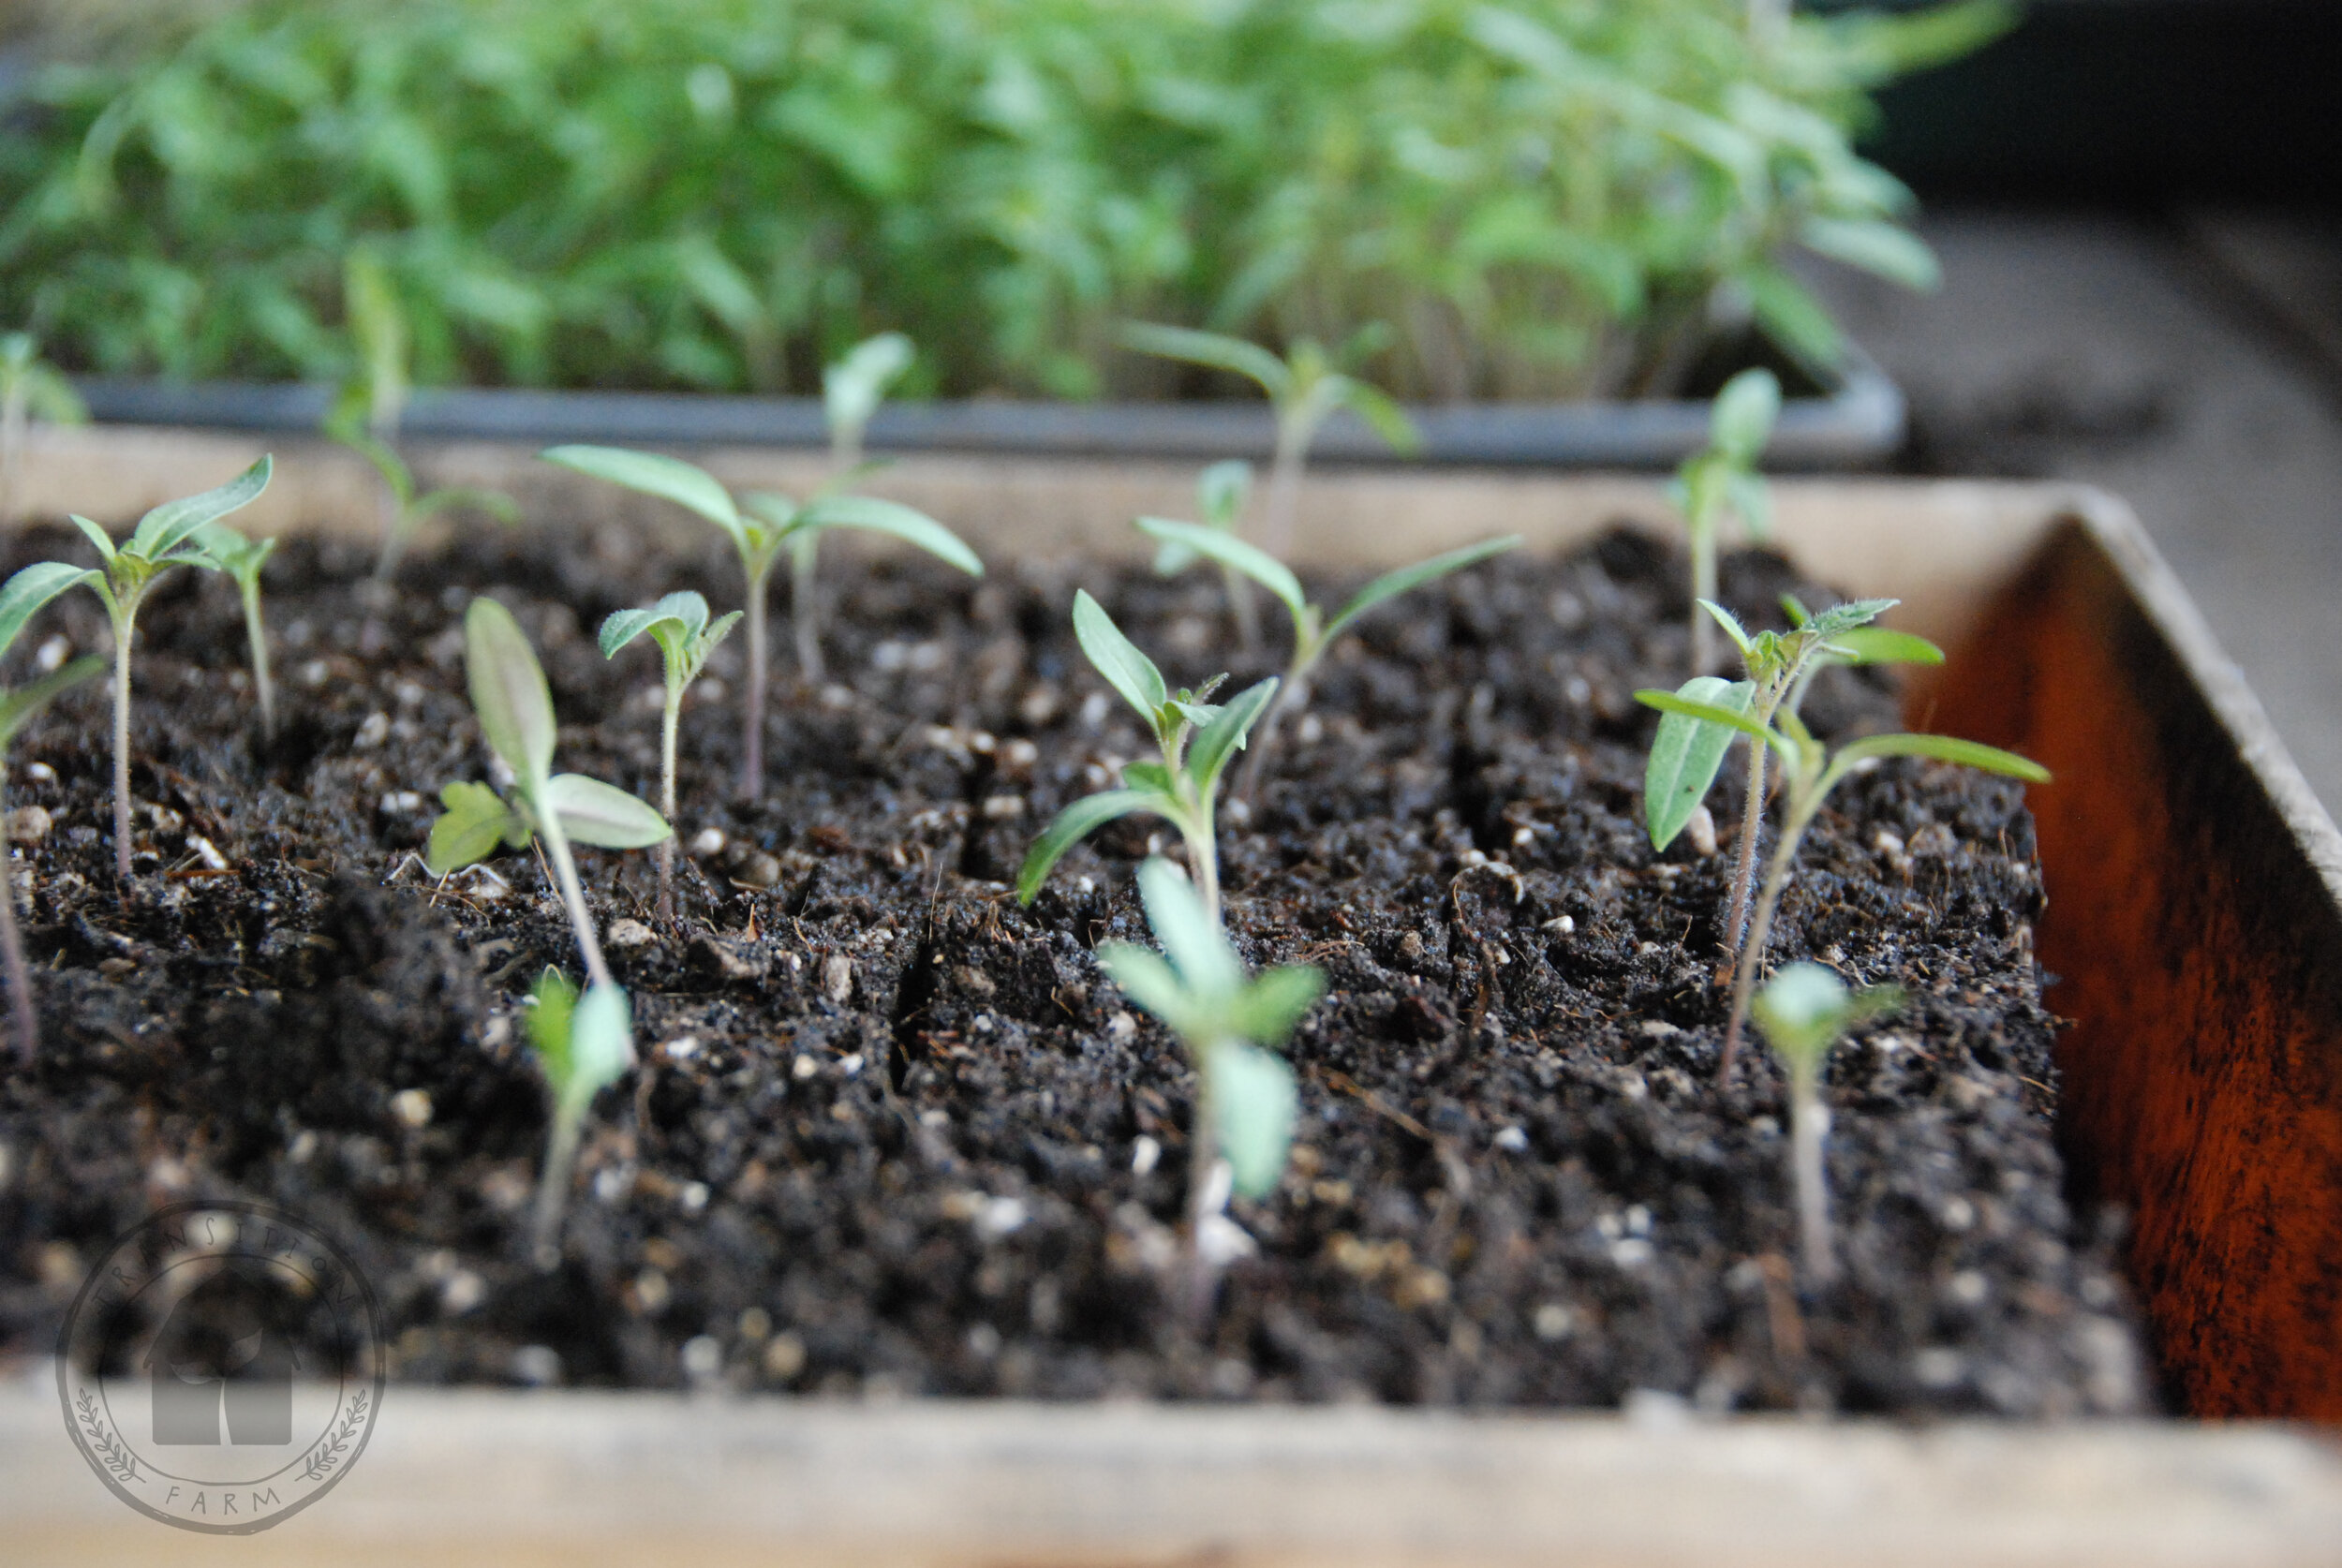
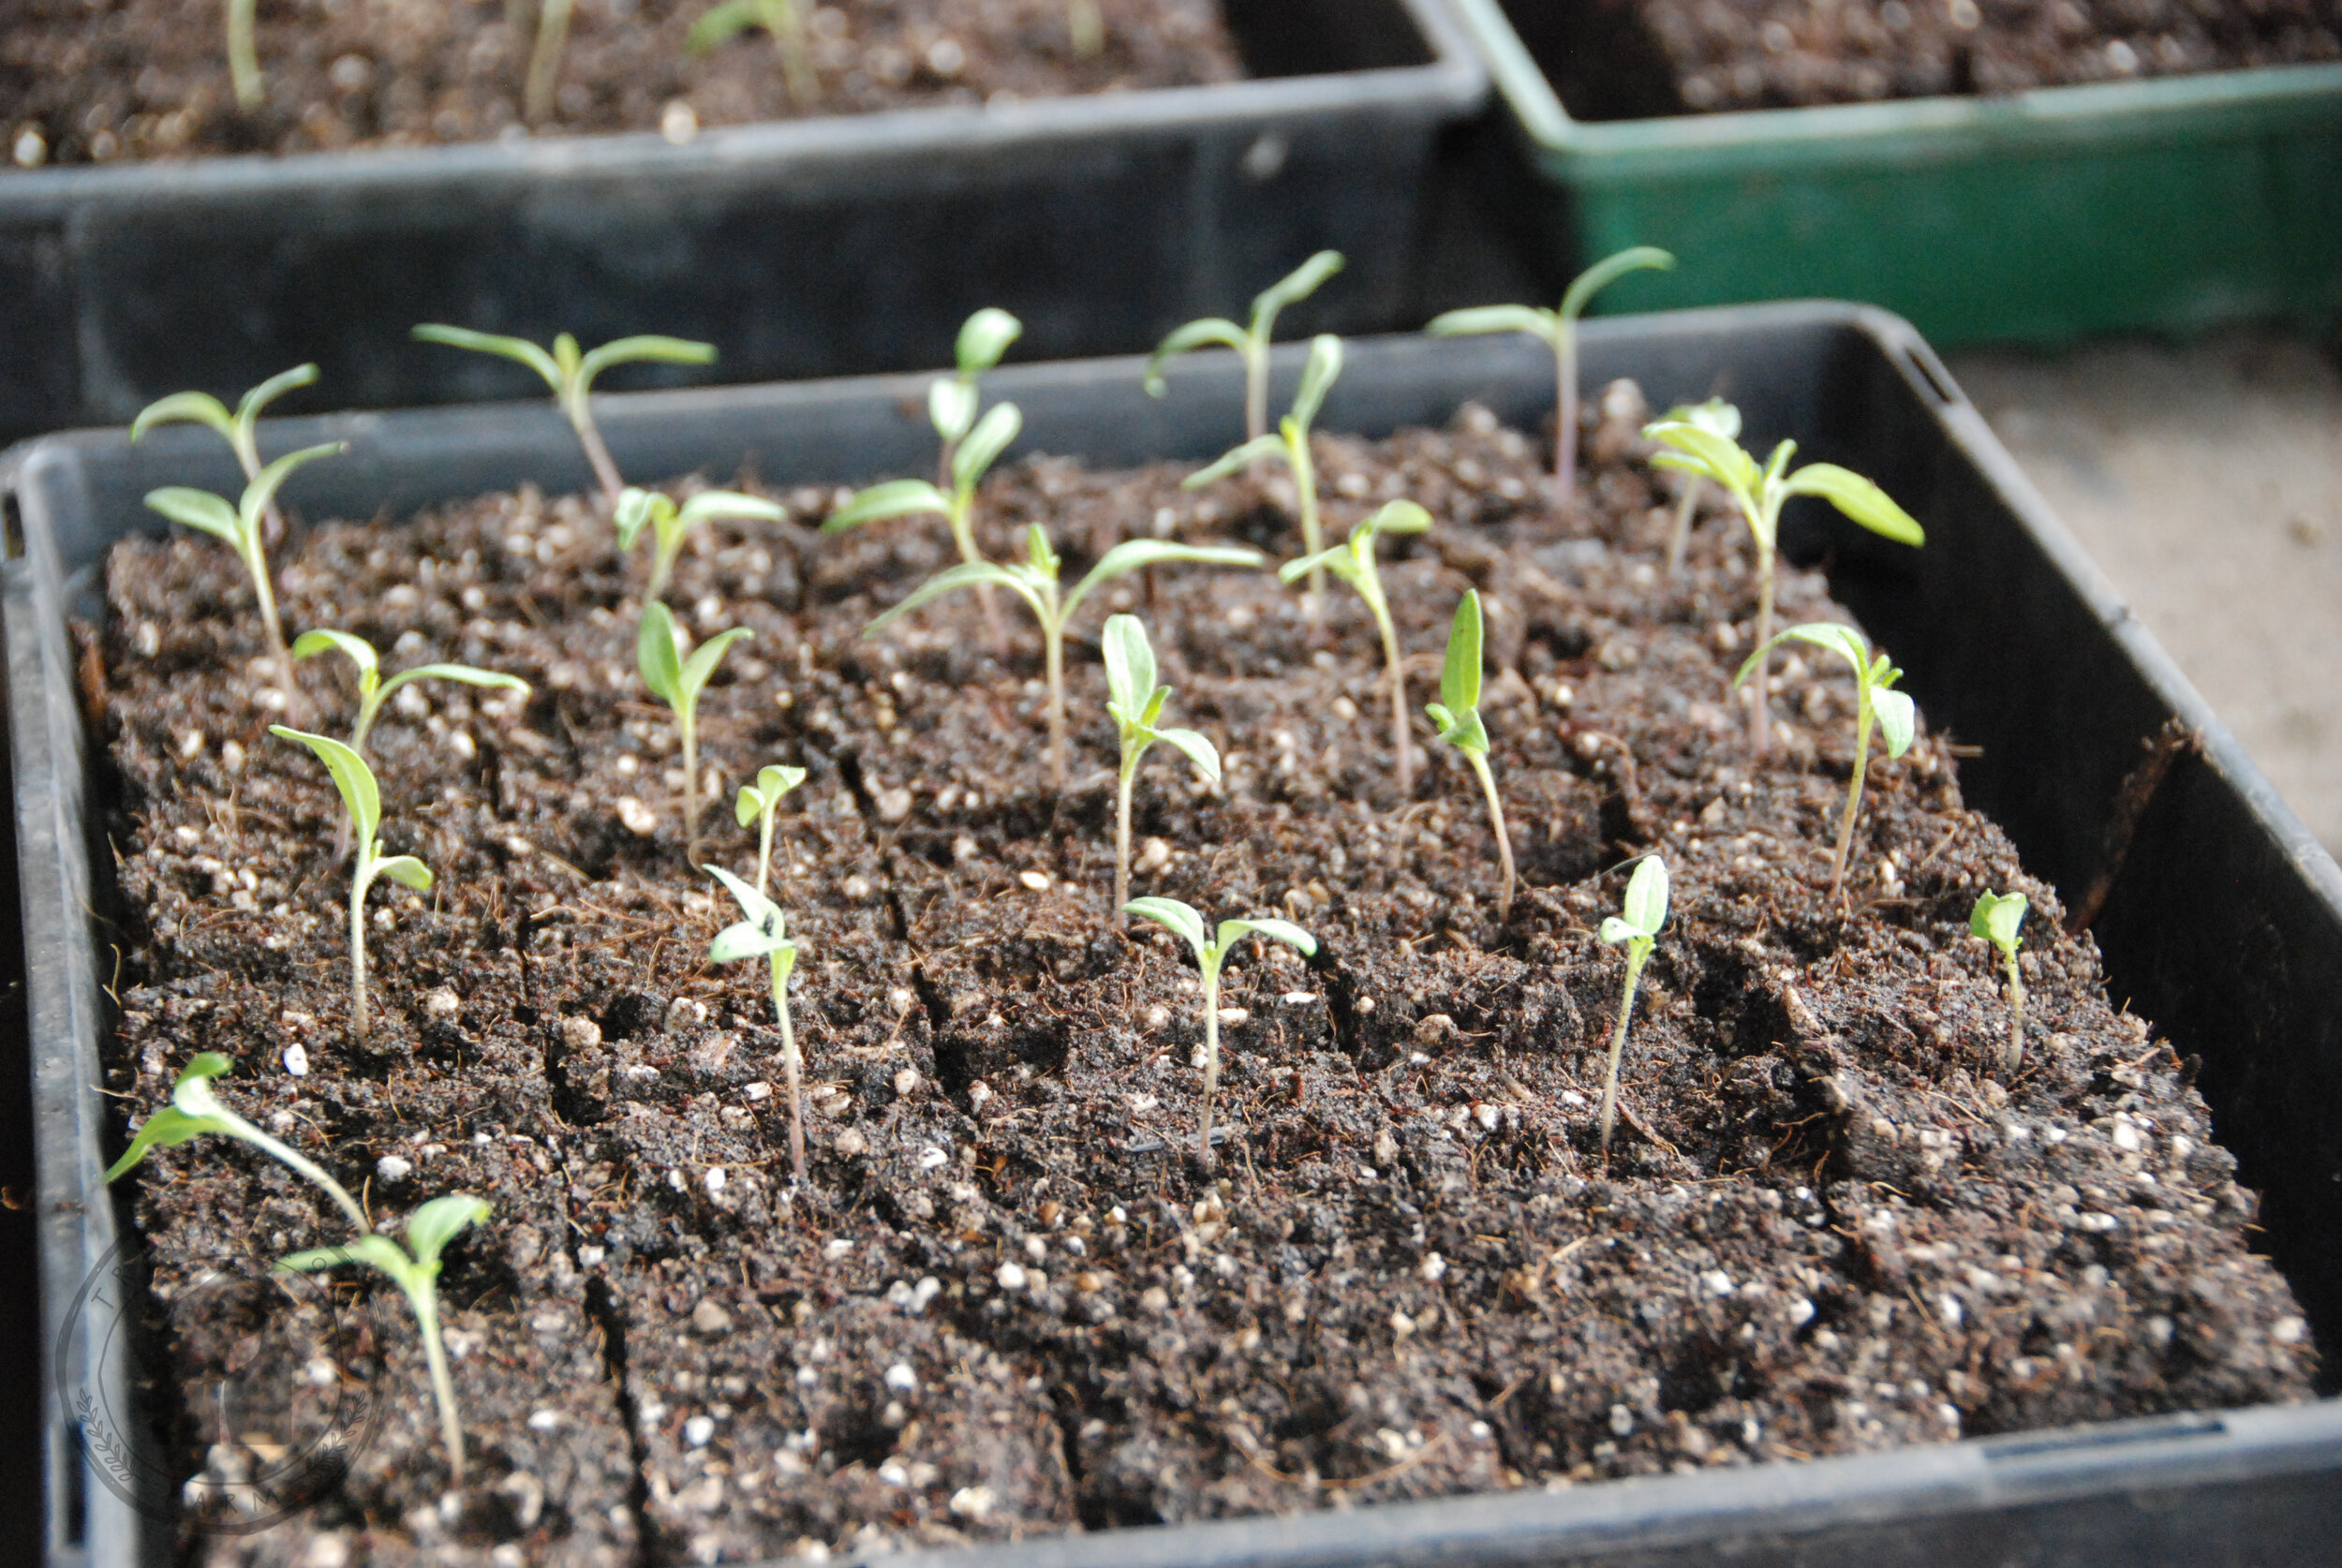
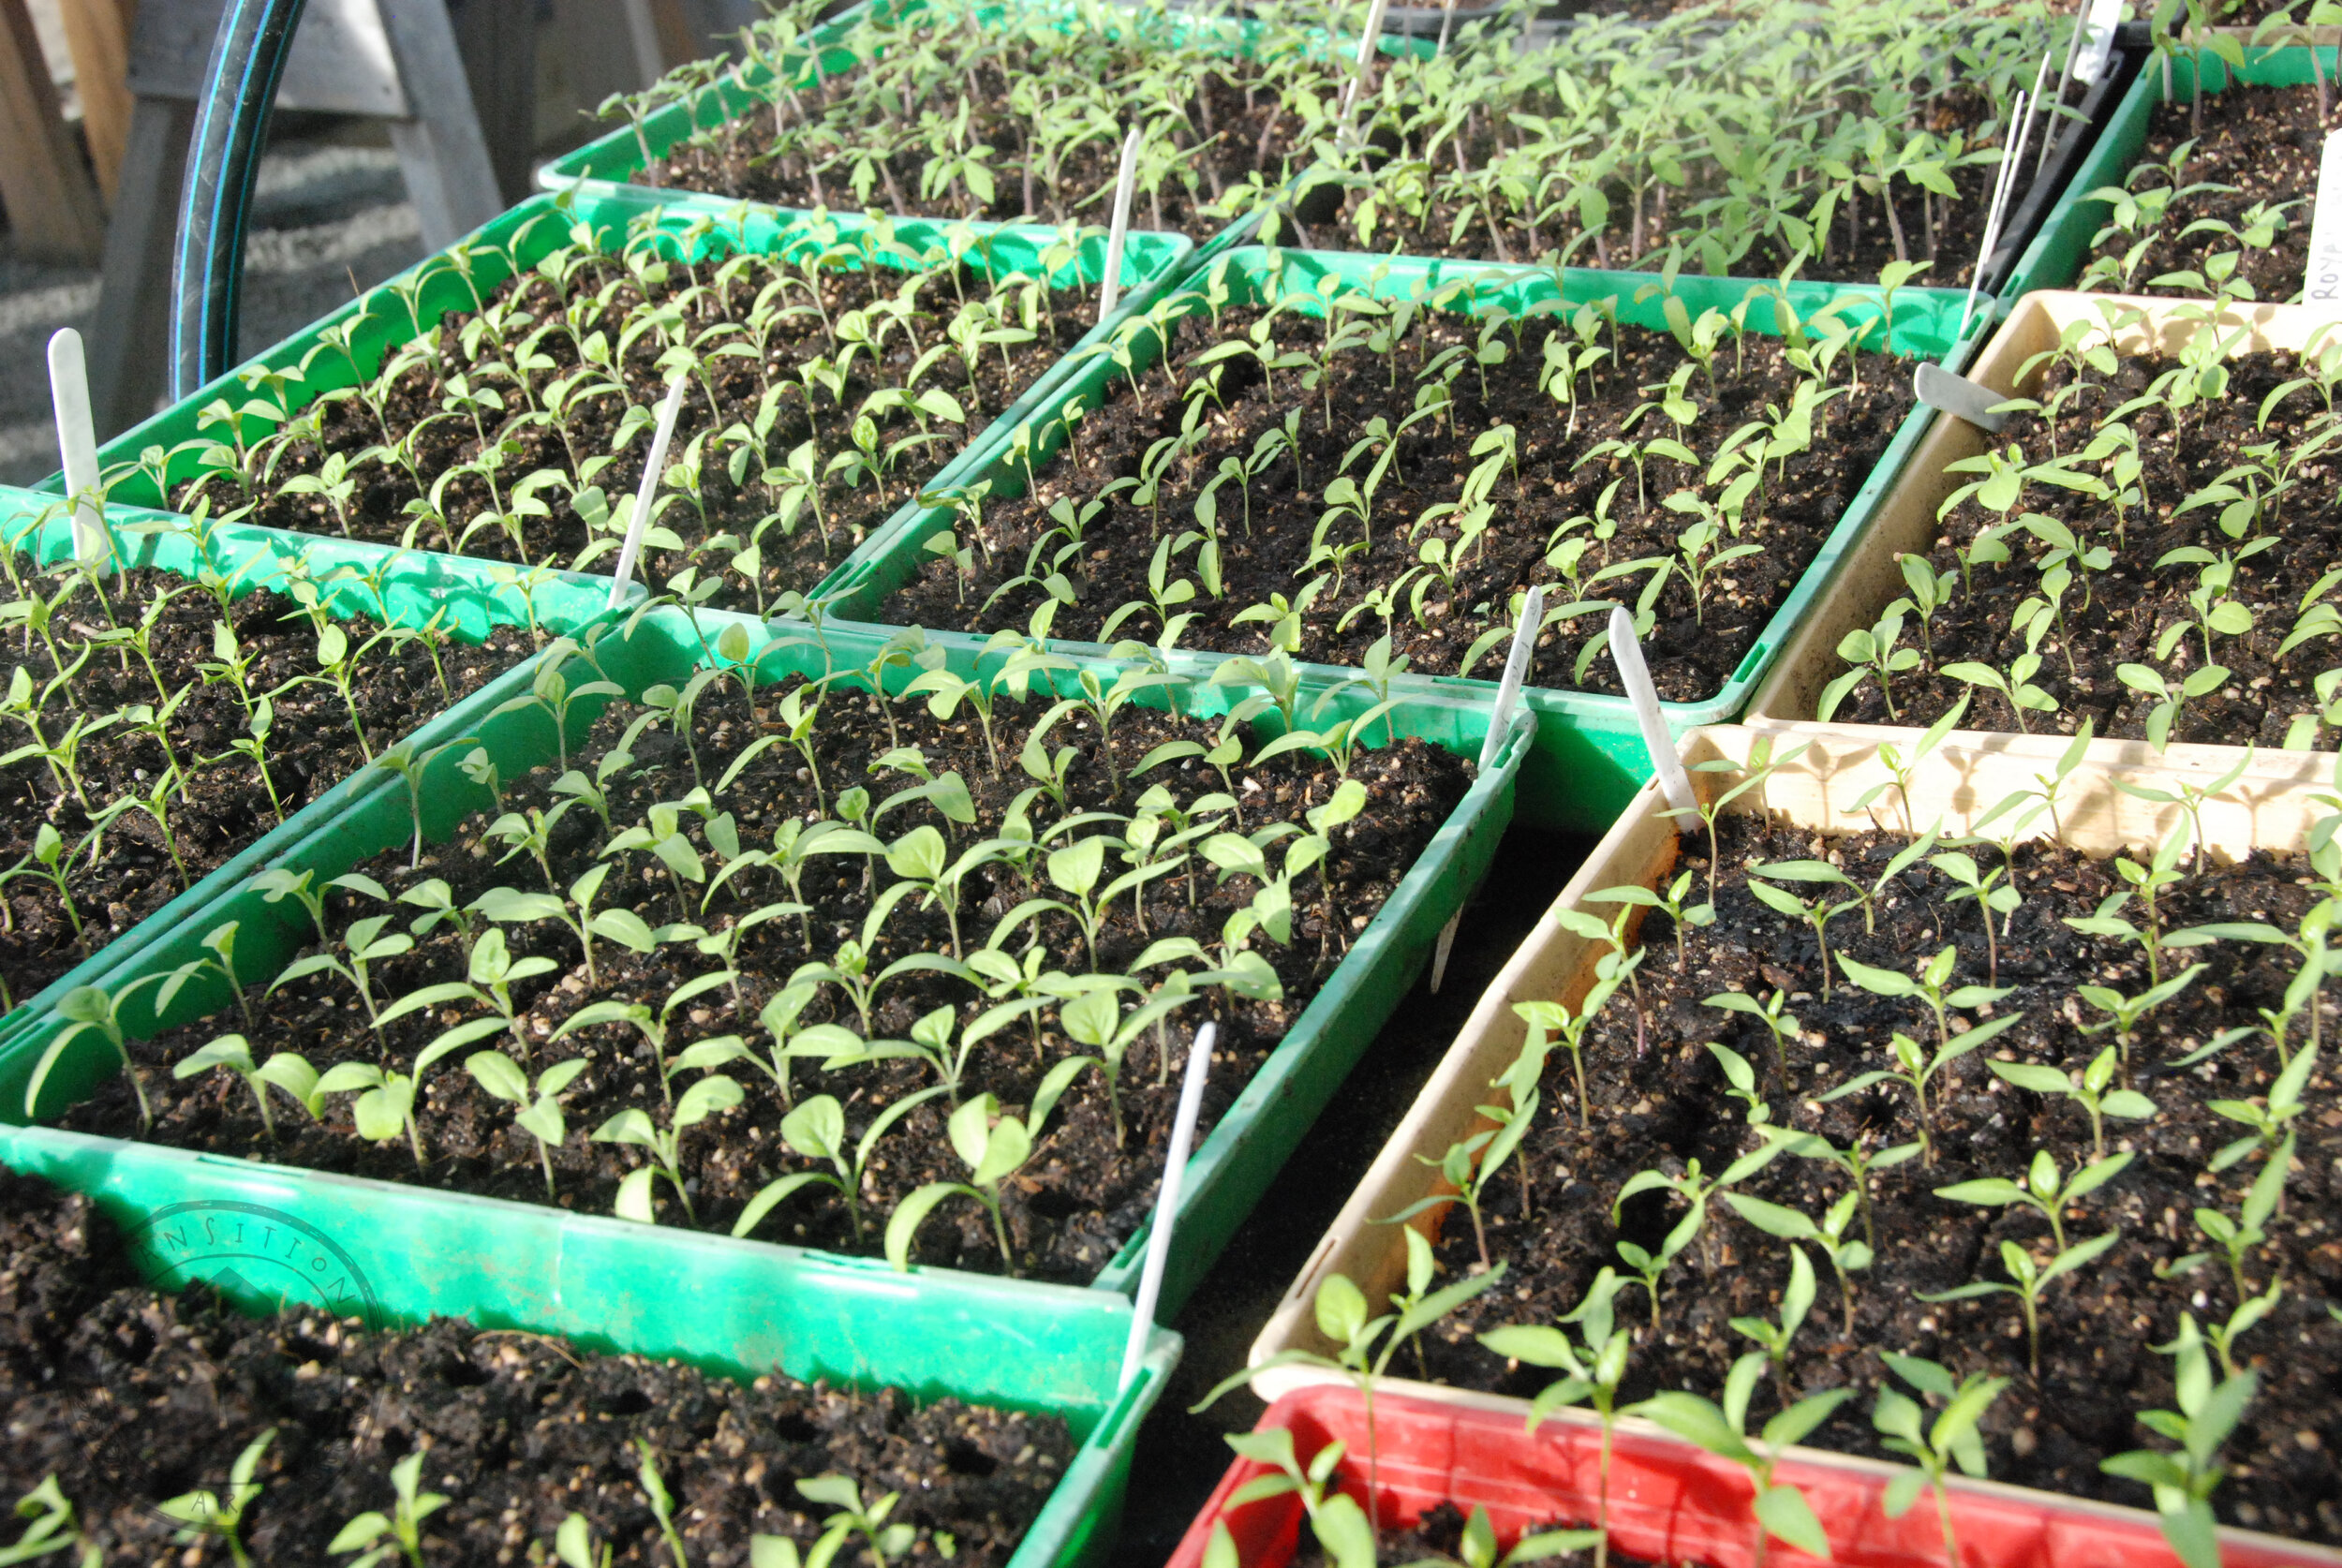
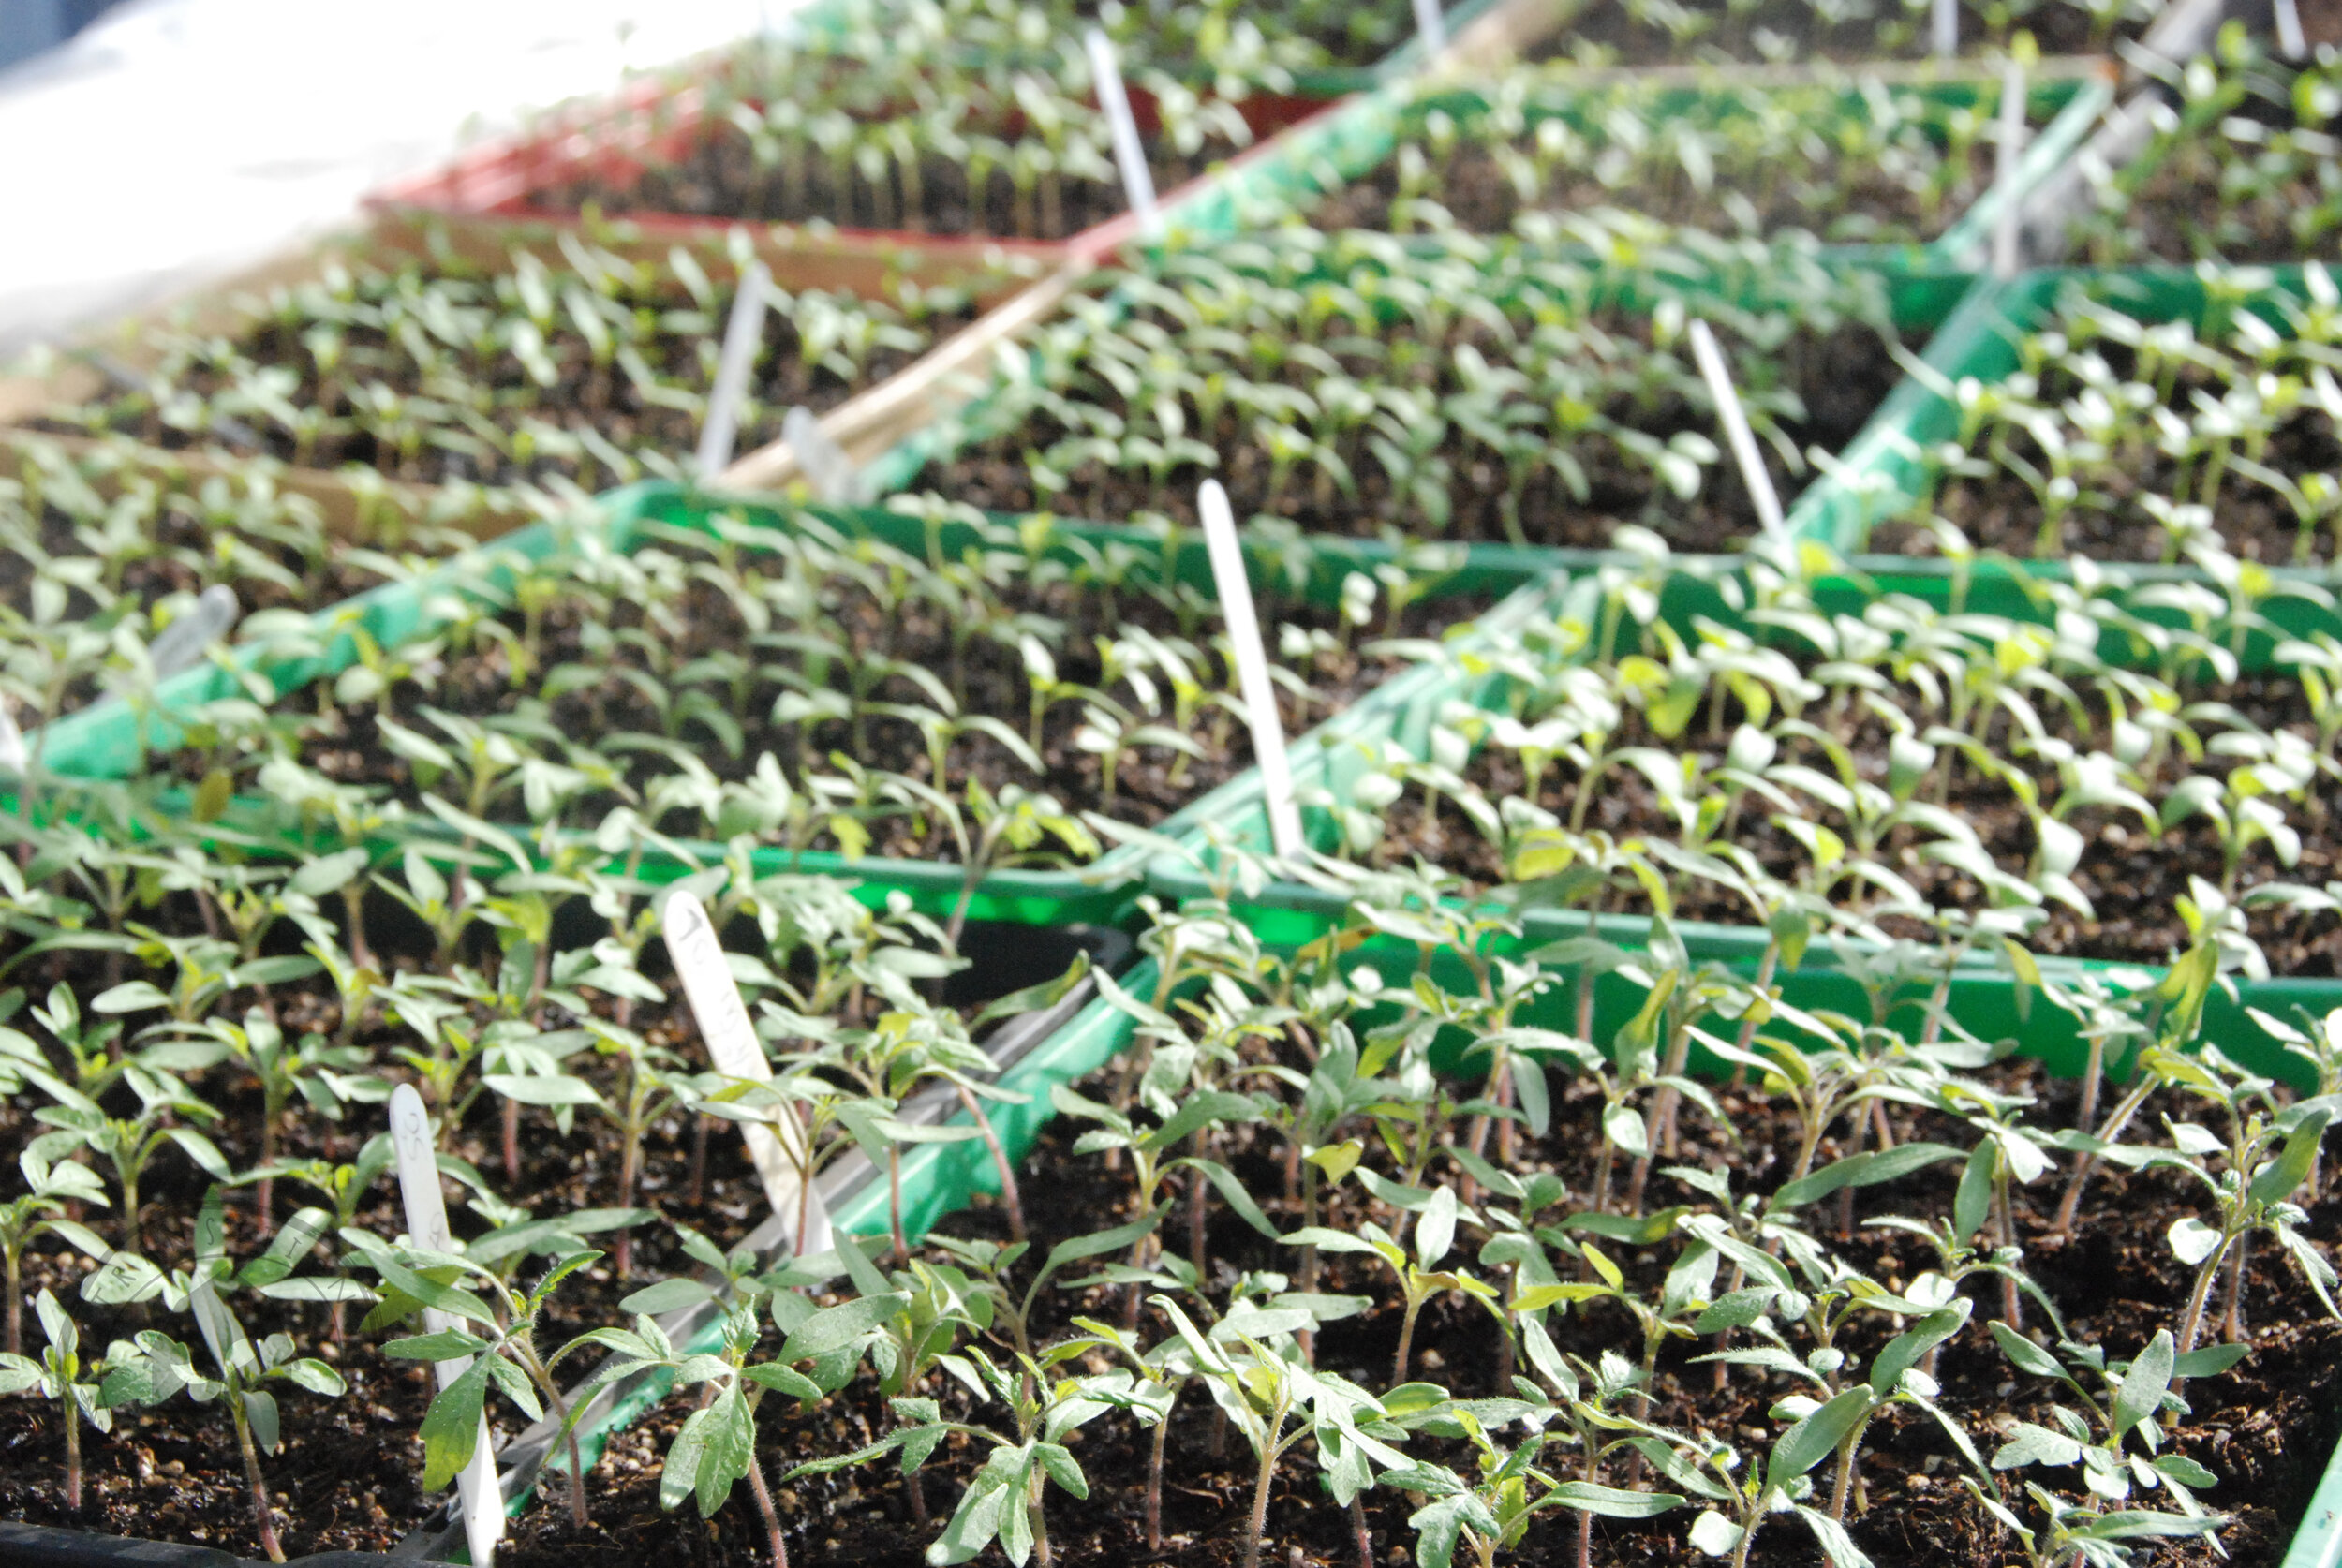
As our heat pad space is limited, and we find the the seedlings do not mind tighter quarters in their first few weeks, we sow them in lines and transplant them into larger cells about 2-3 weeks later. We use the same method to grow capsicums and many of our slow germinating, heat loving cut flowers as well.
Here is a step by step slide show (scroll through) to help you grow your own strong seedlings!
SPACE - Evenly divide your lines. We find 5 lines in a 35*30cm tray works for most seeds.
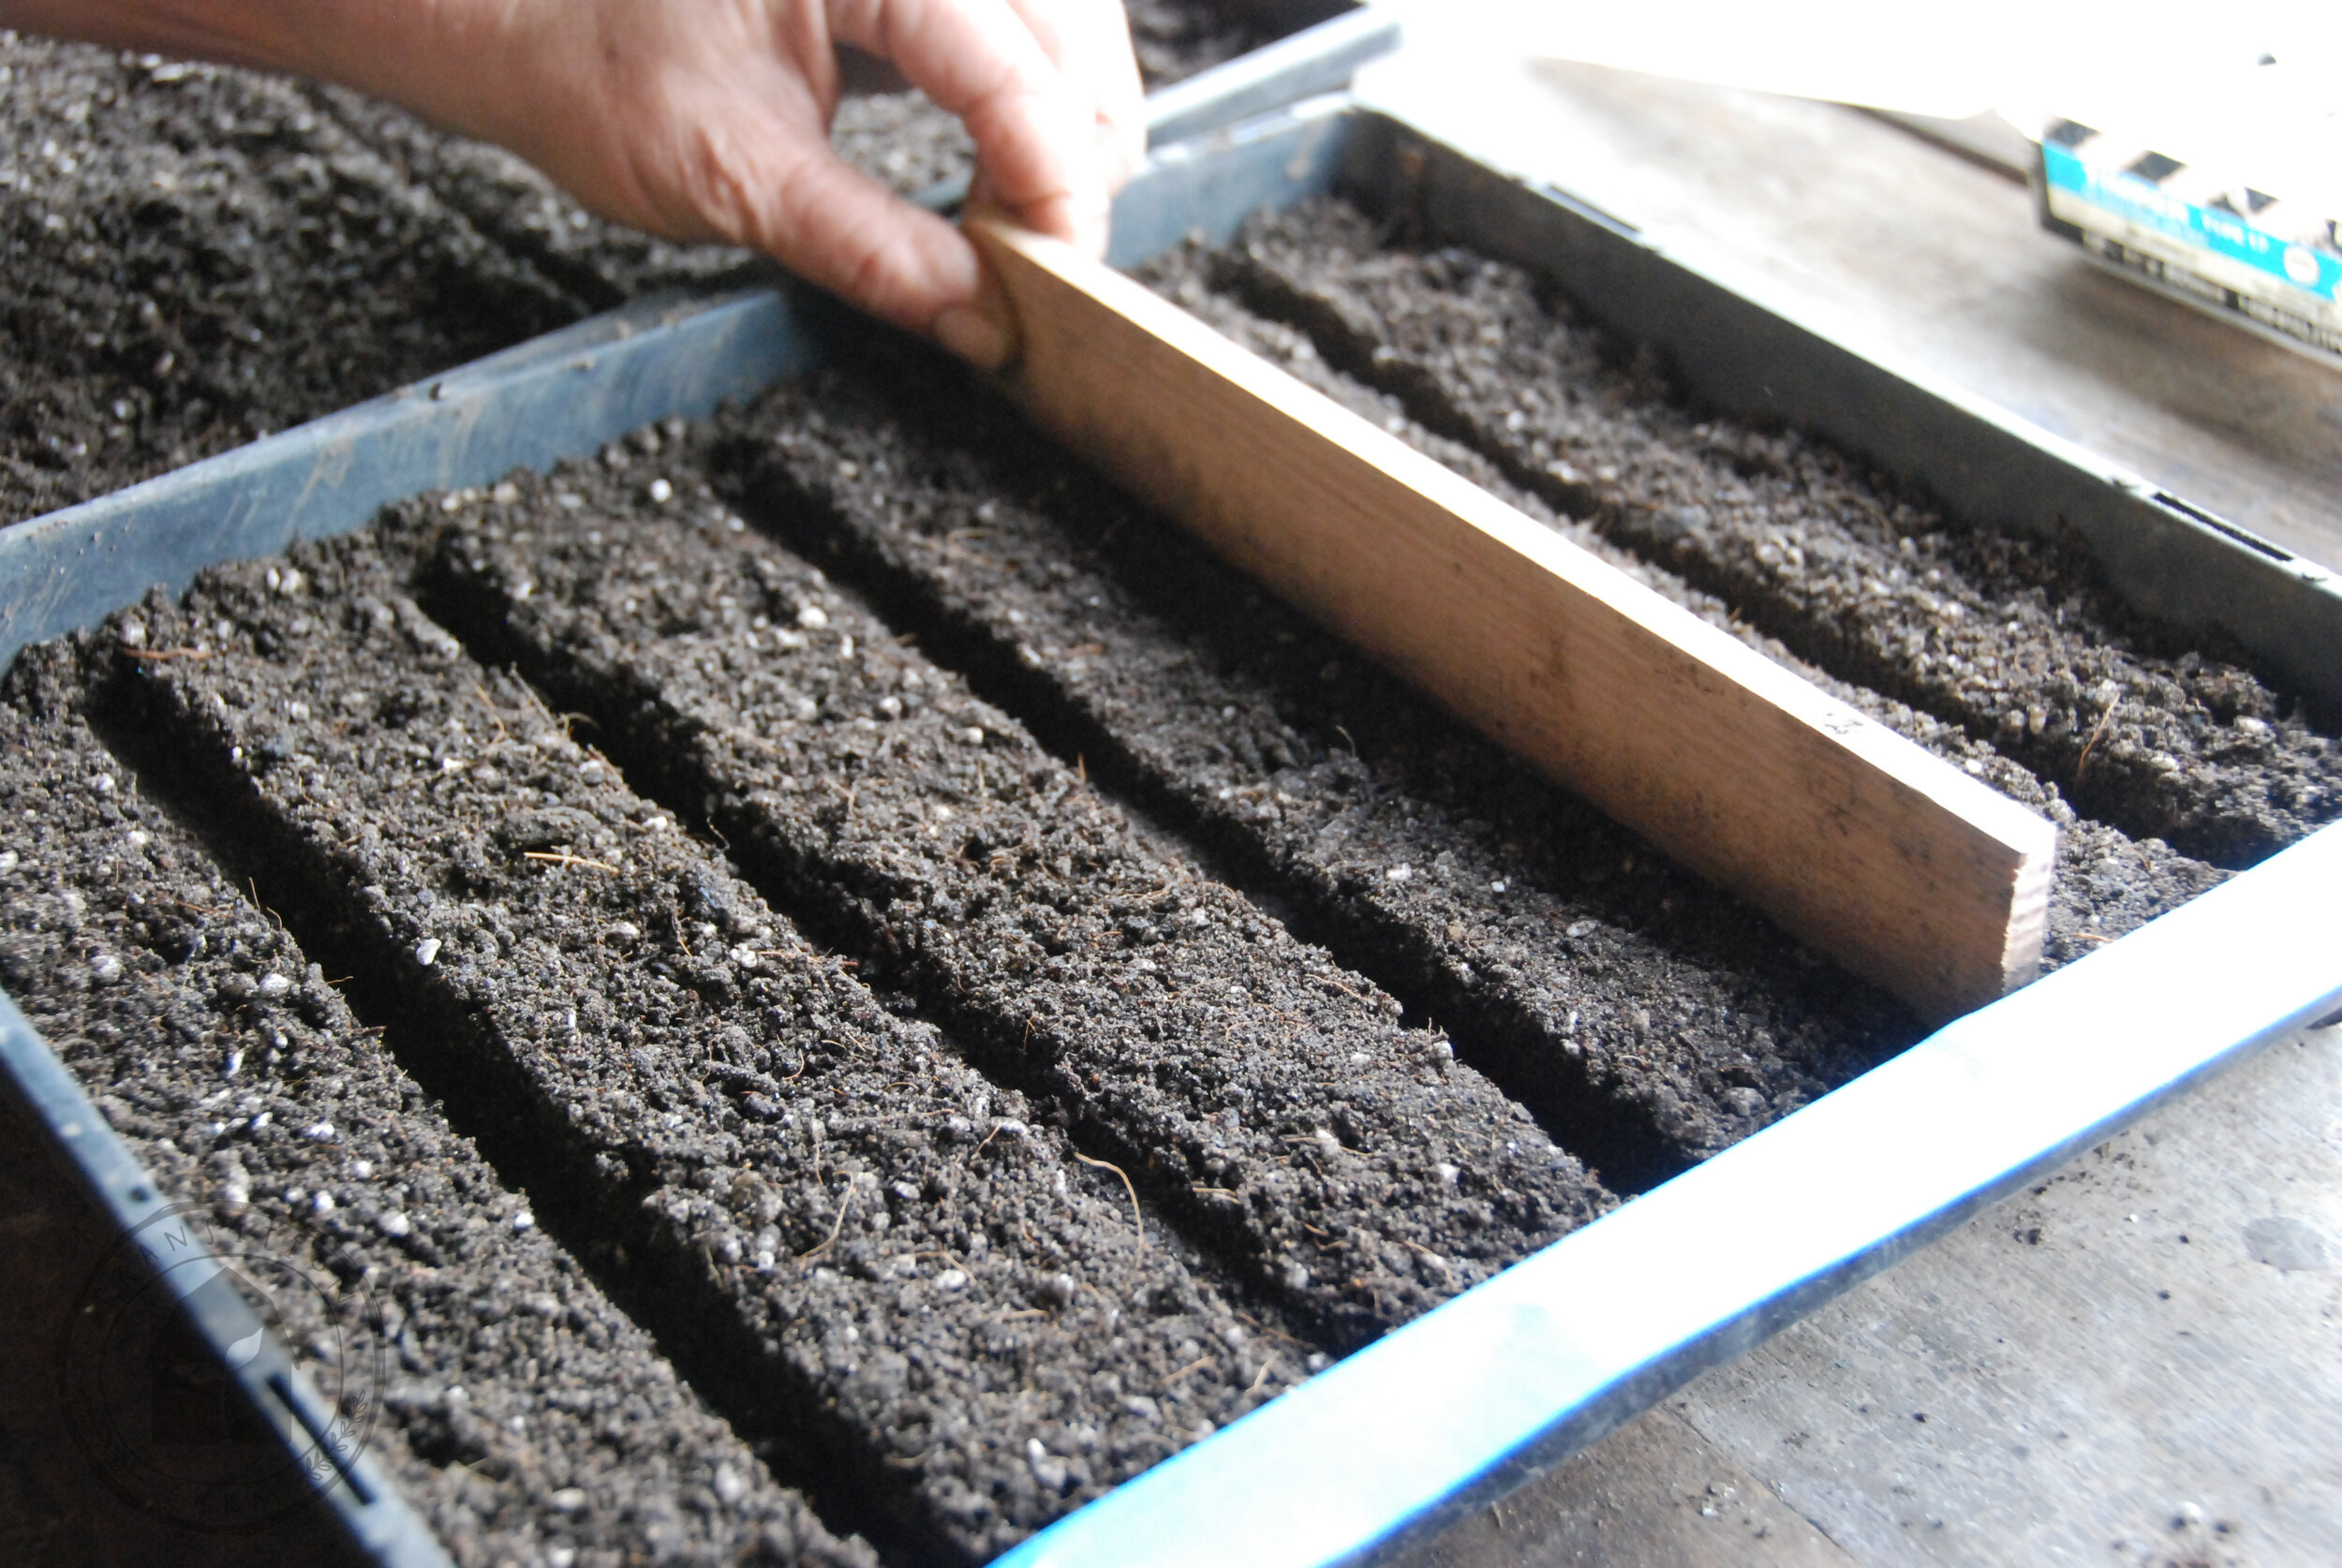
DEPTH - Create the correct depth in each line. We use a piece of wood cut to fit the width of the tray.
LABEL - Label each line. We use masking tape across the length of the tray and write the cultivar name in front on the line
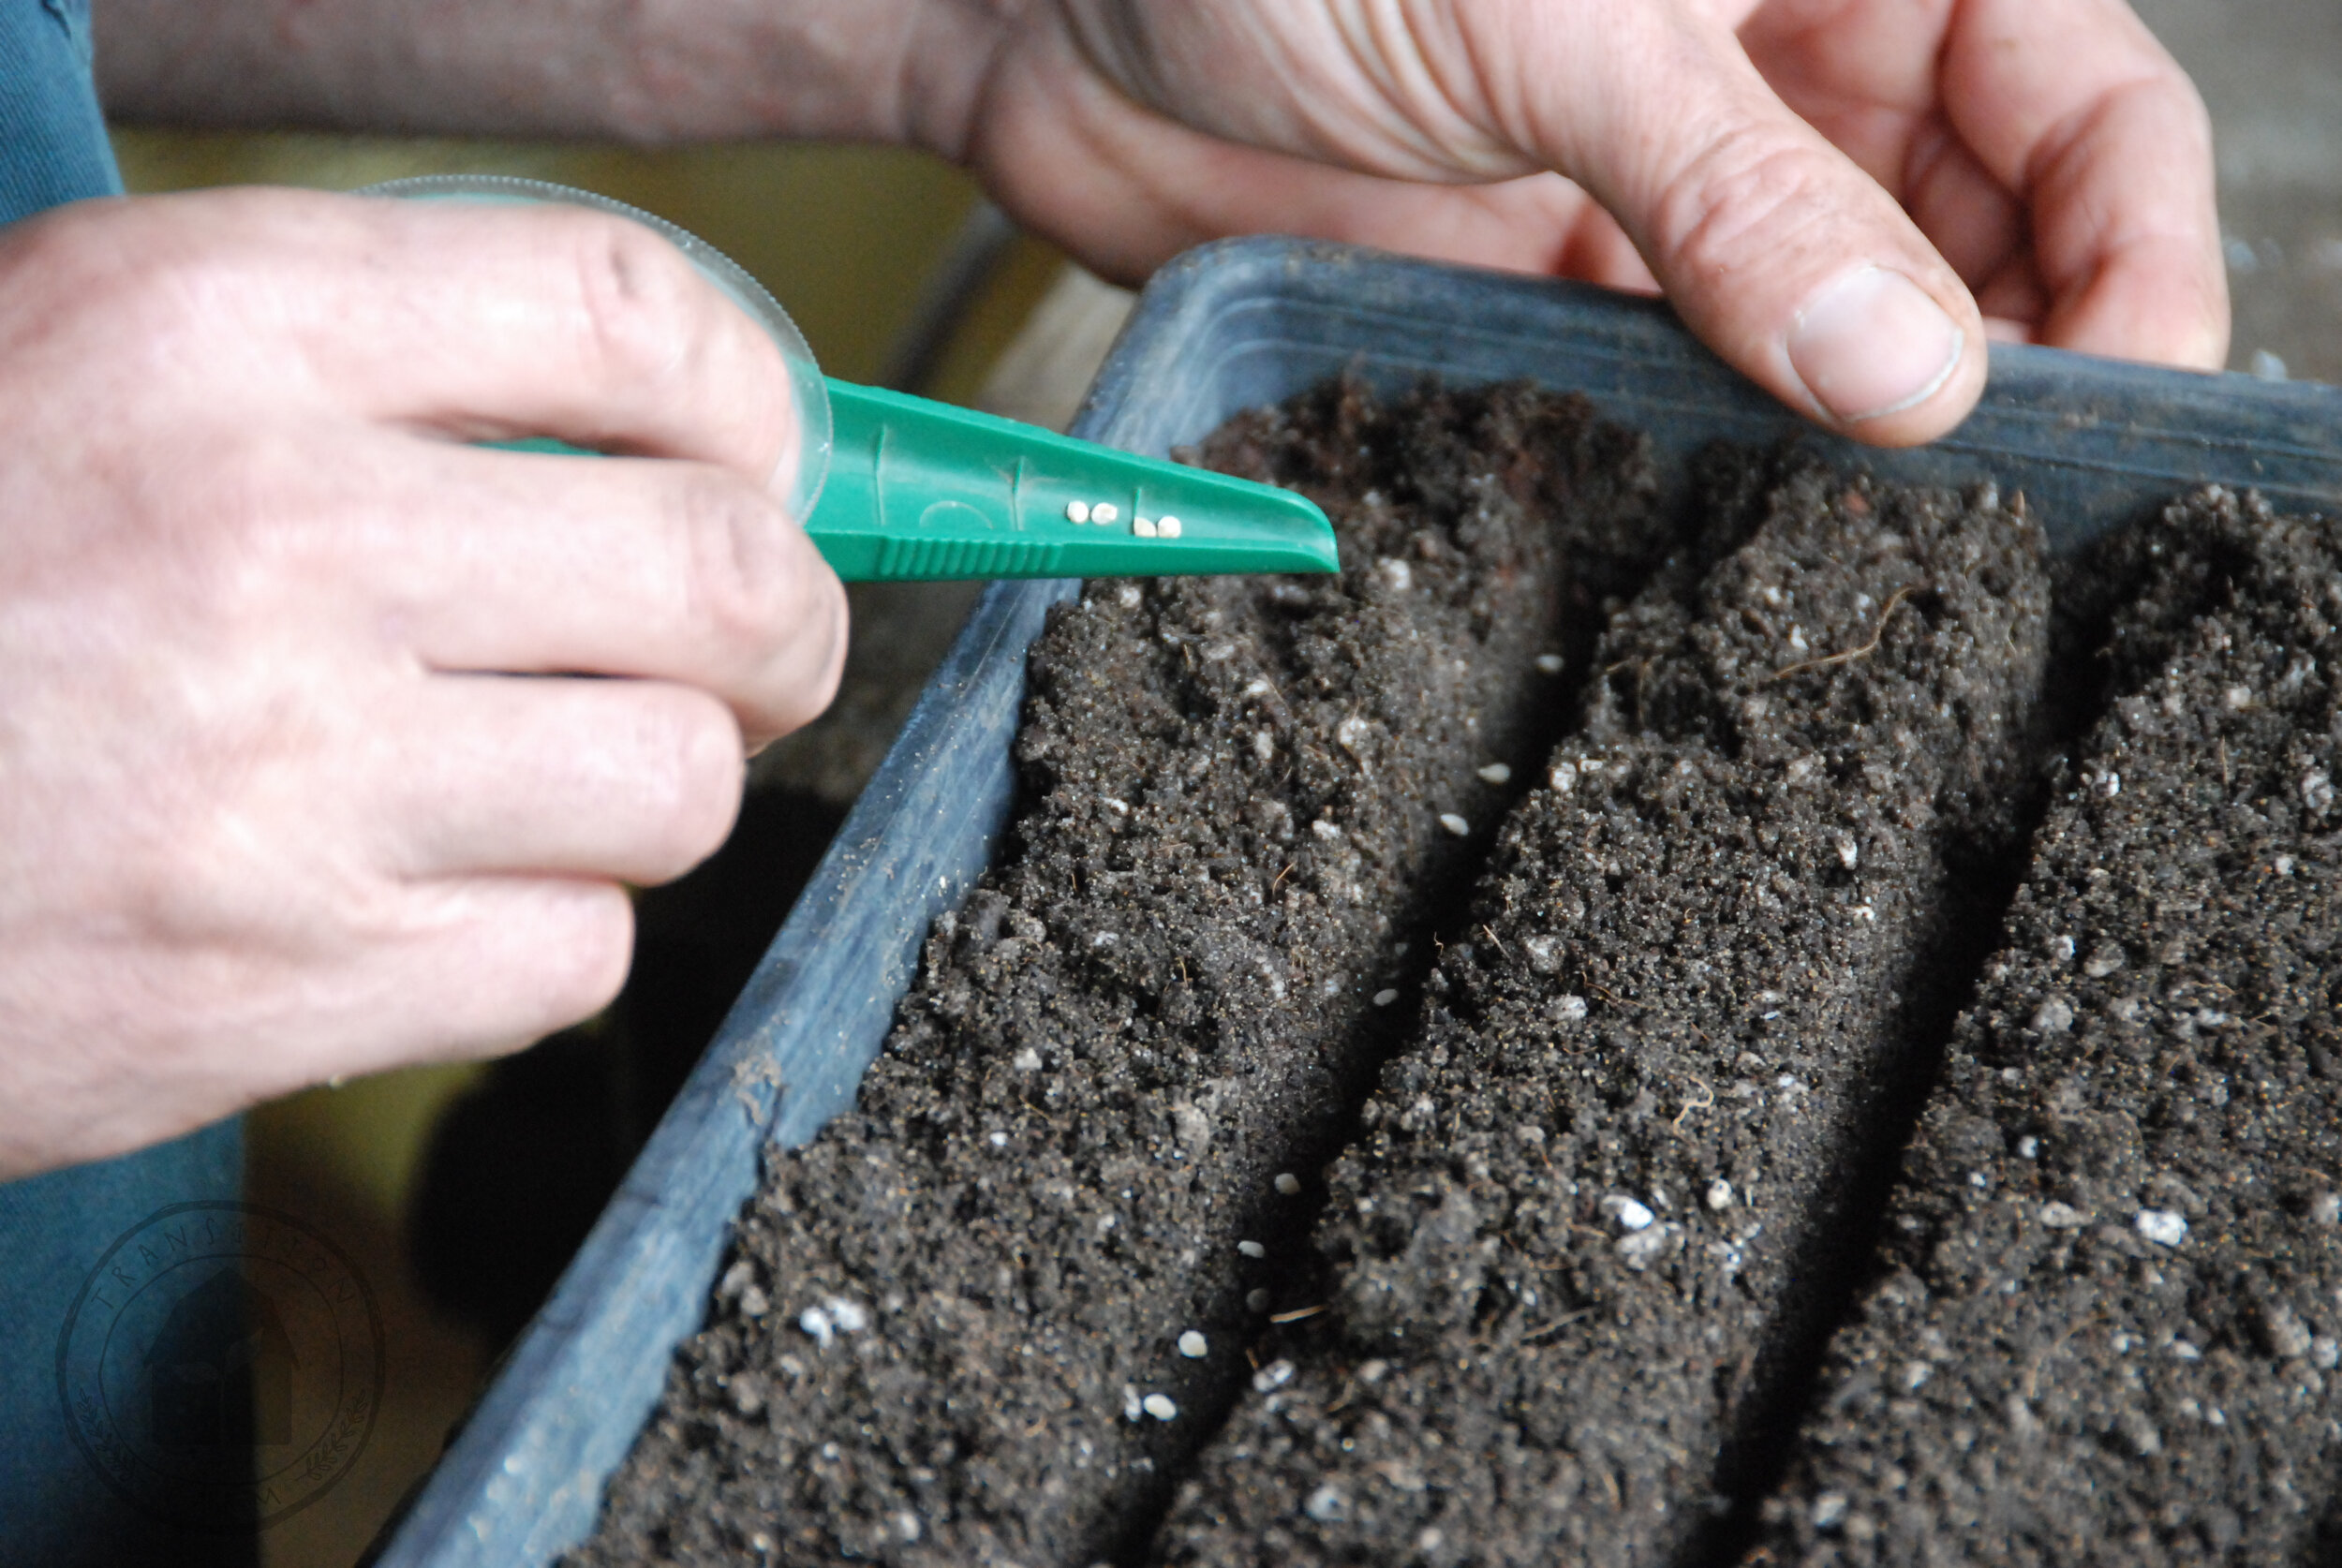
SOW - Sow your seeds! We leave 8- 10mm between each seed. We use a seed singulator (pictured) or gently tap the side of the seed packet to help seeds fall individually and not in a clump.
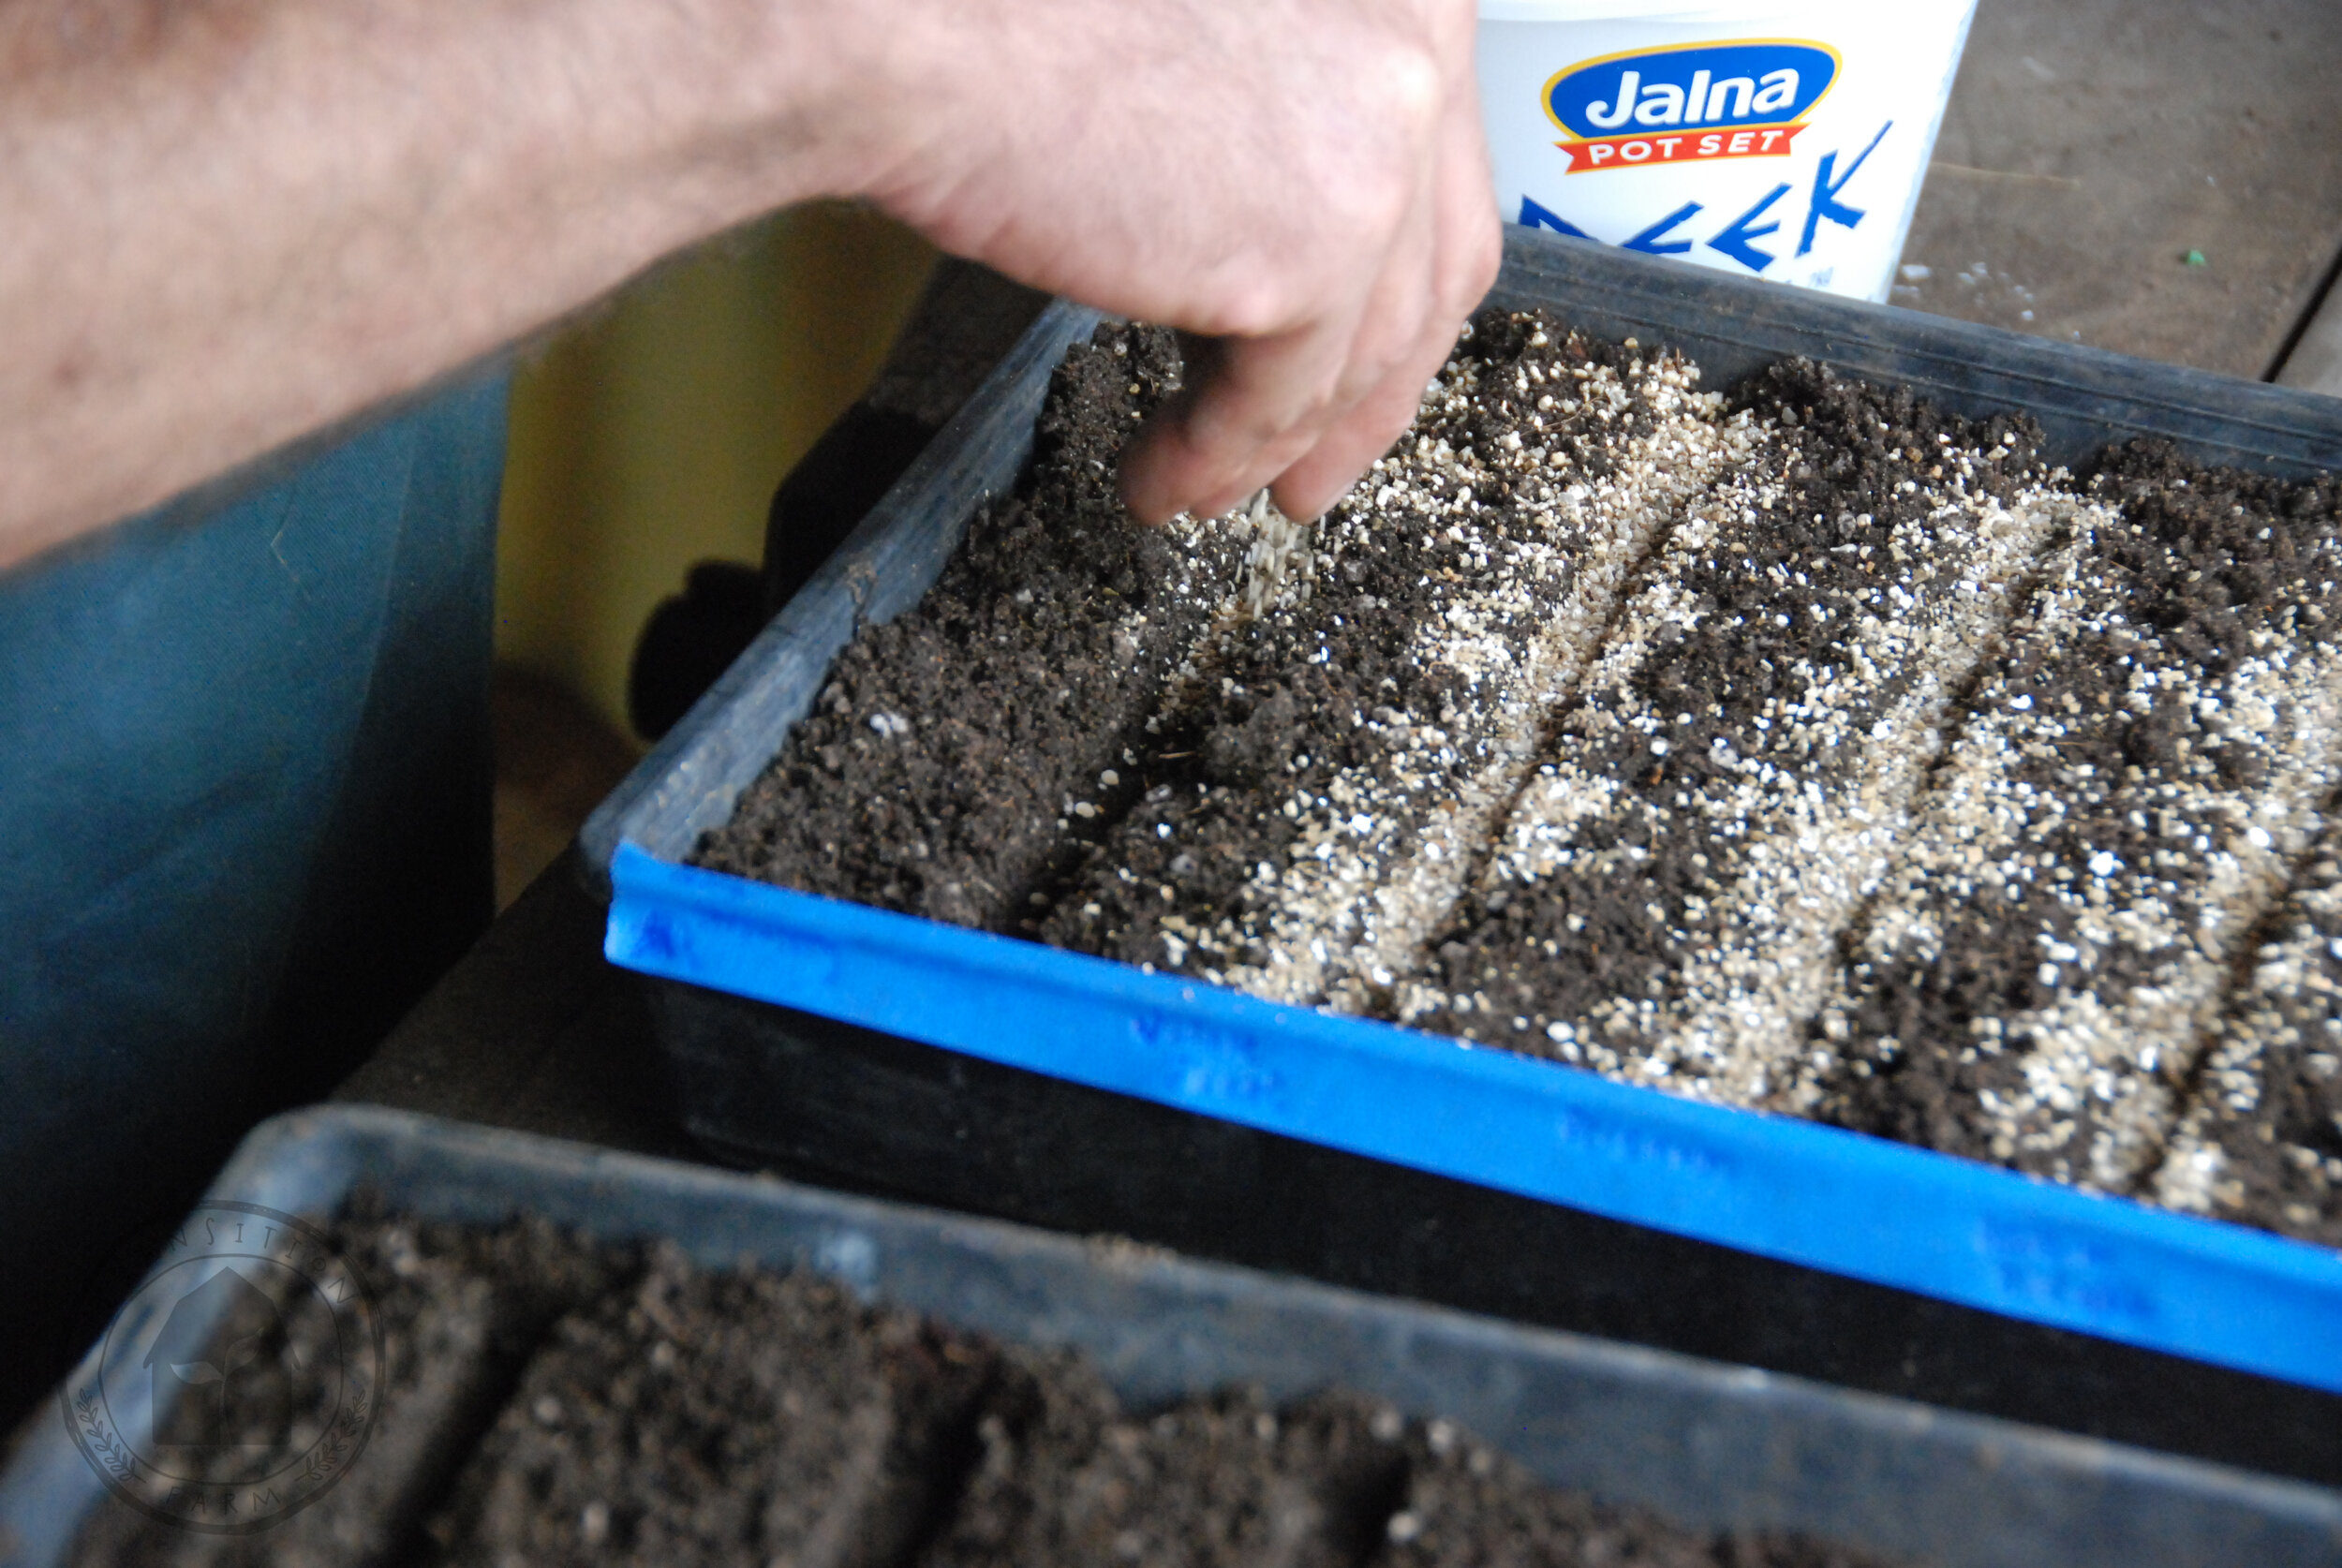
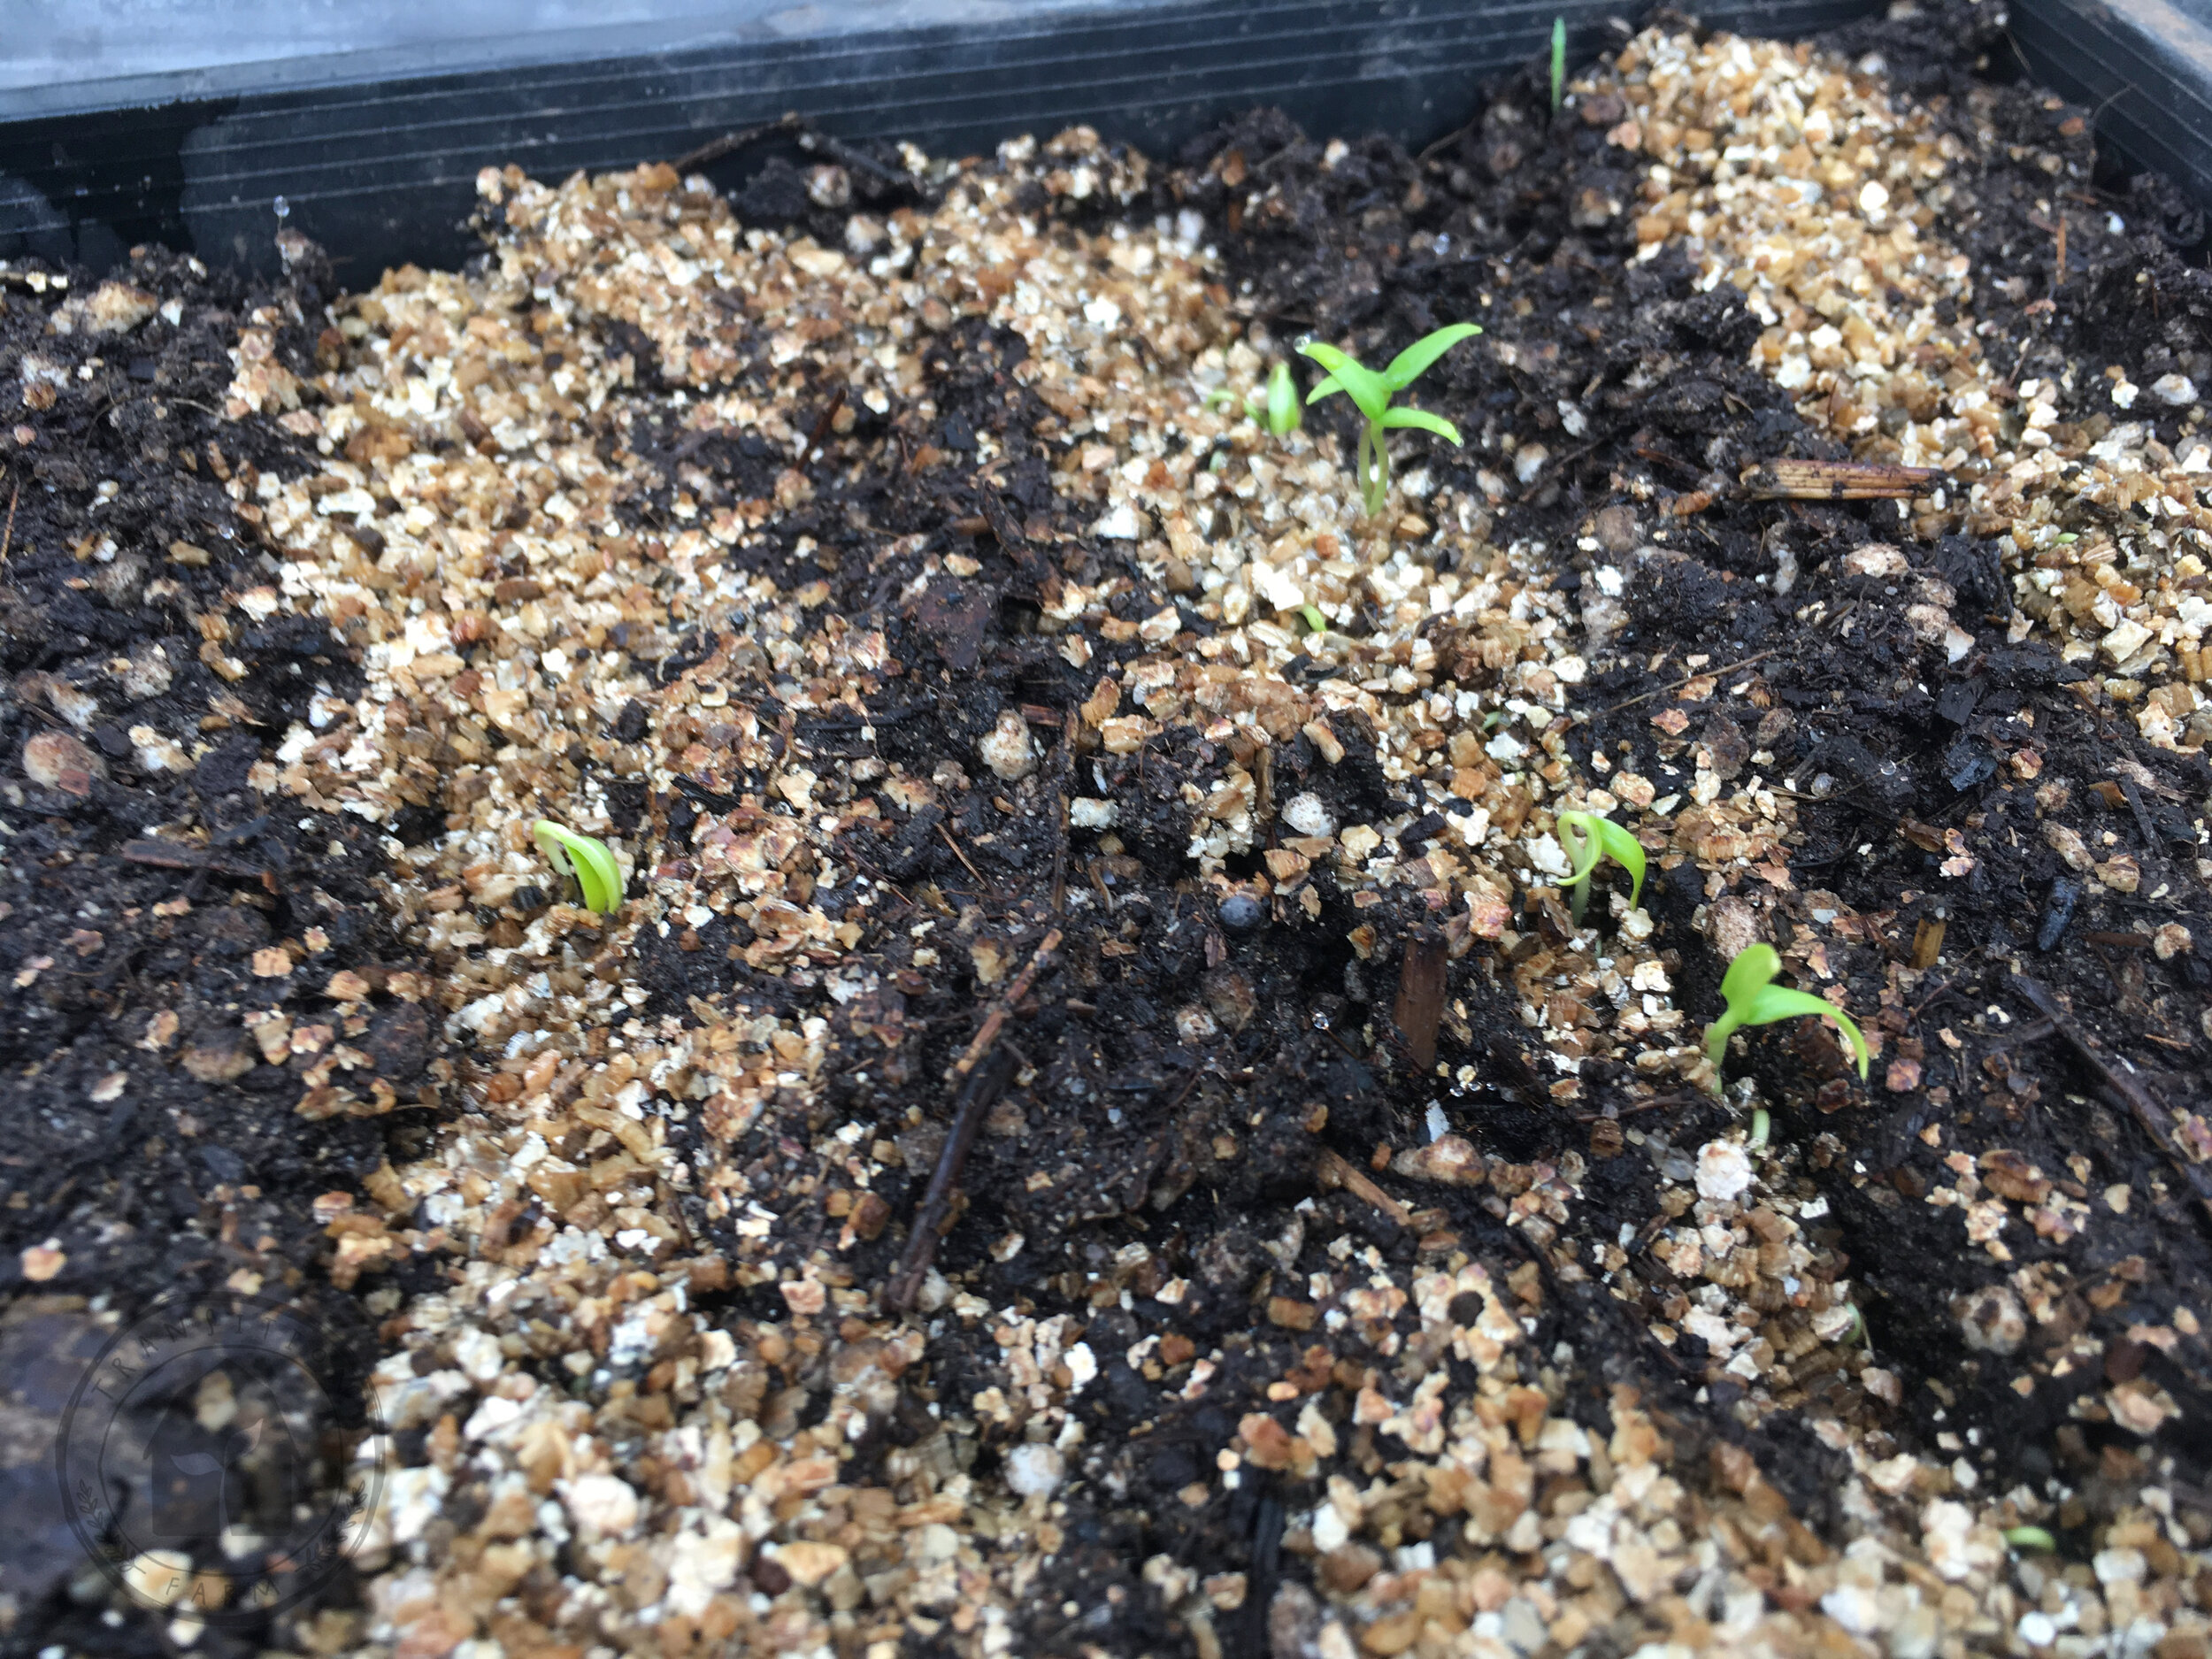
COVER - Cover Seeds With Vermiculite. As we have created a trench at the correct sowing depth for the seed, we simply cover to the height of the soil.
WATER - Gently water seeds in. Use a hose attachment that allows a gentle shower…(think you are washing a toddler after the beach!!)
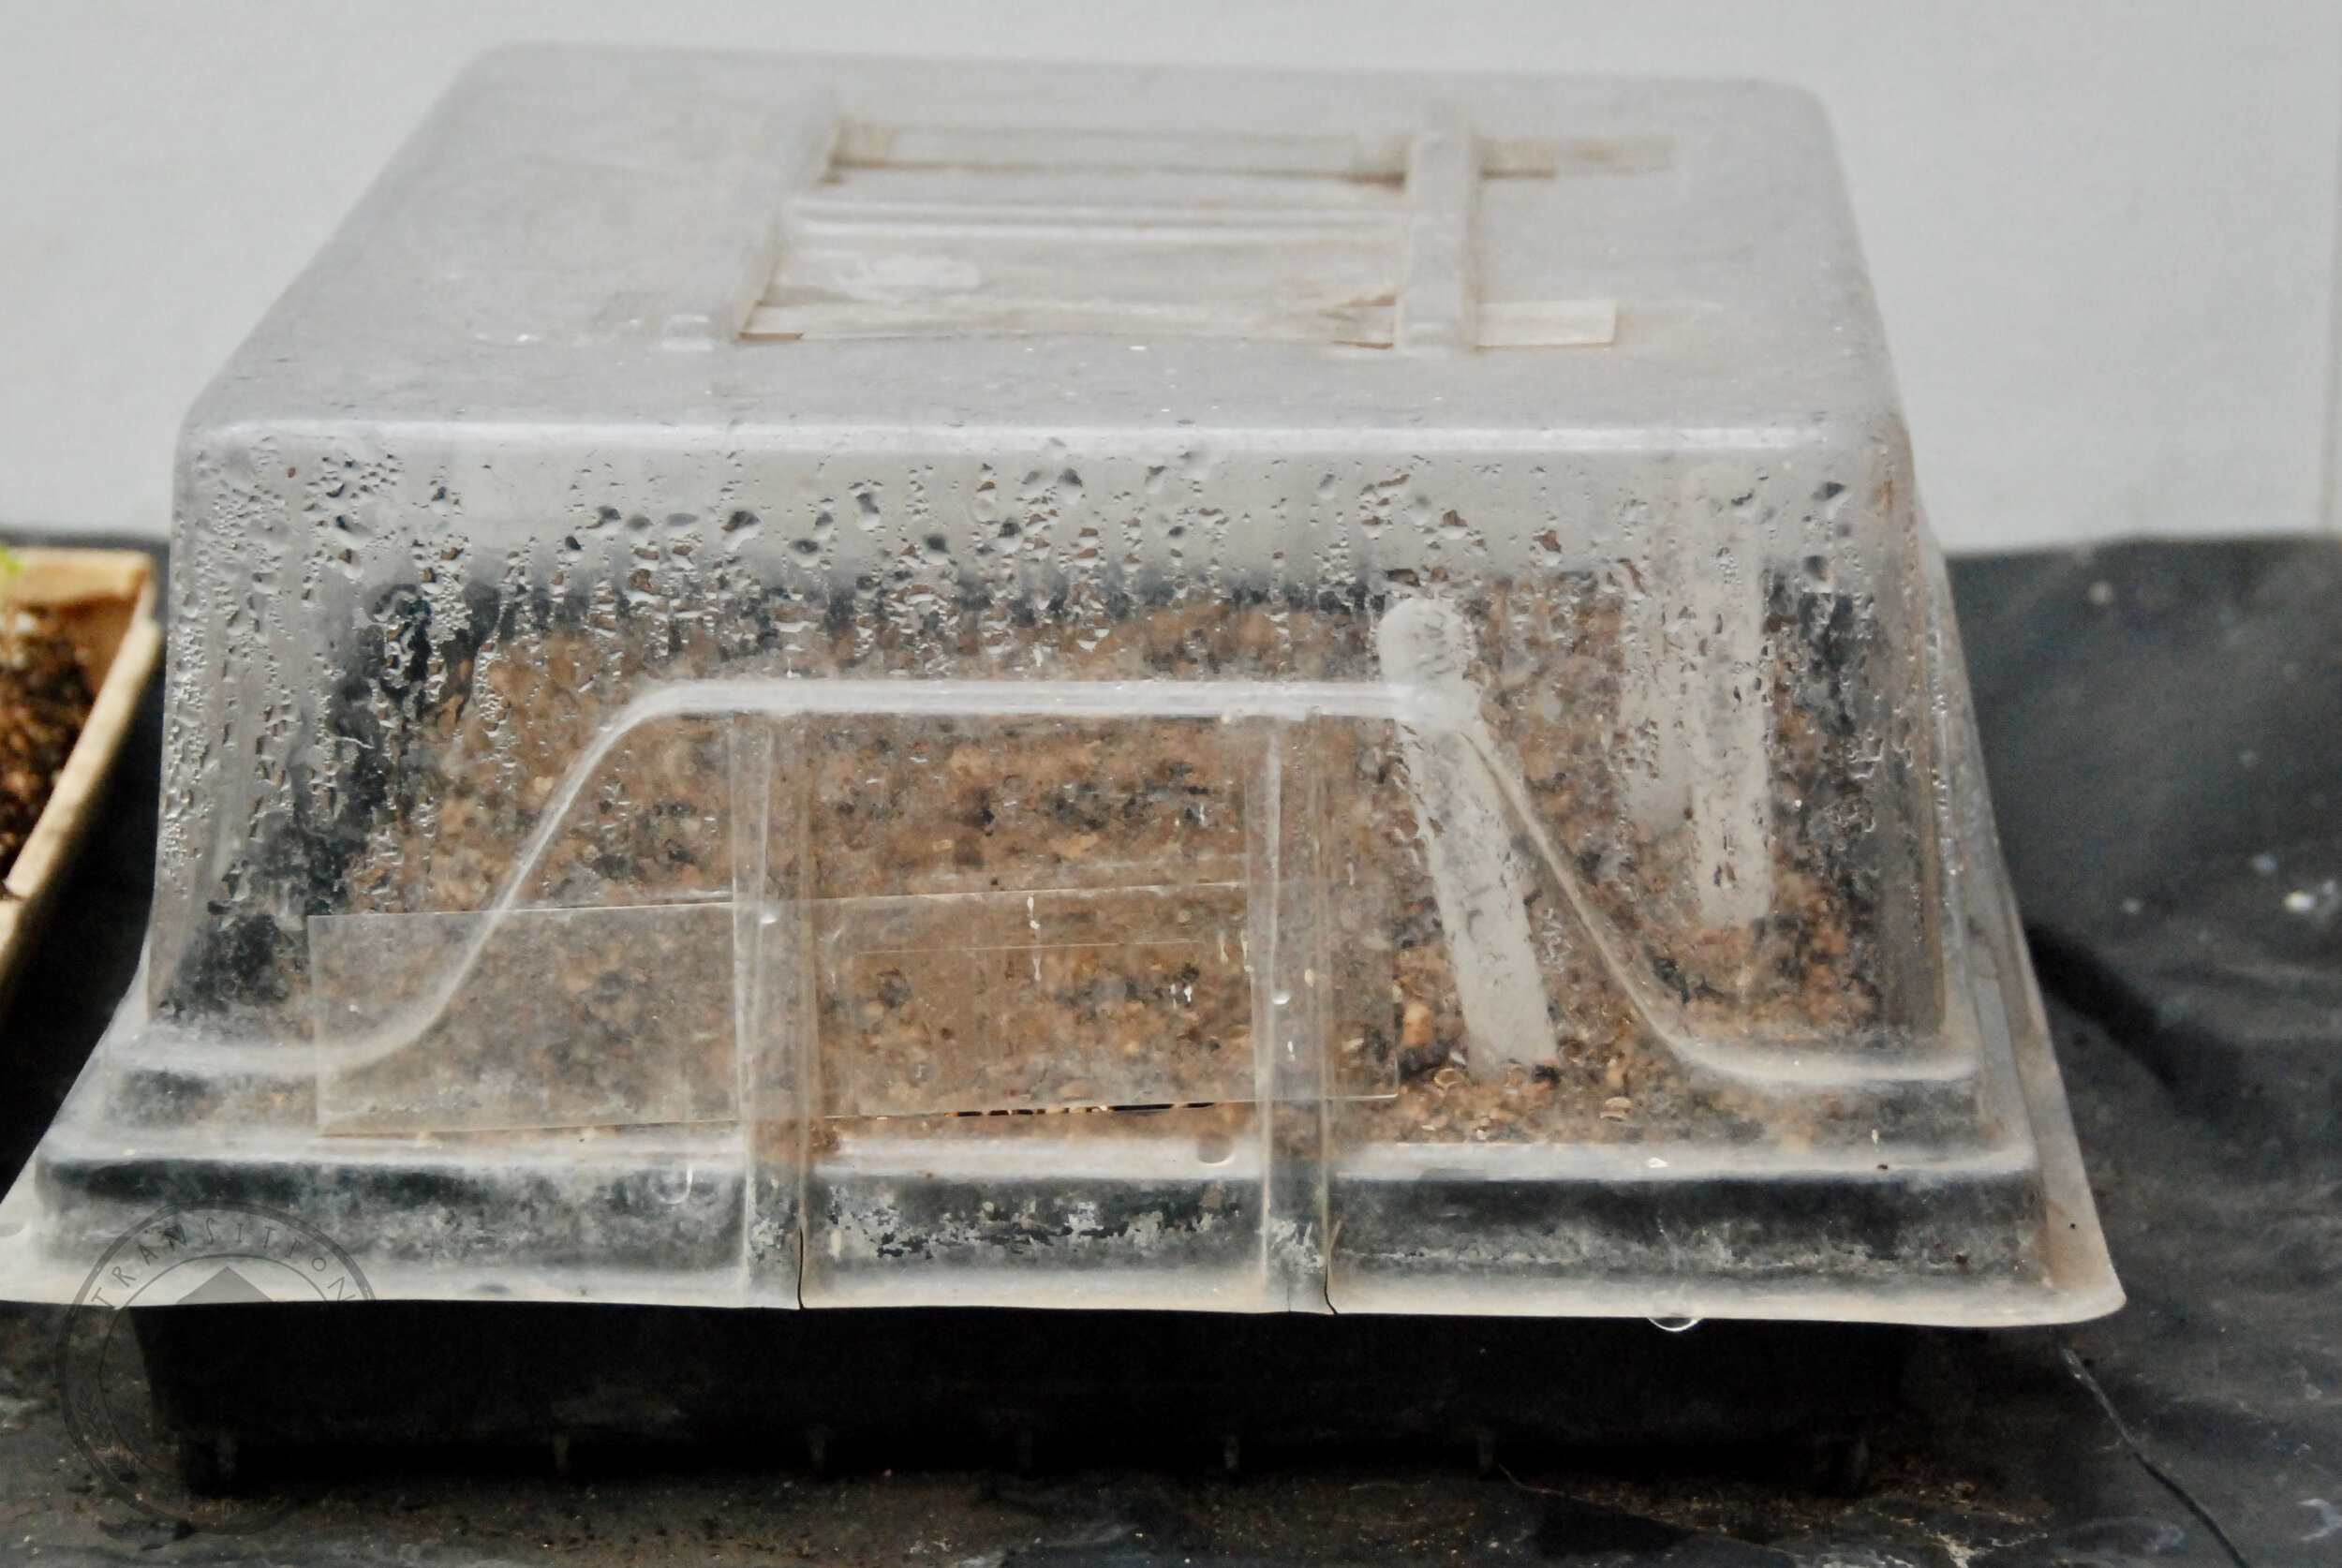
HUMIDITY - Cover with plastic dome. This maintains a humid environment and a more constant temperature that seeds love for germination.
WARMTH - Check packet for ideal germination temperature. You may be able to achieve this above your refrigerator. Check at different times in the day and night to ensure its not too hot nor too cold.
AIR CIRCULATION - Once seeds have germinated, begin opening the vents on the plastic dome. Begin to toughen your seedlings a bit more everyday until you remove the dome completely!
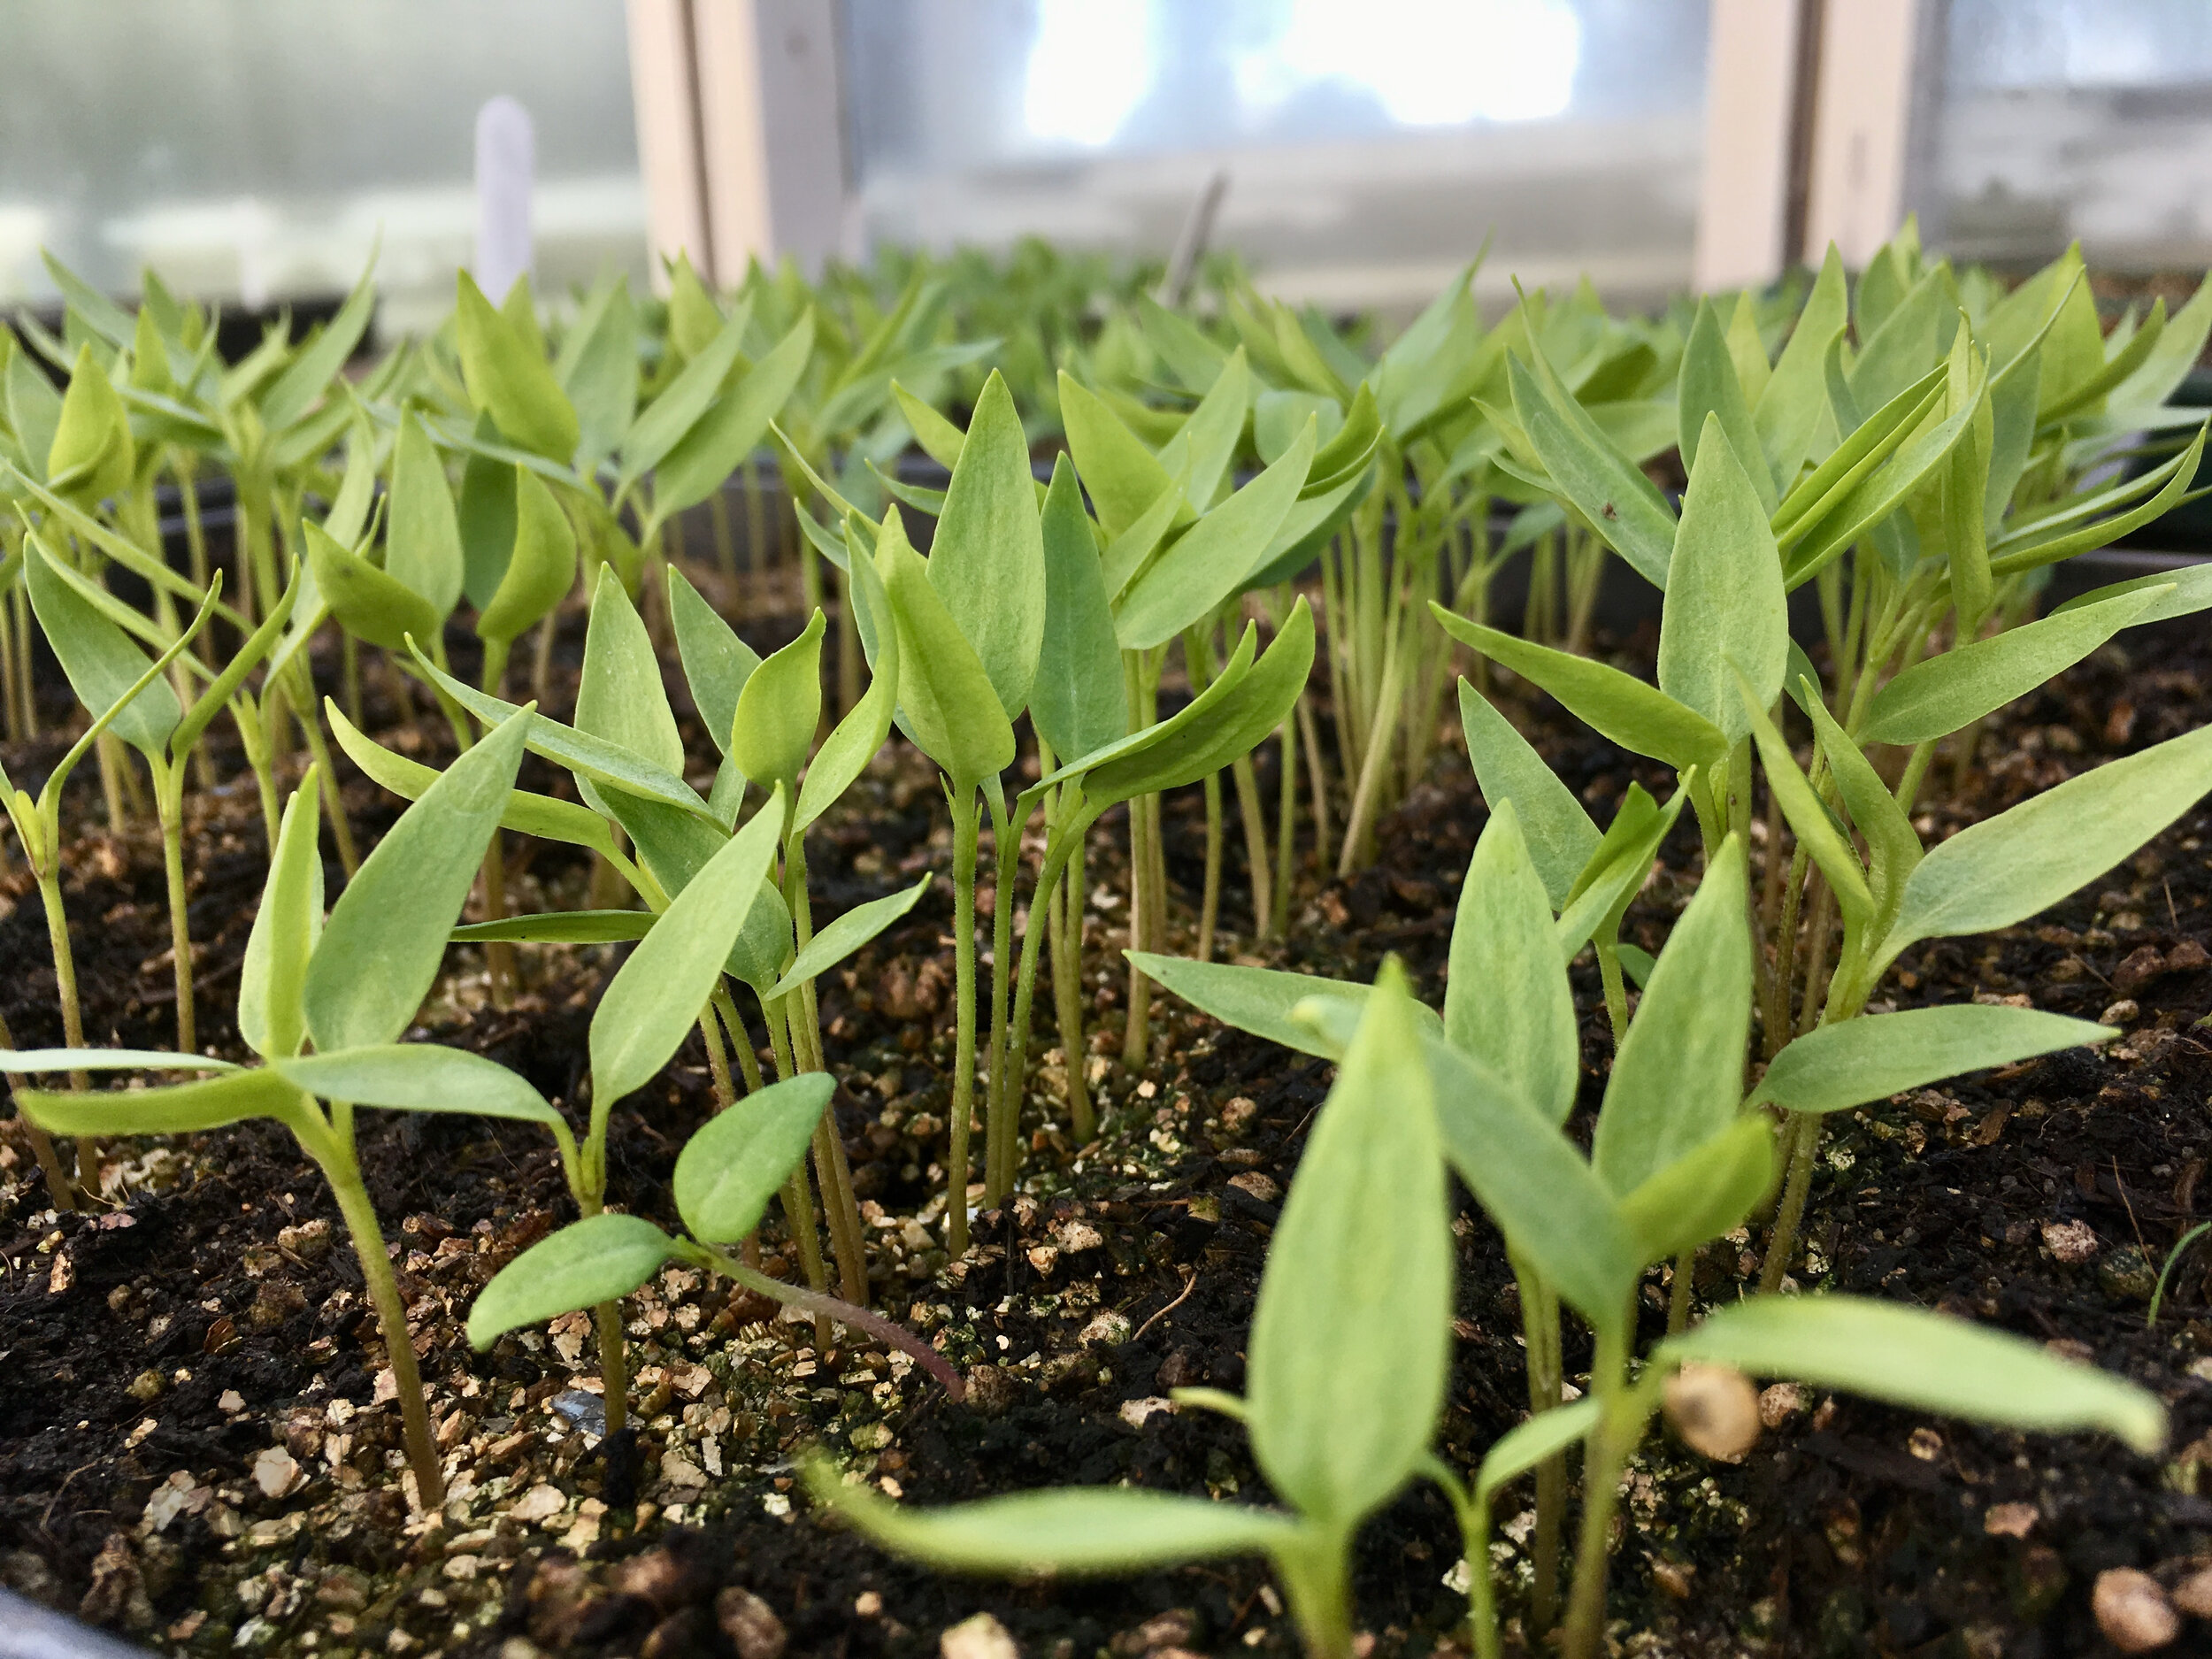
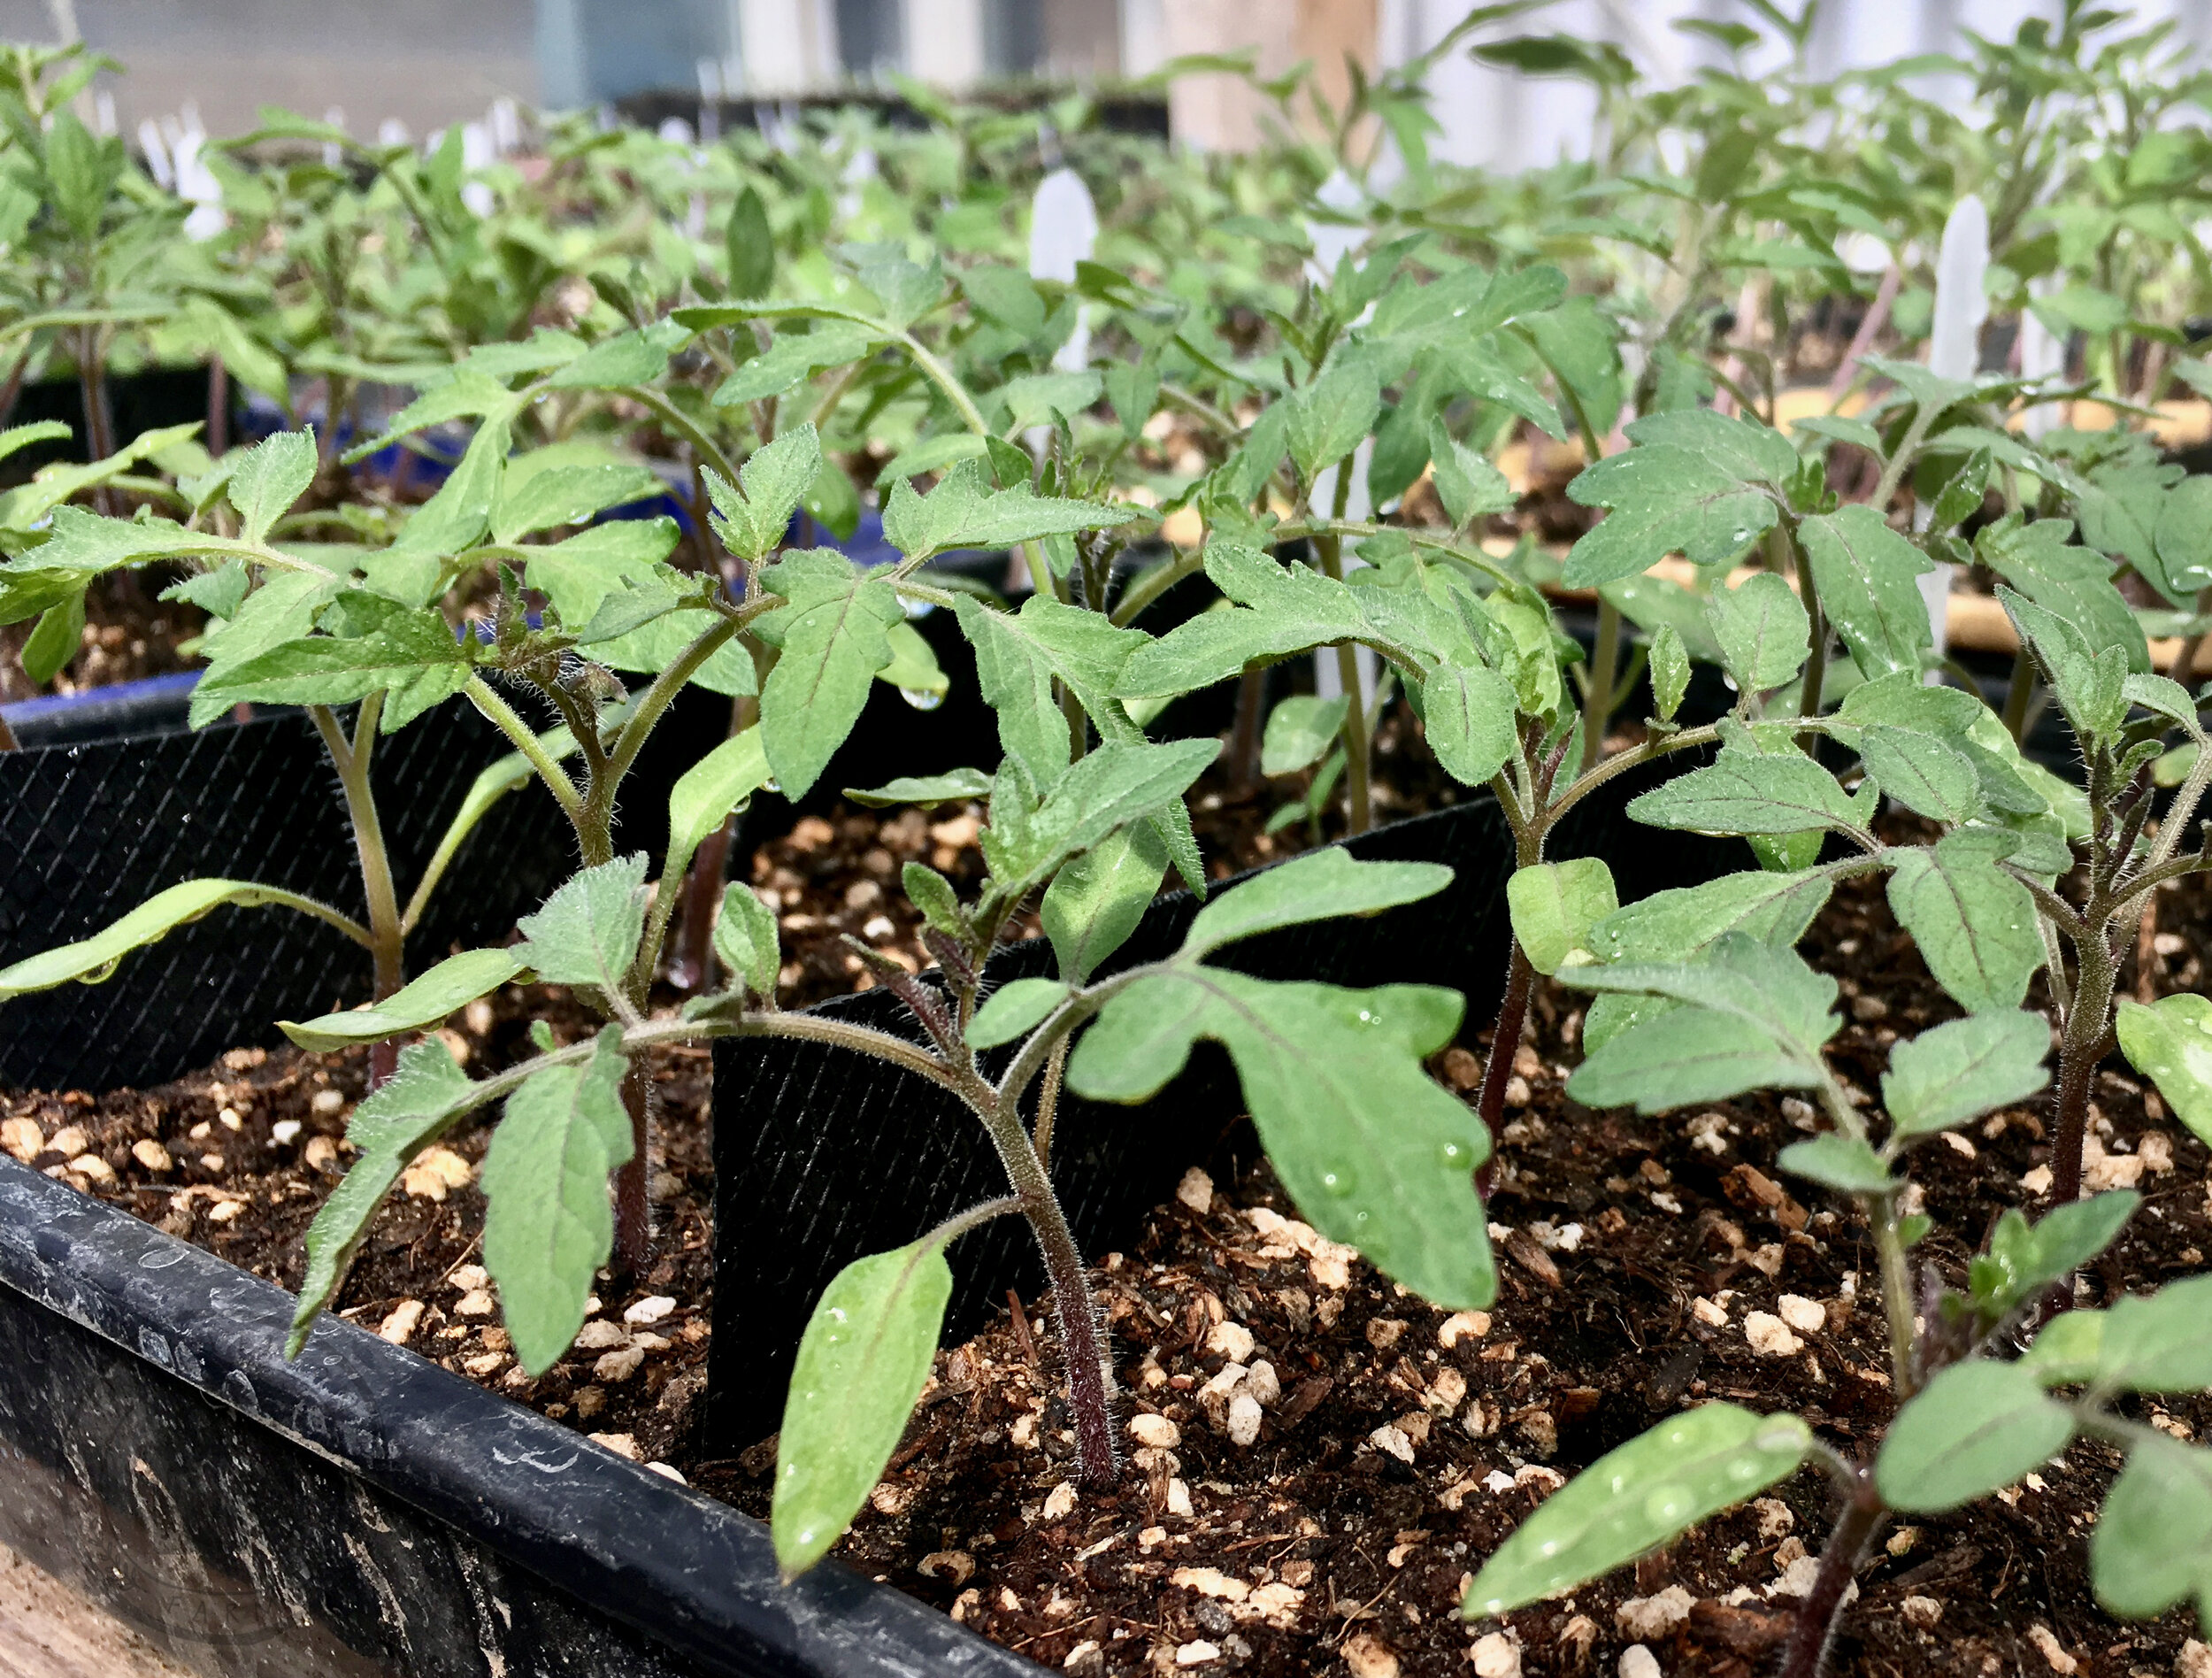
OBSERVE - Watch for TRUE LEAVES to form after the Cotyledon or seed leaves. The true leaves look like the leaves we usually associate with the plant.
PREPARE INDIVIDUAL CELLS - Once there are at Least TWO TRUE LEAVES, prepare to prick out your seedlings and transplant them into their own cells.
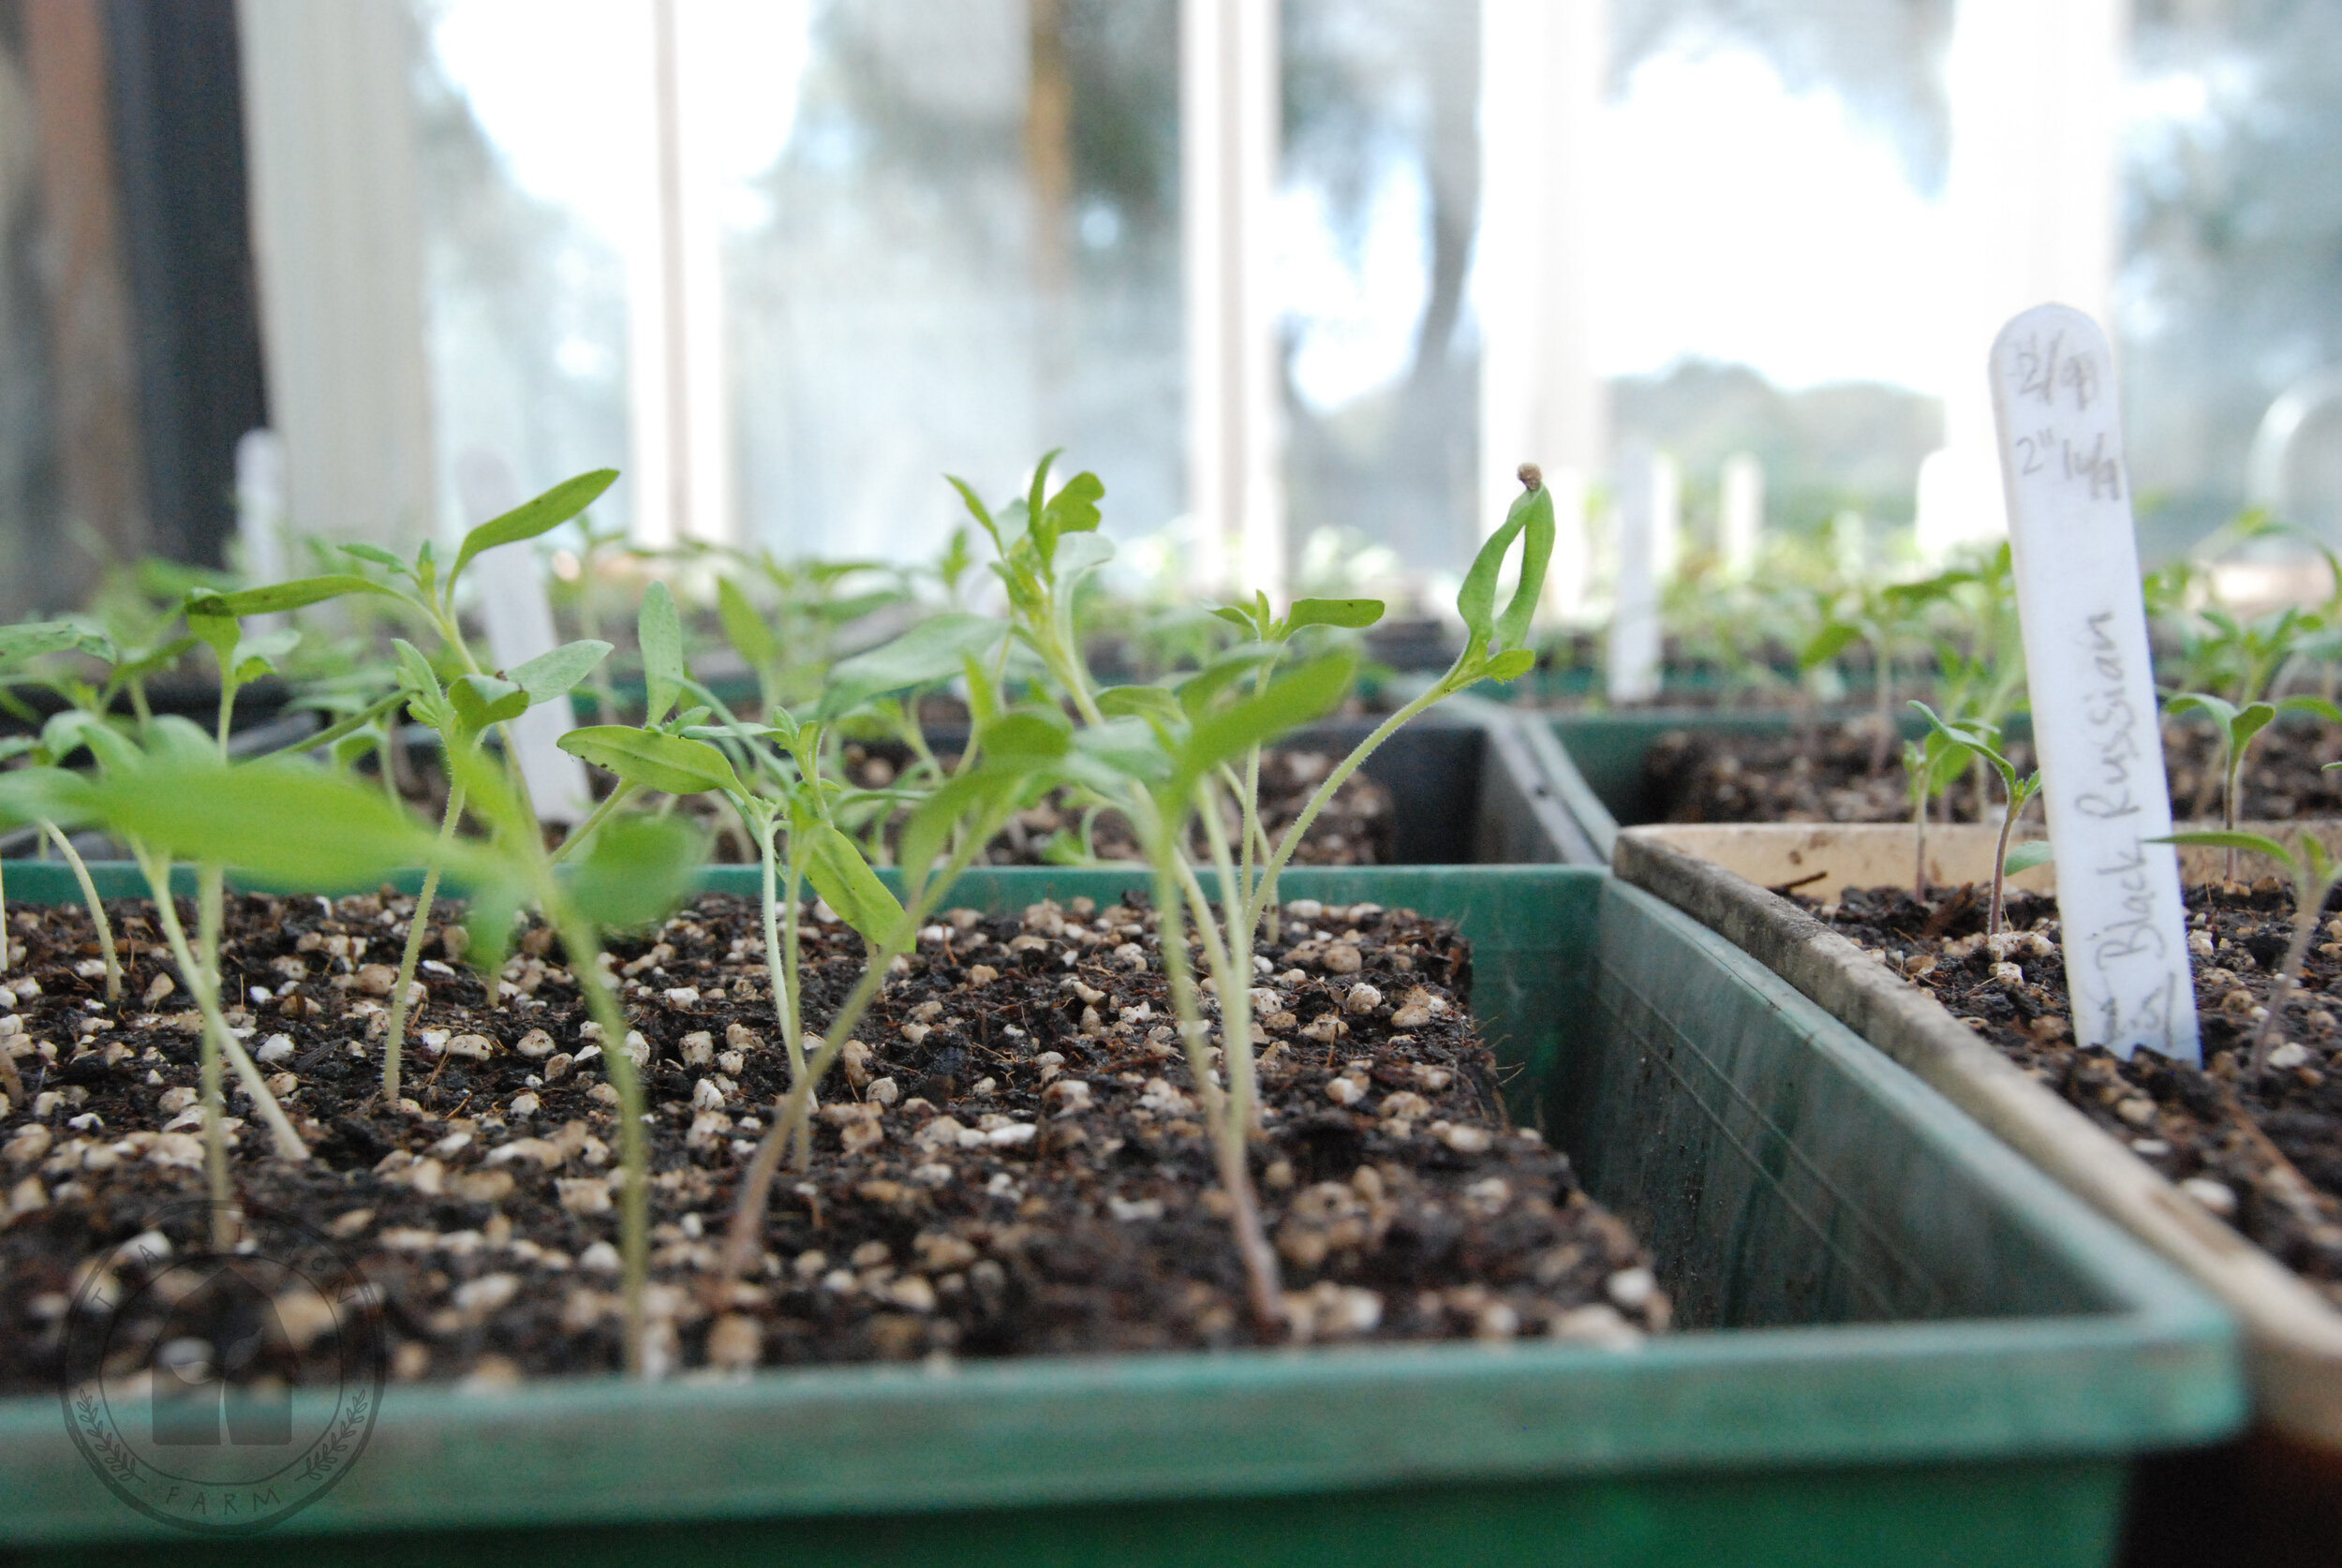
USE TAGS TO IDENTIFY CULTIVARS - All seedlings of a family look the same - IE All the tomato varieties look alike! So before you begin pricking out of your labeled lines, write your tags so that everything will be clearly labeled. We include dates as well to help us chart our seedlings, information that helps us in coming seasons.
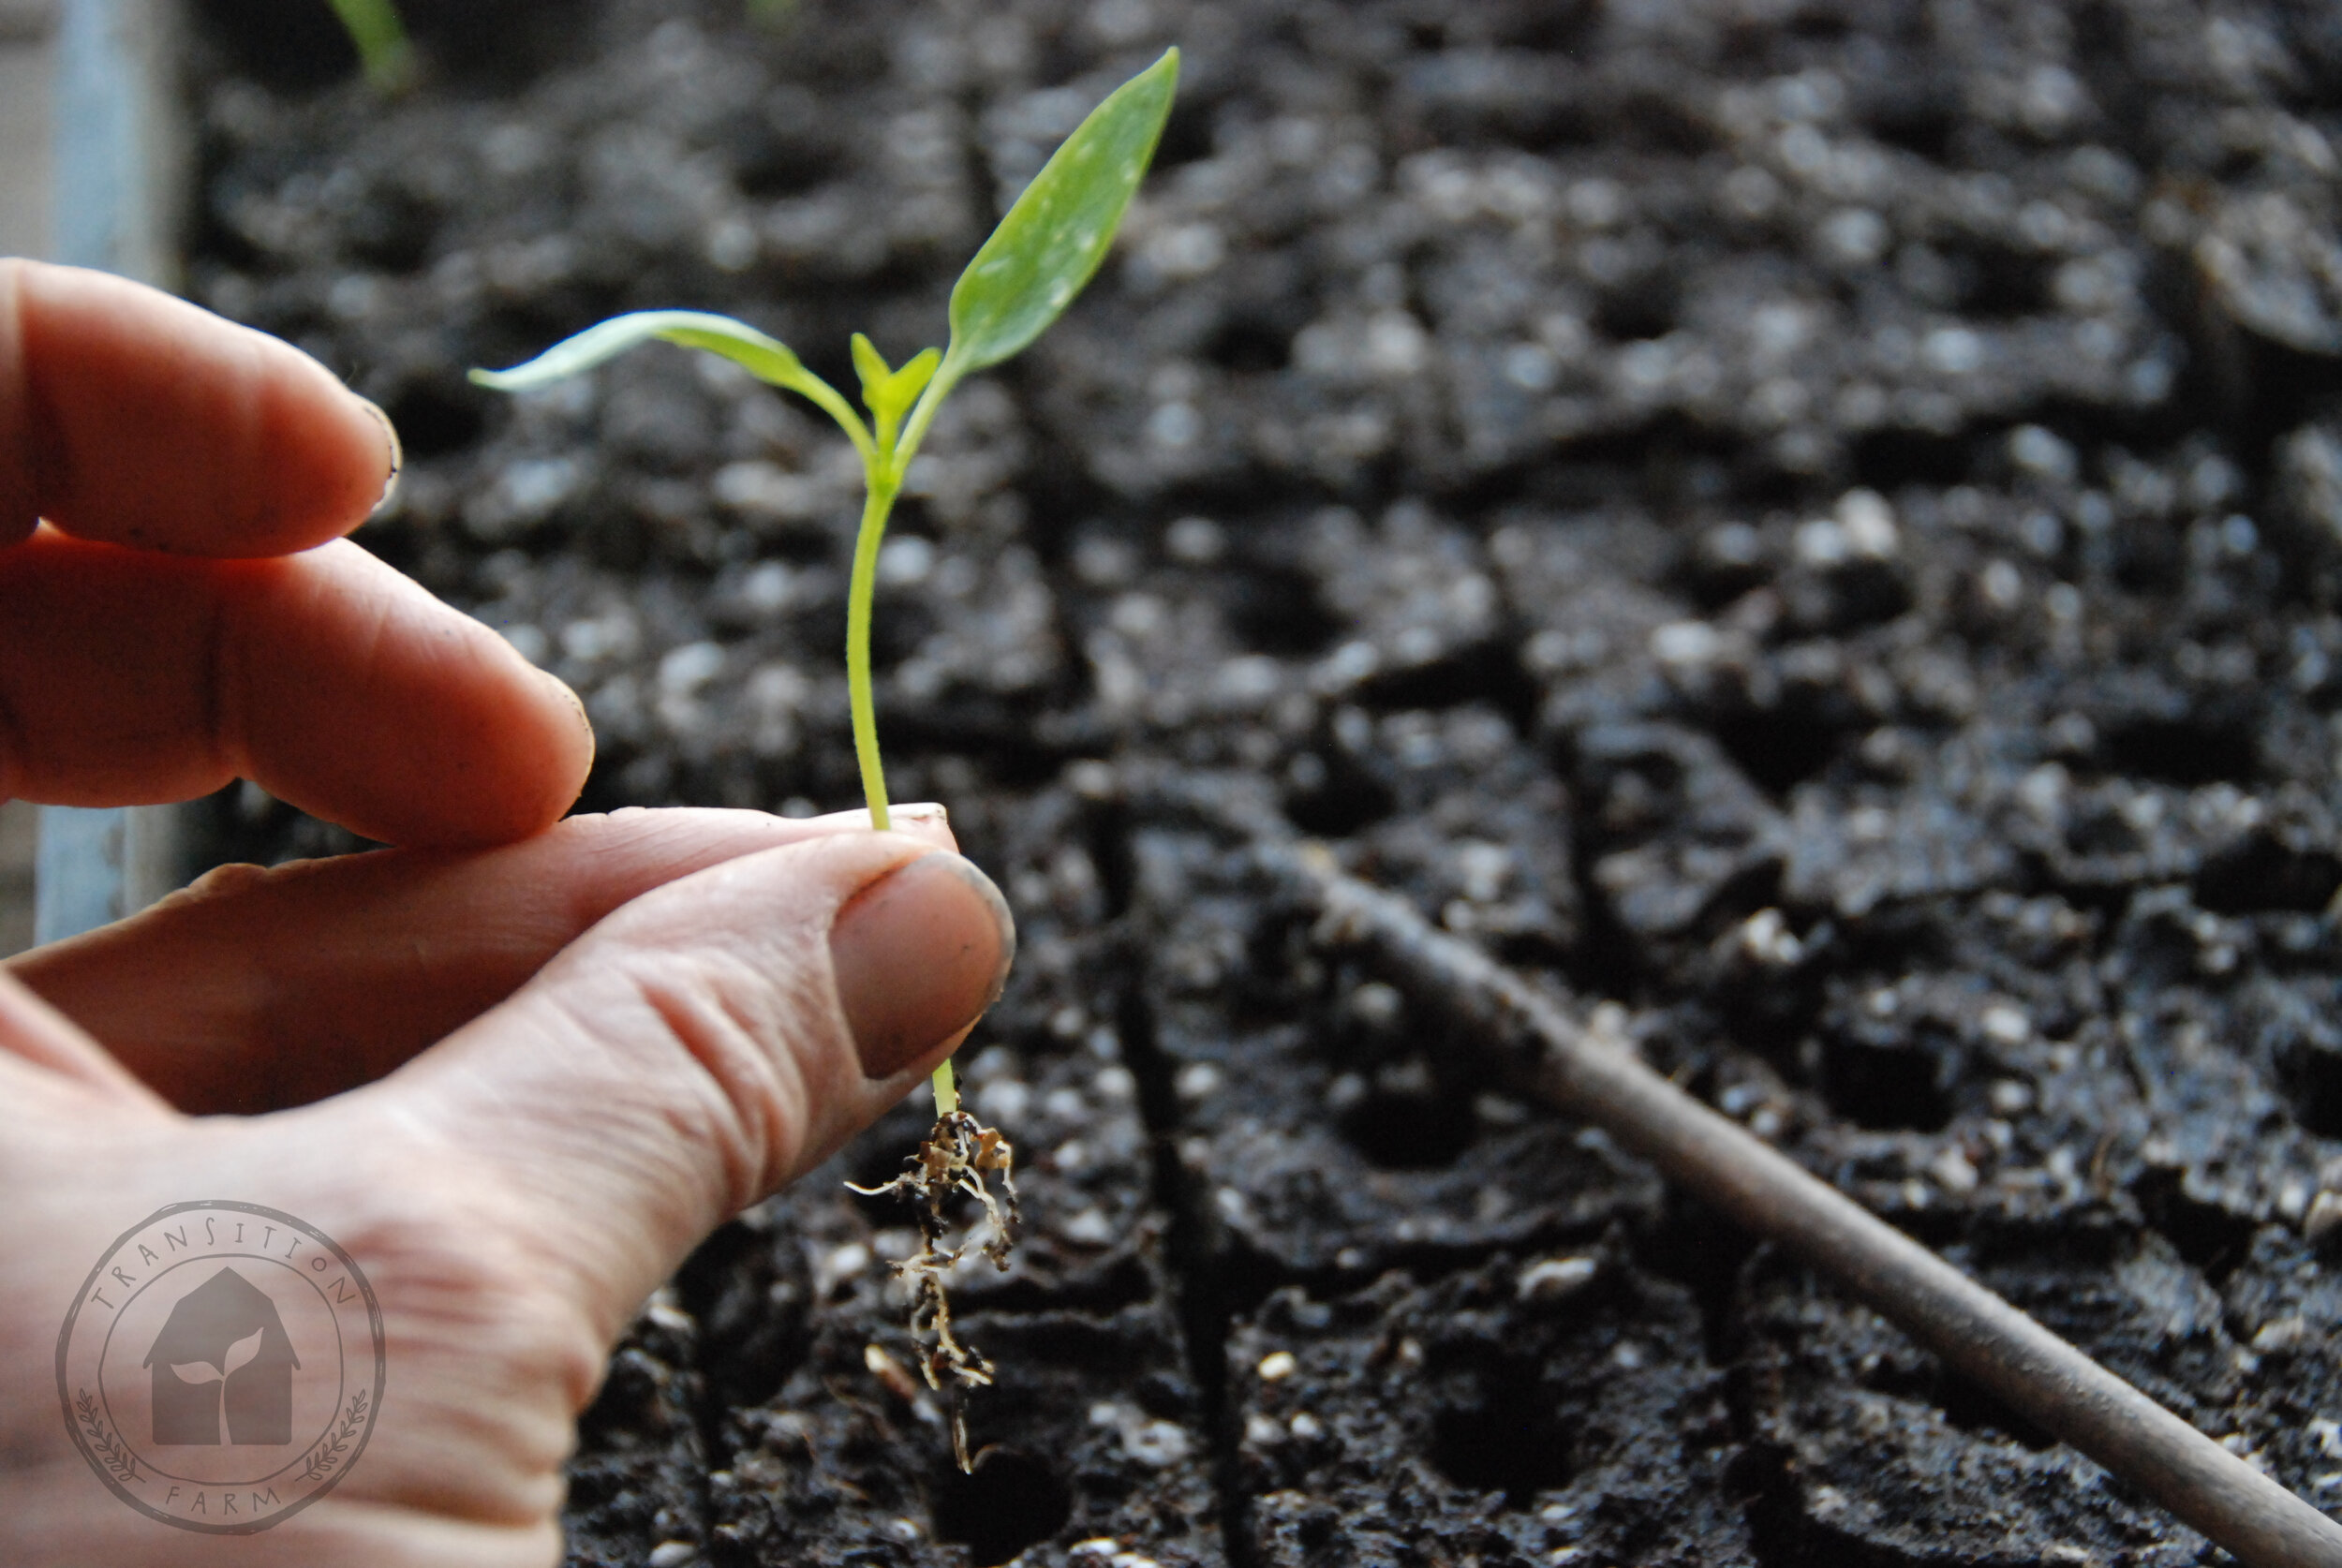
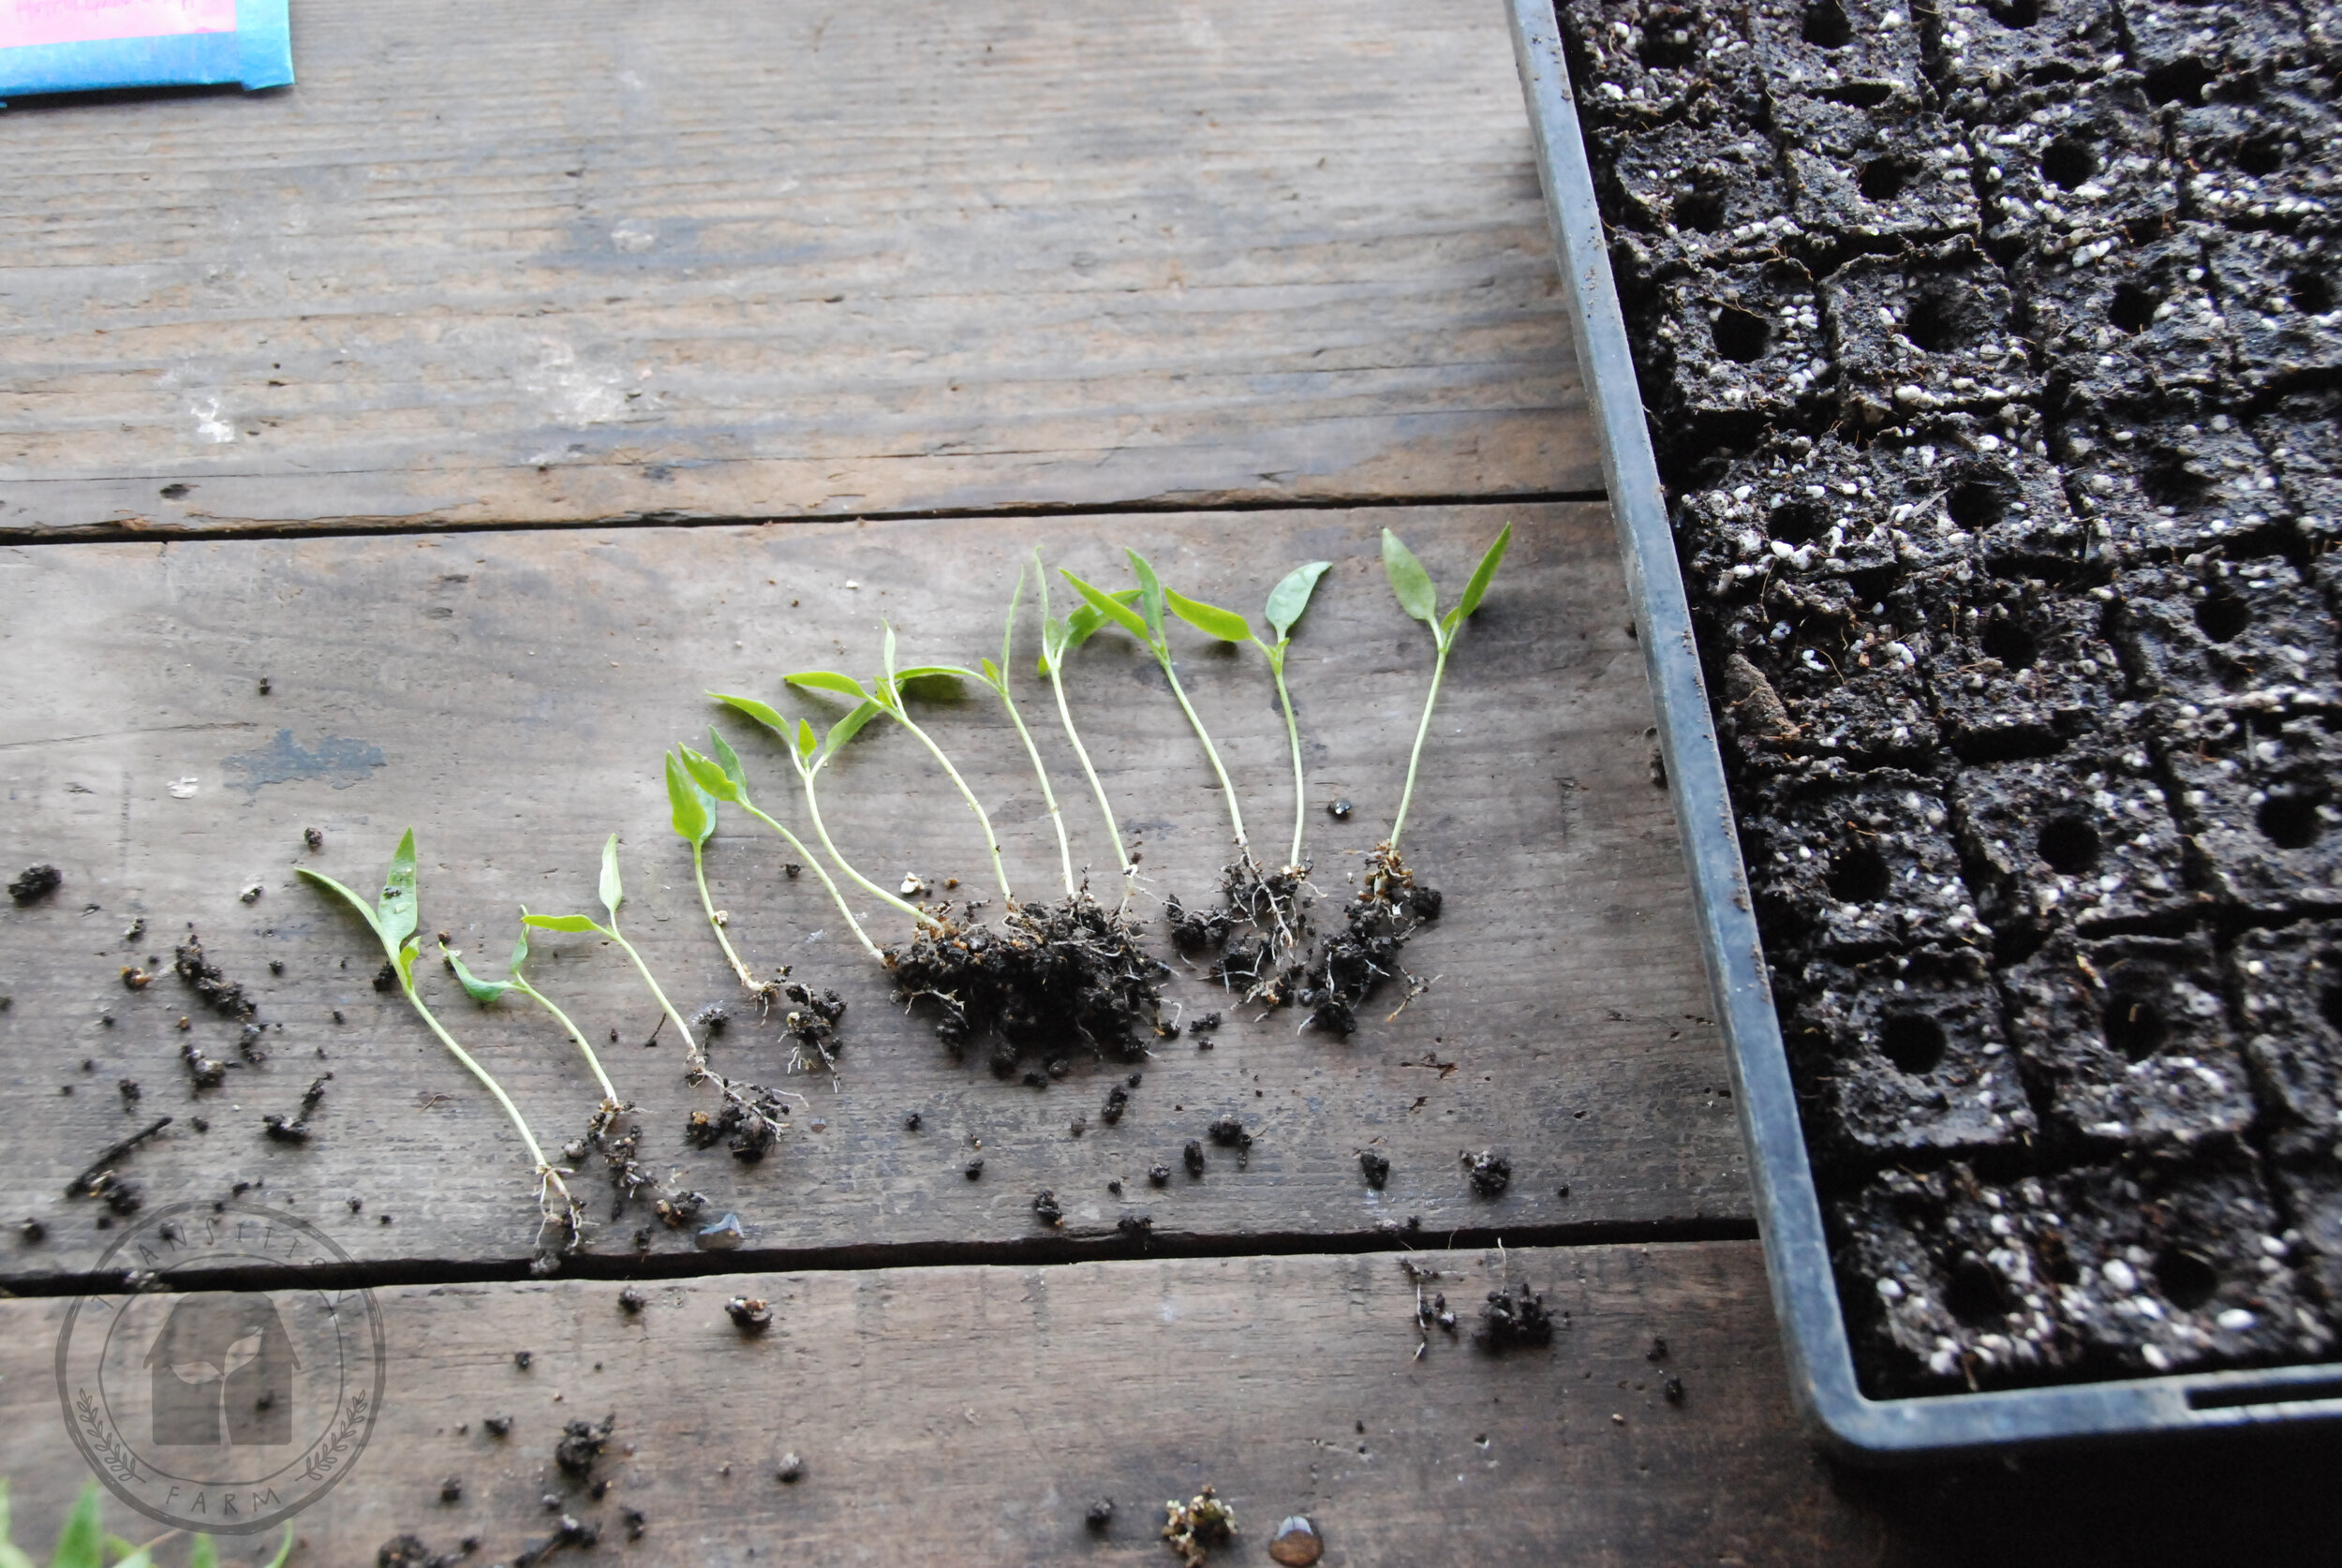
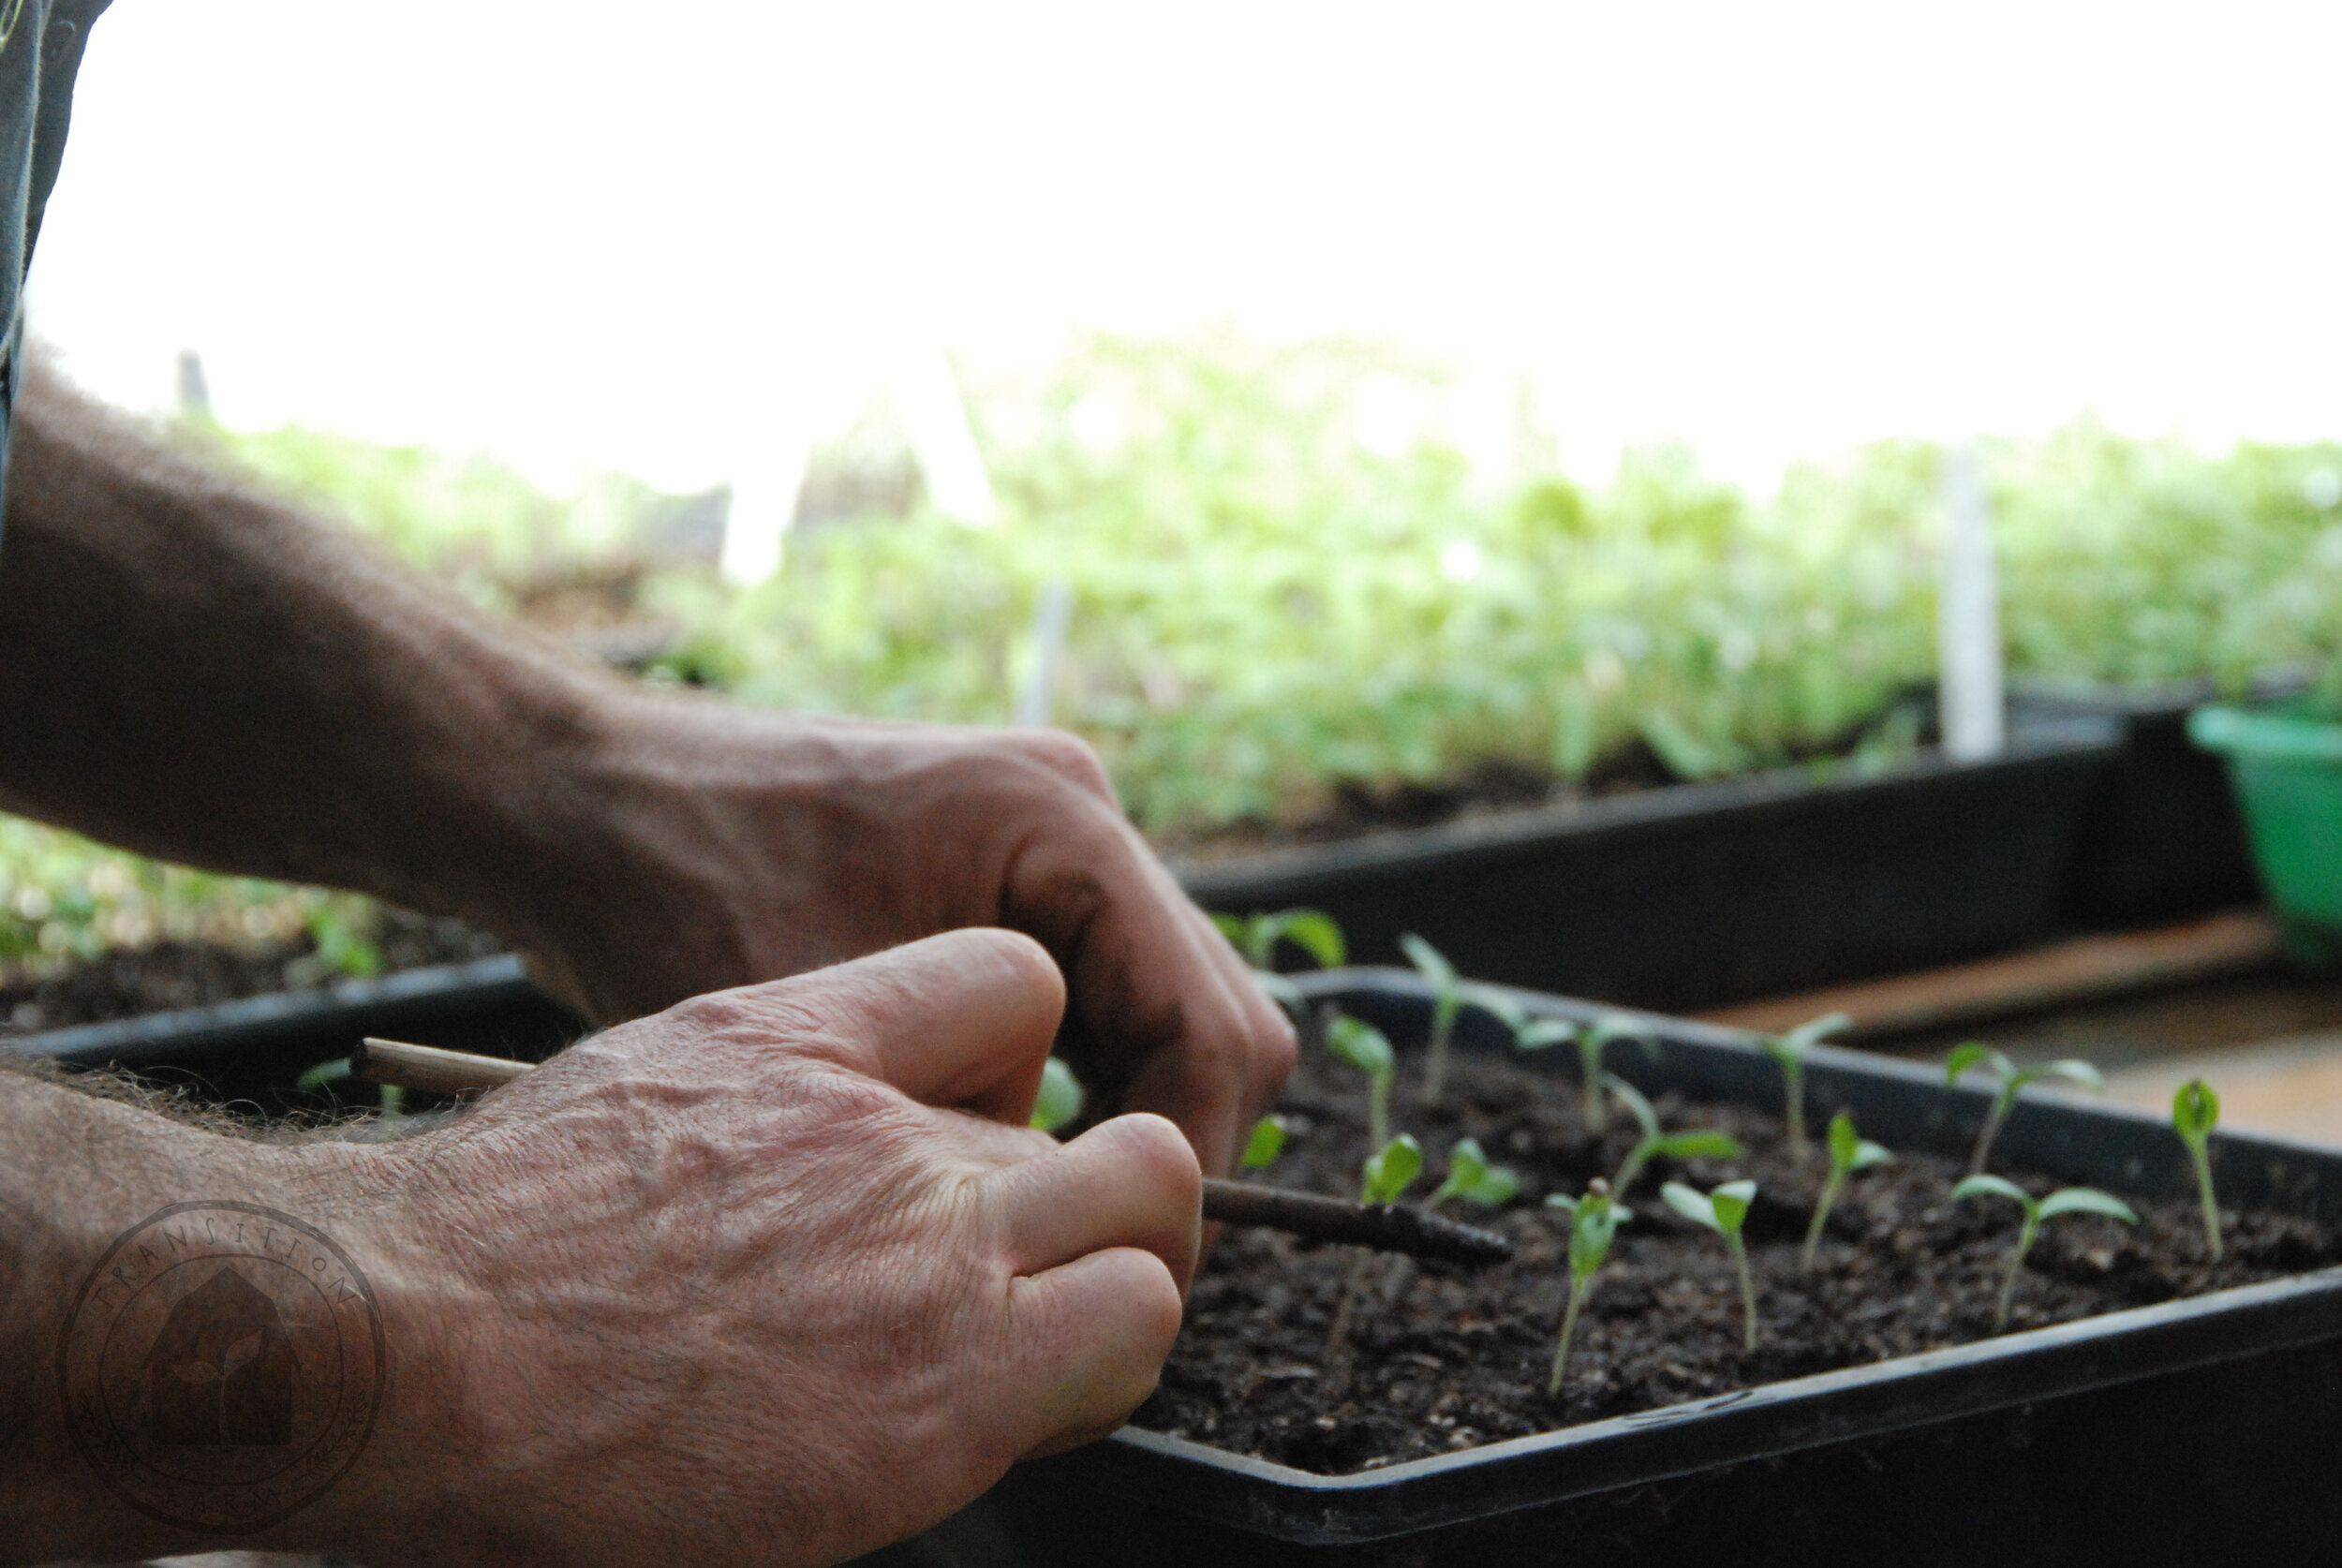
PRICK OUT - We use a dowel - pencil width. We insert it under the roots and then gently push up with the dowel while gently teasing or pulling on the plant stem to loosen the roots. Do be gentle as the stems are not yet sturdy and easily split. The plant will not recover from this.
CHOOSE THE STRONGEST SEEDLINGS - We prick out several at once, choosing the strongest, straightest ones with the thickest stems.
TRANSPLANT - We use the dowel to create a deep hole in our cell and then gently push the roots of the seedling into the cell.
FIRM THE SOIL AROUND THE ROOTS - Capsicums DO NOT like to be buried so transplant them at the same depth they were at in the lines. Tomatoes will grow roots up their stem so you can transplant them deeper..
TRANSPLANT SHOCK - The seedlings may flop over for the first 6-10 hours. We ensure the trays are evenly moist (REMEMBER - not too wet, not too dry), put the trays out of direct sun, cover them with a plastic doom with the vents OPEN to ensure air circulation but restrict heavy breezes as this dehydrates. Remove the lid before night.
LIGHT AND WARMTH - Place back in a position of full light and an ambient temperature between 22 -28. If your space is not that warm, you can continue to provide bottom heat.
CHECK MOISTURE AT LEAST TWICE A DAY.
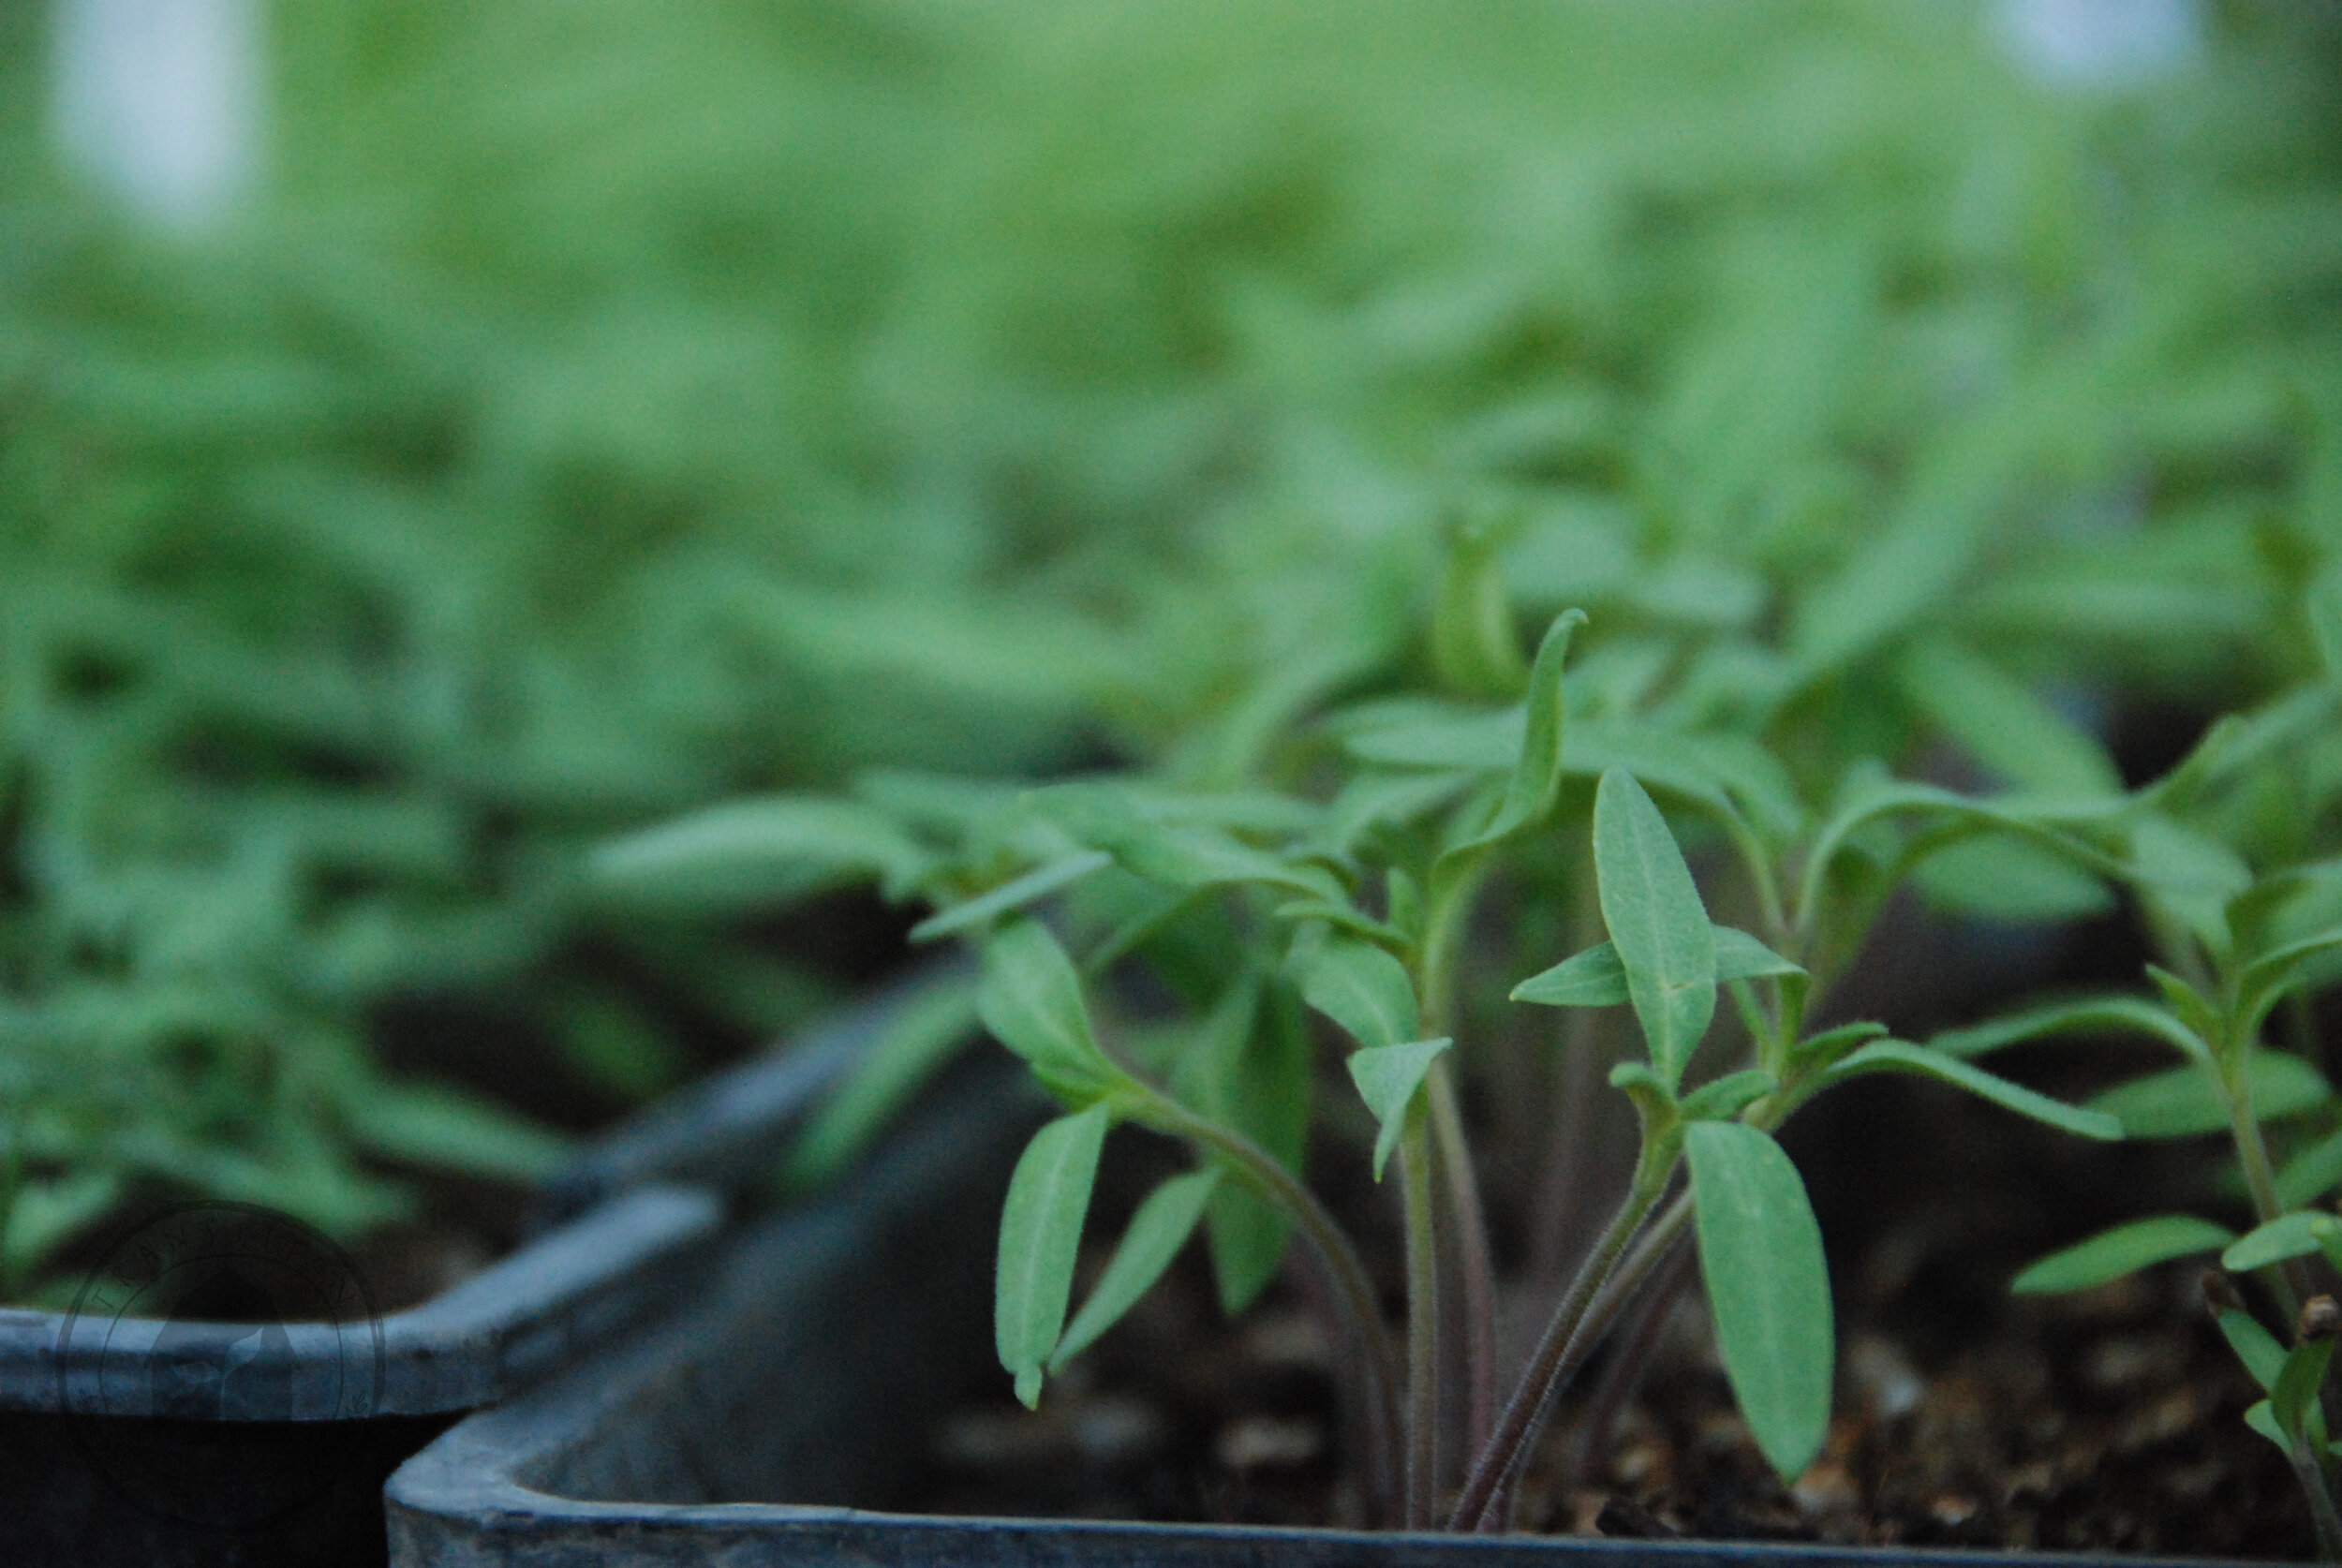
FANS FOR STRONG STEMS - Once you can see active growth, introduce a gentle fan. Not only does this help ward off fungal issues, it also creates a strong stem, capable of supporting the plant through outside conditions.
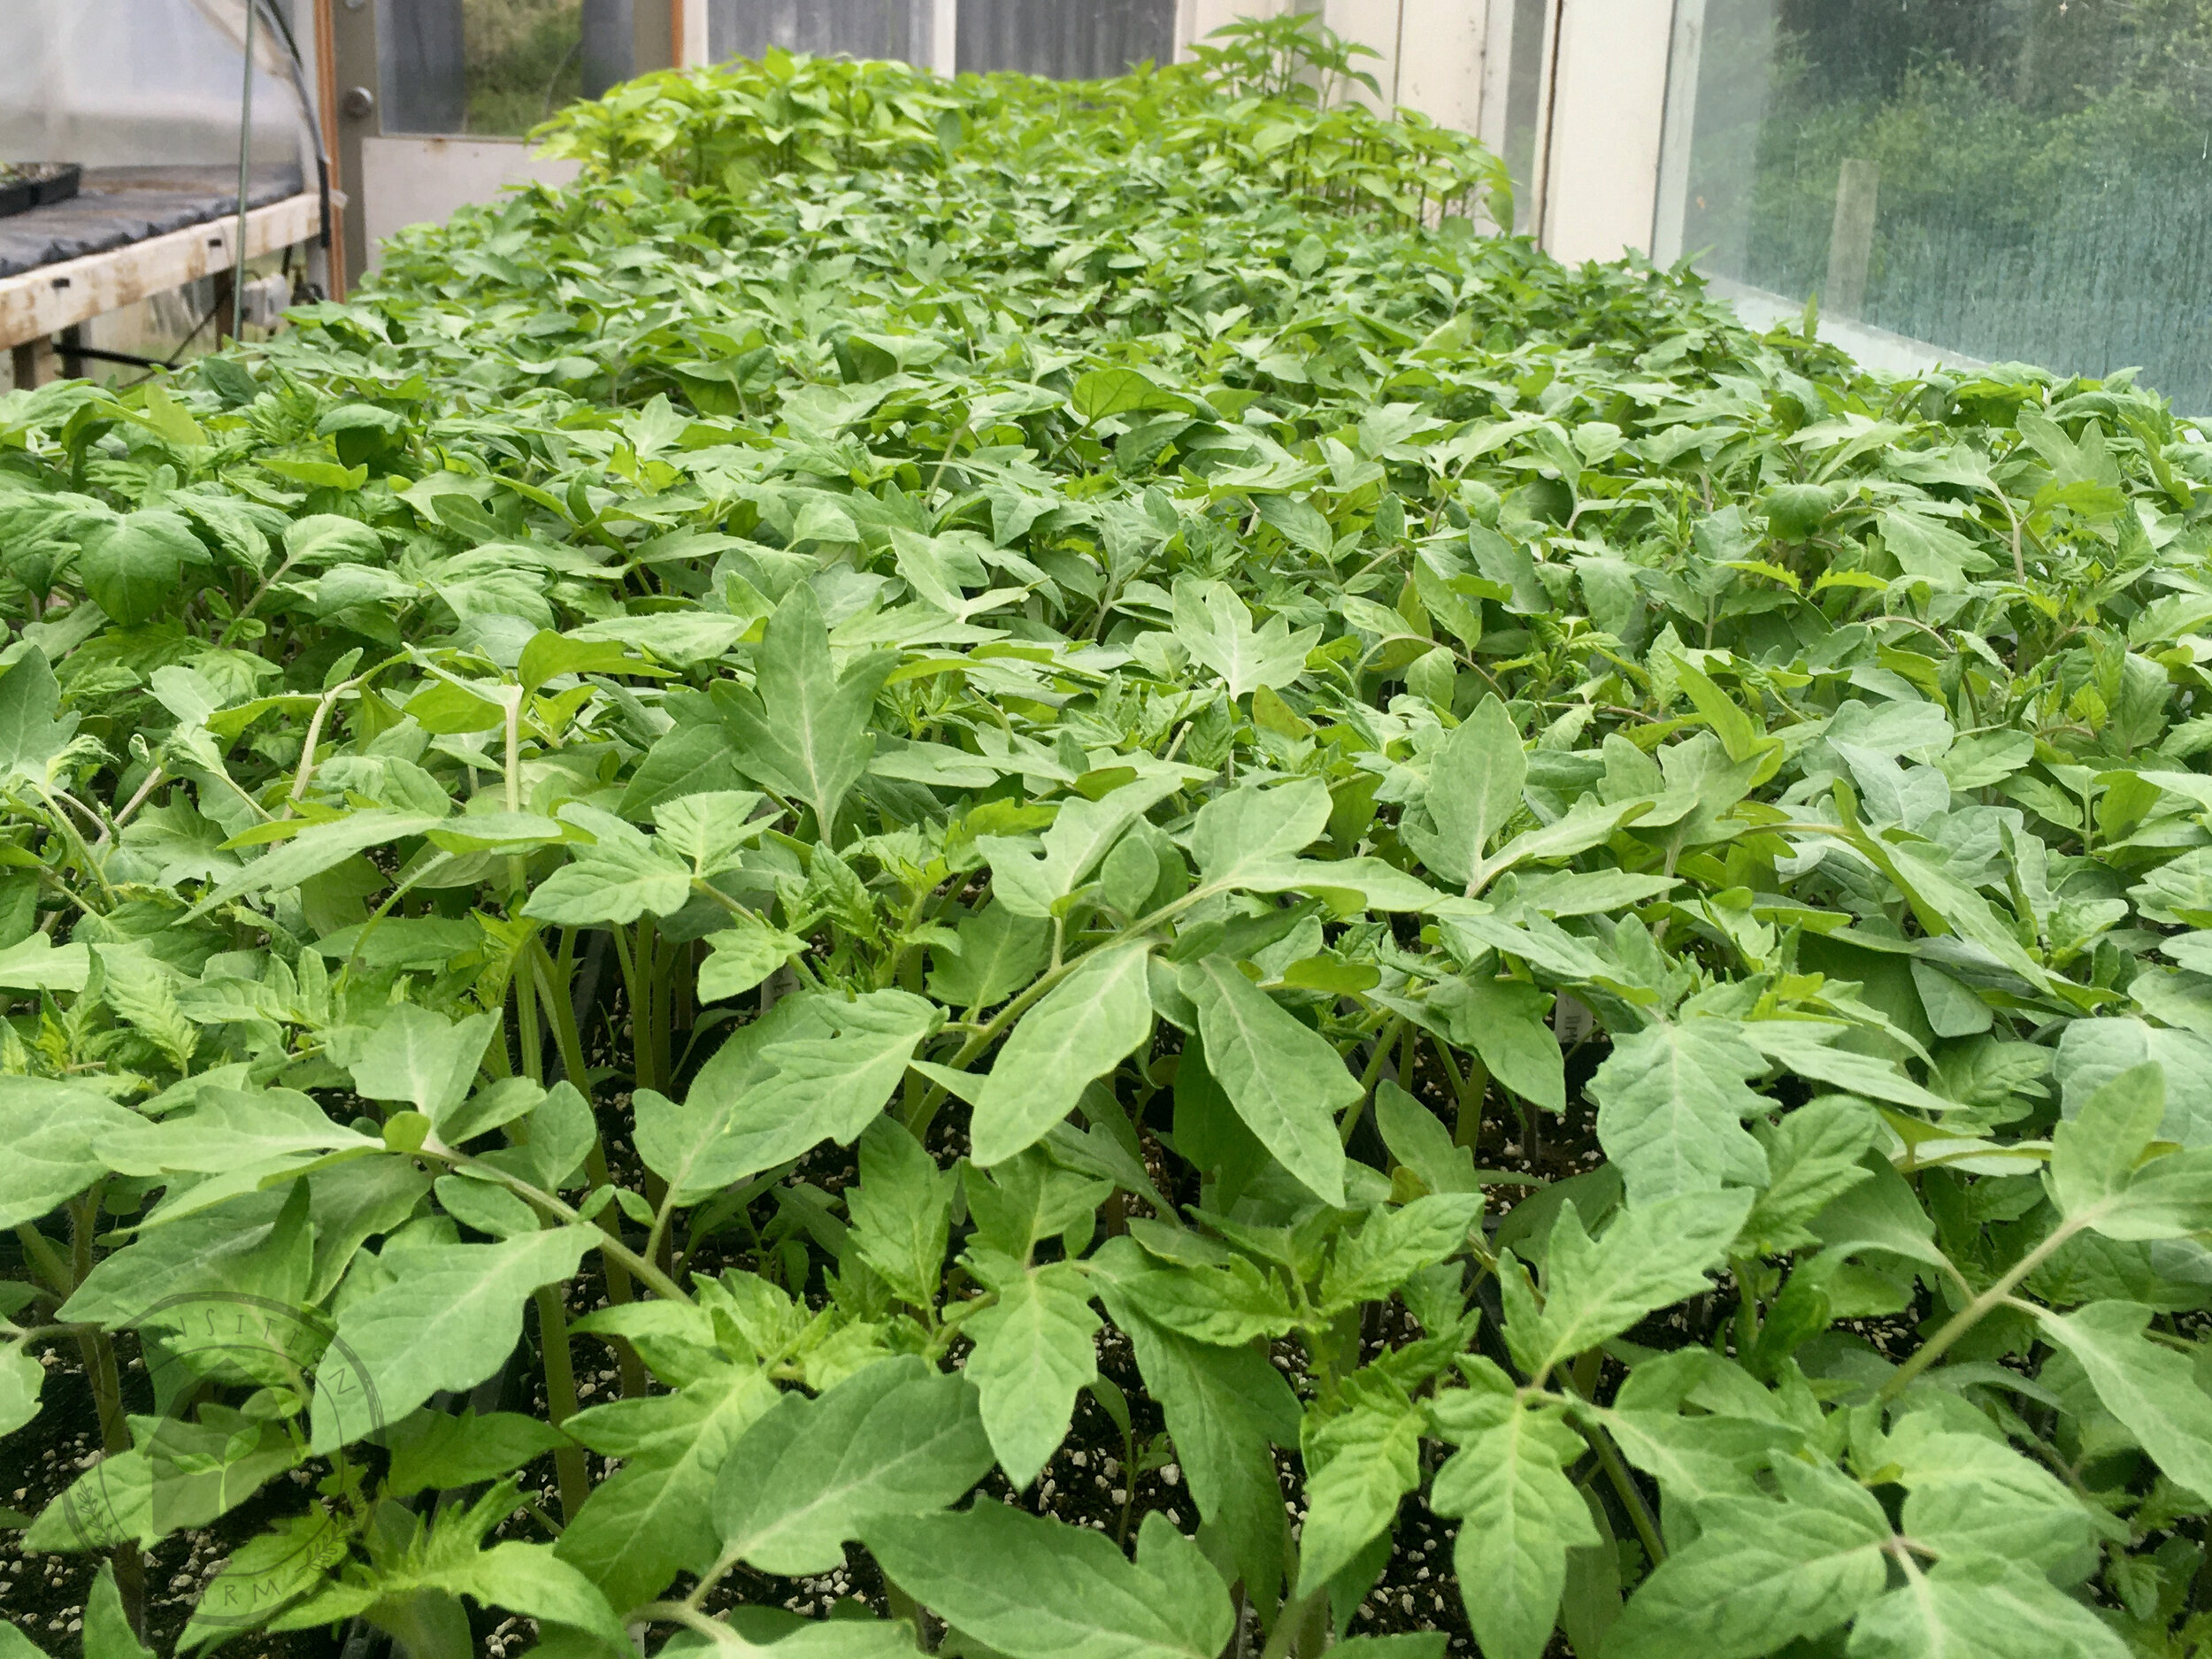
CONTINUE TO ENSURE LIGHT - Ensure also that your light supply is even. Either rotate your seedlings or use a shop light which you keep raising as your seedlings grow.
21 steps may seem daunting, but remember where we started…TOMATOES ARE EASY! You can do this without alot of fancy equipment. You can do this on top of your fridge and then in the brightest room.
It is wonderful to focus on germinating seeds in Spring - its happening everywhere outside - New Life!! And you can Summer dream EVERY DAY!! The gentlest water spray produces tomato smell!!
What tomato varieties are you excited about eating this season?


