6 Steps to Transplanting Tomatoes
/The time is drawing near - with each sunny day the soil warms more and the clear nights have begun to creep into double digits! TOMATO (and other warm season crops) TRANSPLANT DAY is approaching - so full of expectation for the harvest.
TIMING IS KEY!
Over the last decade, we have weighed our harvest and kept track of the temperatures and our transplant date. We have seen a direct correlation in transplanting too early, when the nighttime temperatures are still in the single digits and so-so harvests.
Resist the urge to transplant early and wait when the night time lows raise to a minimum of 13C. We thought that earlier in the ground would mean earlier harvest. But we were wrong. Cold stressed tomato plants stall!
So unless you have a sheltered, warm spot or a polytunnel, even though these Spring days are warm and gorgeous, we suggest waiting for those warmer nighttime temperatures!
In the meantime, get started preparing now! Here are the steps we use for transplanting our field tomatoes!
1.Prepare the soil.
This really deserves a whole post - as we start preparing for our tomato season the Autumn before our tomatoes are transplanted. In April, we sow an Autumn green manure which may include oats, rye, fava beans, lupin, white clover, Persian clover, Dunn peas, and vetch where the tomatoes will be planted next season. We may add slow release soil amendments such as rock dust ahead of the green manure and also may fortify with well aged manure to ensure the healthiest, robust green manure we can grow.
Once this germinates, we apply prepared biodynamic500 a soil activator filled with beneficial bacteria The green manure grows through the winter.
In spring, the green manure is chopped up, incorporated and we apply prepared biodynamic 500 again to enhance the soil microbes and help convert this organic matter into the stable humus which will feed our tomato plants through the season.
Soil tests can be useful - numbers are interesting and can be illuminating BUT looking strictly at soil chemistry is limiting. Soil biology can unlock so many of the subtle connections occurring in living soil. And plants relationship to living soil changes over the course of a plants life - plants need different minerals at some times than at others. As biodynamic farmers, we support humus building and maintaining soil structure, strong soil biology - bacterial and fungal, and plants photosynthesizing. All of these keep living soil dynamically changing, encourage the innate intelligence of the ecosystem and allow plants the opportunity to guide their own health. Thus time spent learning about and support living soils is a life long endeavour for which the reward is healthy plants and animals and nutrient dense, flavour filled food.
2. Grow or find a stout, healthy tomato seedling.
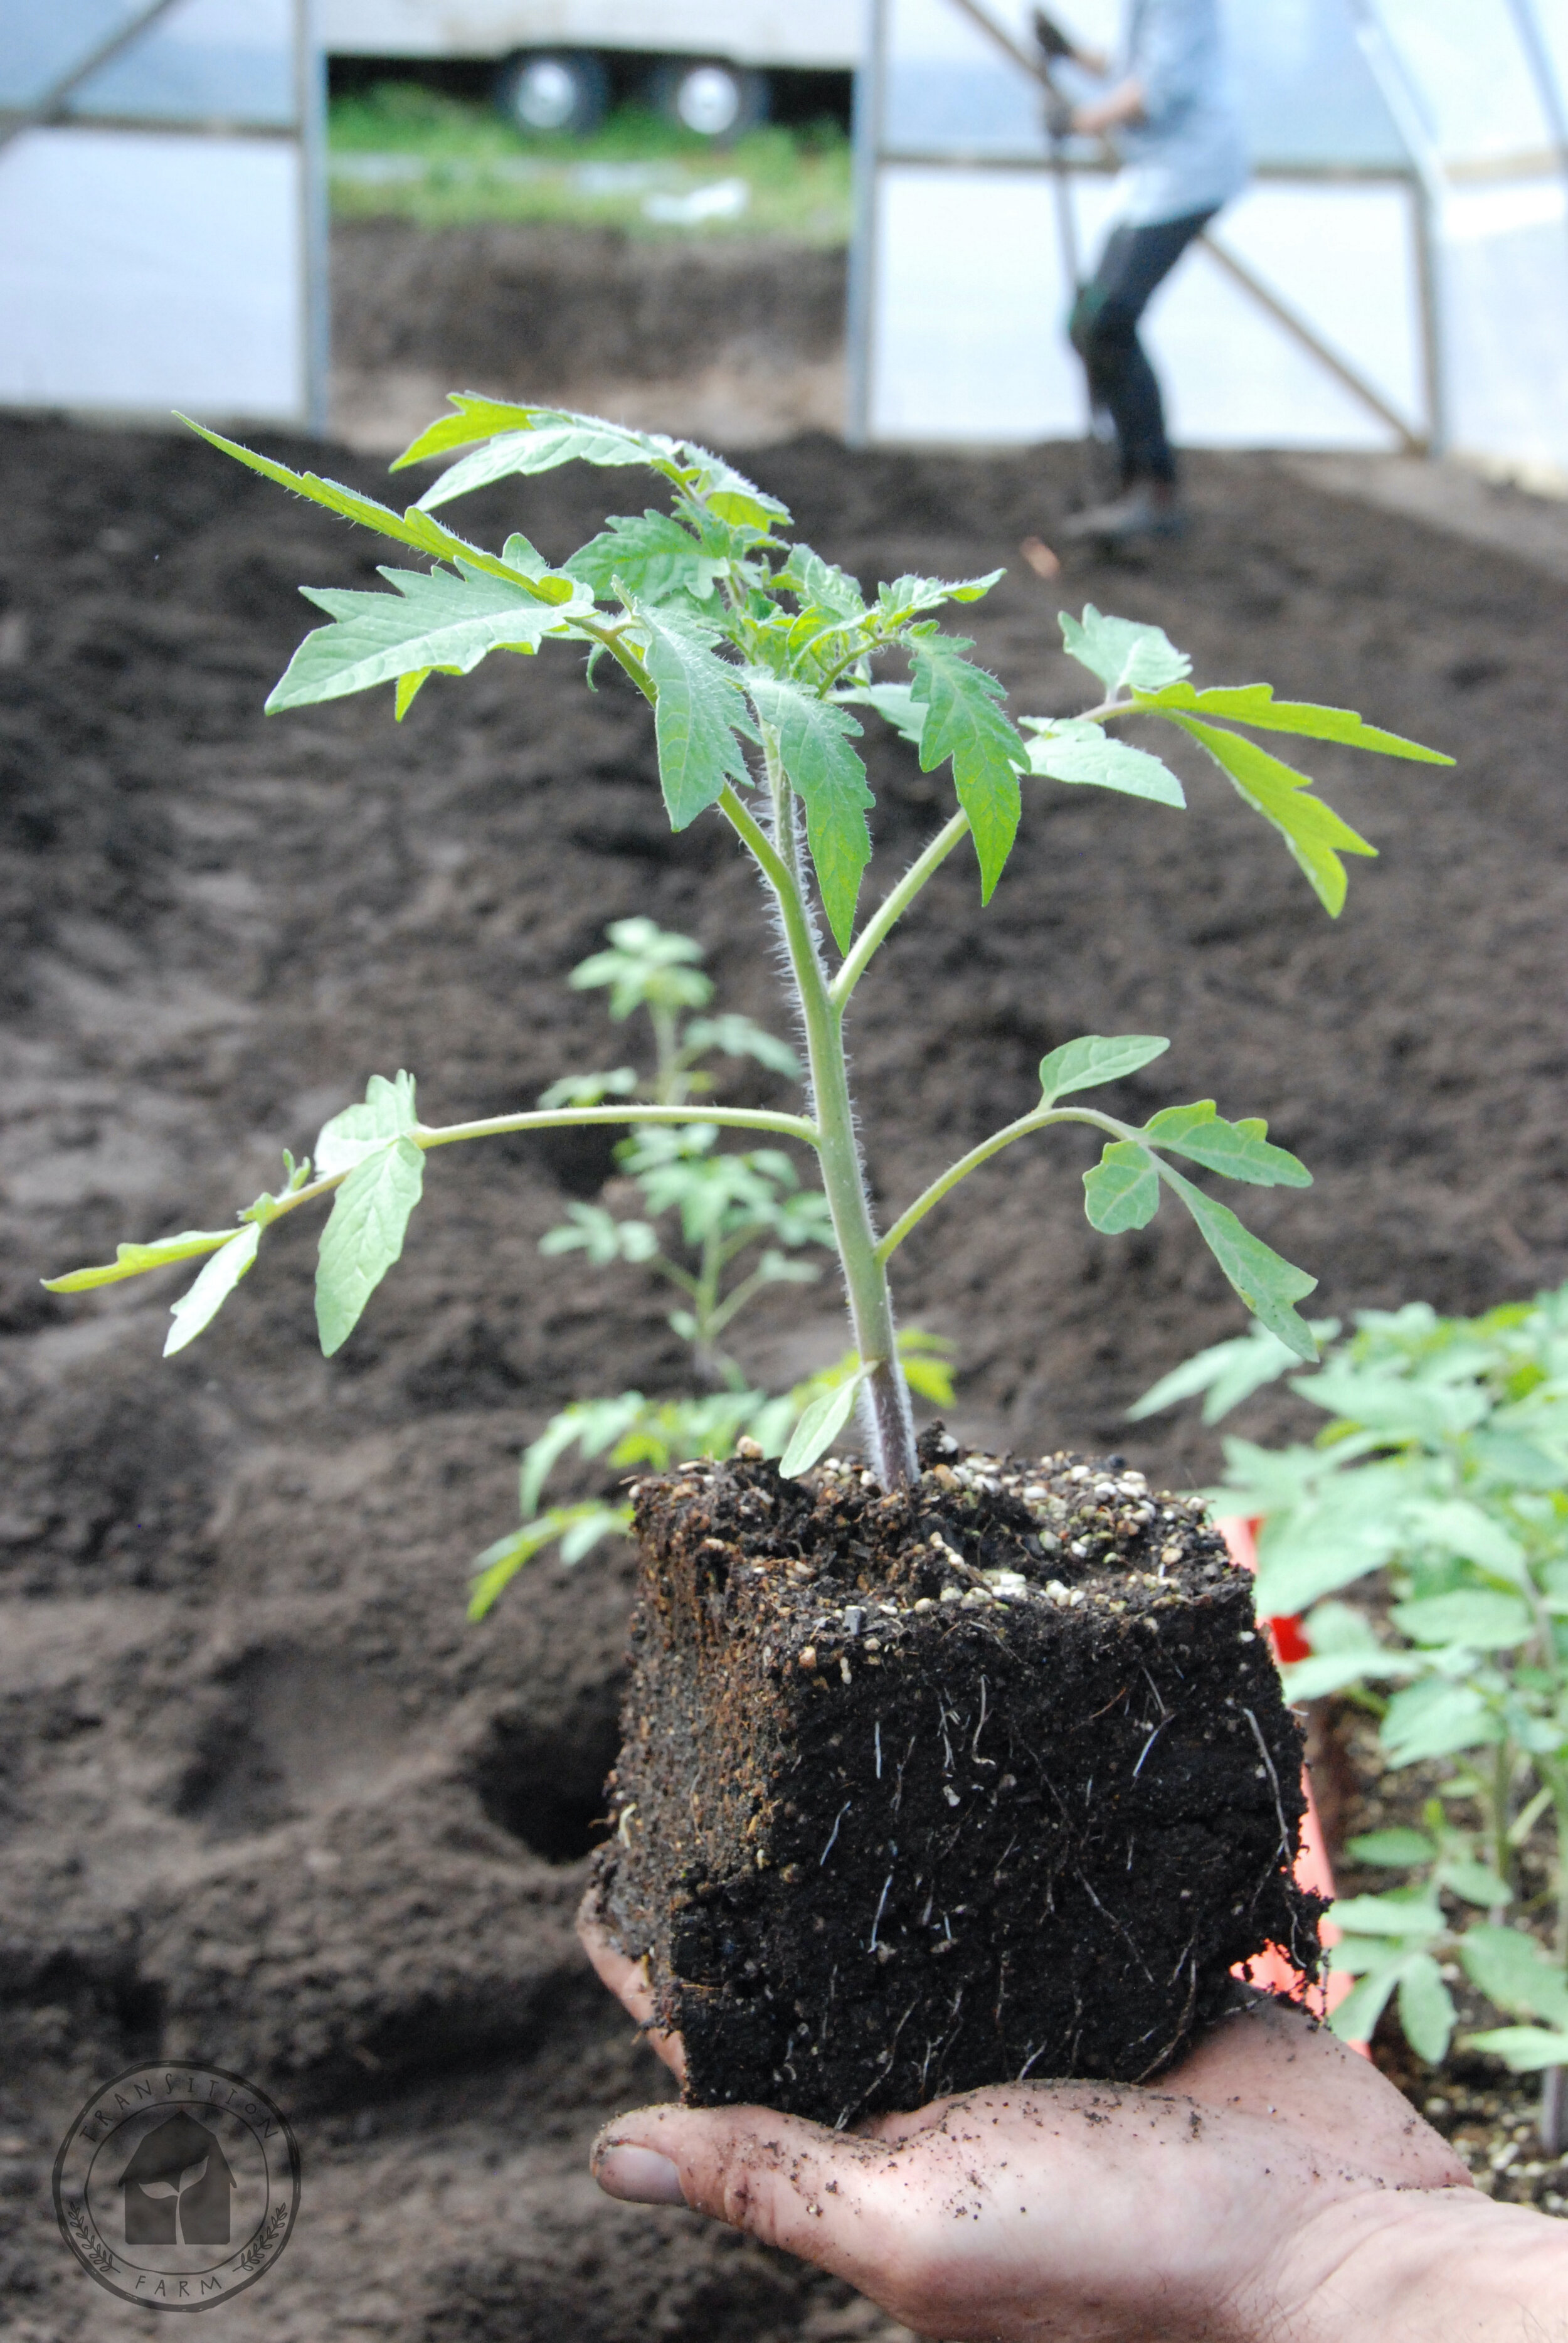
I very fondly refer to our tomato seedlings as Danny Devito seedlings - short, stout and filled with vitality!! I like them lush and green with large leaves and thick short stems. Too tall or leggy and they will snap in the first brisk wind which we have. Too small and you will be nurturing them in your garden - you really want them to be fending for themselves by the time you transplant. You ideally want the roots to be just reaching the edge of their space - pot or soil block - as opposed to the roots wrapping around the inside of the pot.
3. Harden off your seedlings.
Imagine that you have been living the good life - catered to with regular watering, a constant , optimum growing temperature, just the right amount of space, good air flow, living soil. If you are thrust into the ground without a gentle transition period, your plant may experience ‘Transplant Shock!’
We like to try and minimize thwarting a plants true desire to grow by giving it time to acclimate to life outside the ‘nursery’ or glasshouse. First we start to open the doors wide early in the morning and really let the coolness in.
We spread the transplants out so that they have space around each one and turn up the fans so they strengthen their stems. We water long and deep and then let them dry out. About a week before transplanting, we move the plants to a cold frame or a sheltered area outside with protection from wind and heavy rain or hail and protection in case there is a late frost. They begin to feel what life outside the glasshouse is like. We then move them into the field but close to the shed - so if the weather turns, they have some cover but mostly they are starting to fend for themselves. This is hardening them off.
Think of how you can slowly acclimate your plants - increase time outside, wind, let them dry out between watering, expose them to the full illumination of sunlight. You can move them into the garden and cover them at night with plastic over hoops. Do remember that they are sensitive to night time temperatures below 13C - so you may find yourself bring them inside on a particular clear night.
4. Remove any flowers and fruit.
This may be difficult if you want tomatoes as soon as possible BUT removing the flowers and the fruit encourages the plant to develop a deep root system. Tomatoes need to balance vegetative growth with fruit production. If you want plants that go the distance, allow them to spend the first weeks in the ground setting down deep roots and mining for minerals. You will be rewarded!! with a greater harvest and more resilient plant.
5. DIG IN! When you decide that the nights are warm enough, your plants need more space and your soil is ready, its time to dig them a new hole.
We bury our tomato seedlings quite deep - tomatoes will actually grow roots from their stem and this helps them to be firmly rooted. We bury the seed leaves (cotelydens) and even bury the first true leaves, just leaving them to decompose. On the picture above, we would plant this burying the first three leaves that you can see from the soil up. You can dig the hole deep or bury them at an angle. We have read that this is useful as the soil is warmer but as our seedlings tend to be shorter and stout, we plant them straight.
Tomatoes will grow great roots that can reach down a meter!!
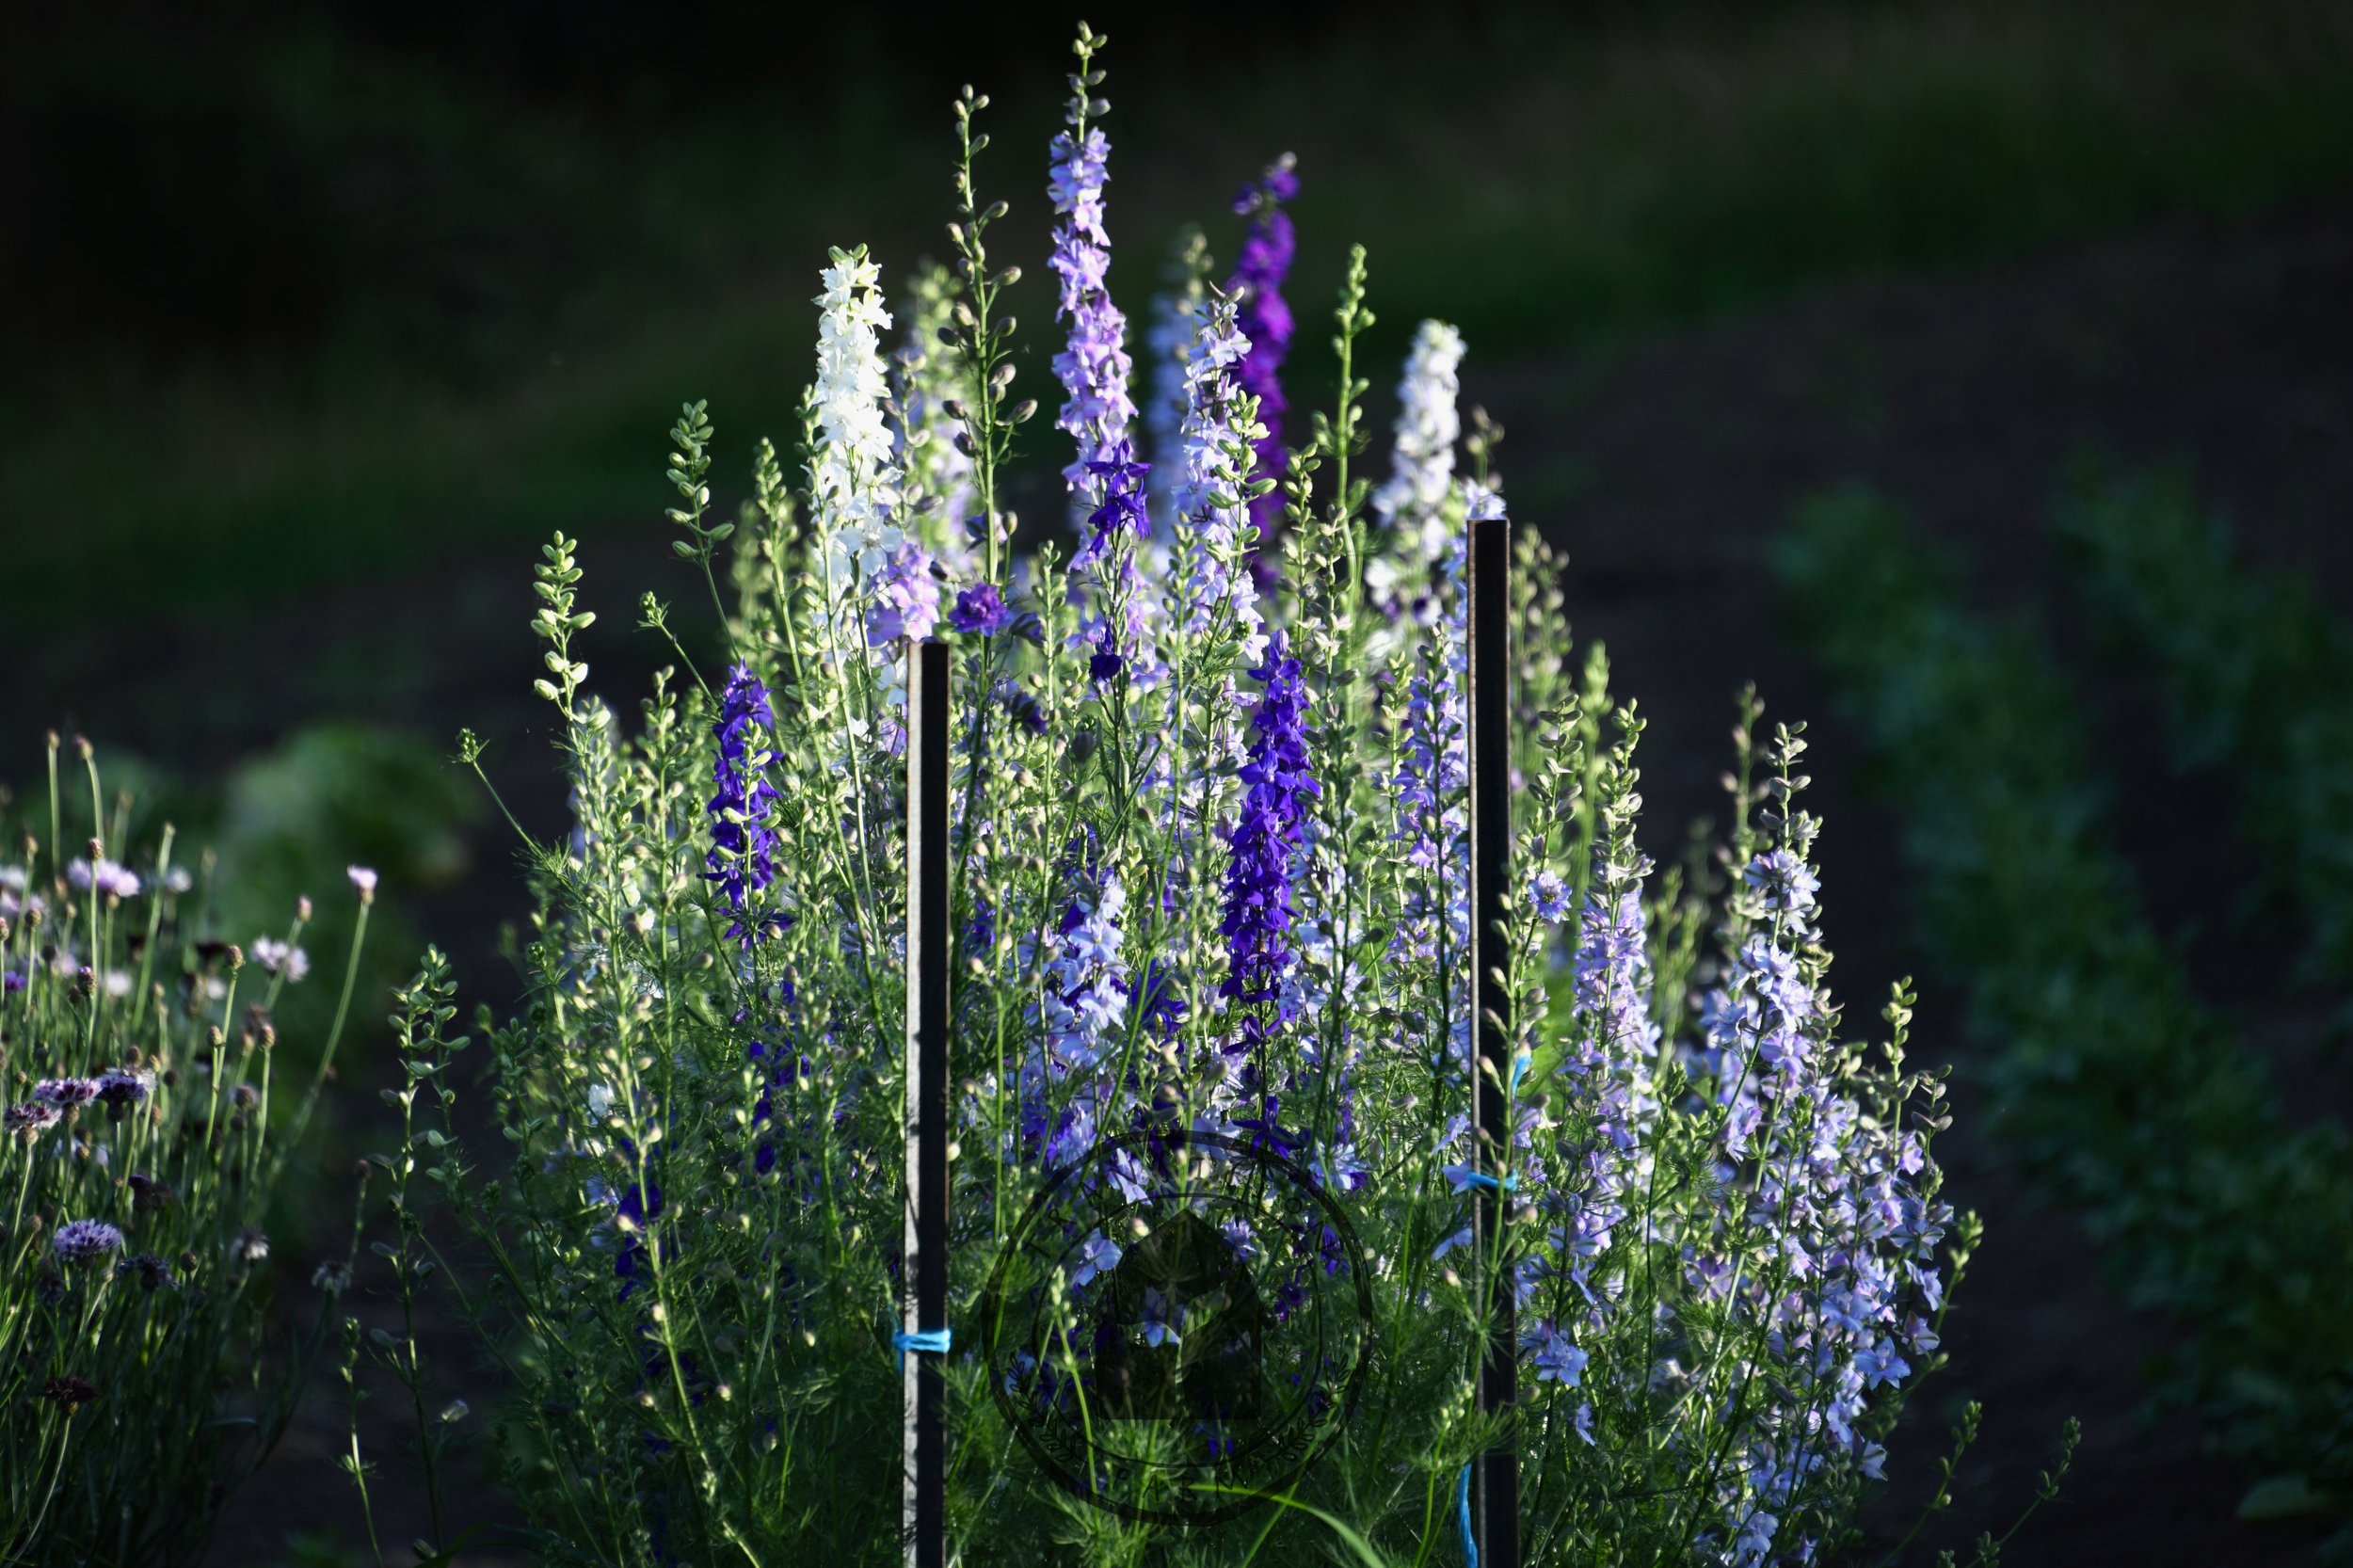
6. Spacing is important! The minimum space for a tomato in our system is 45cm and we prefer 60cm! Tomato need good airflow to reduce the humidity which can harbor disease. And their root system is extensive, they are heavy feeders. Also consider the support system your tomato will require ensuring you are leaving space for that - we put our support system in ahead of transplanting! (see the last picture in this post)
If you are growing in a container, go BIG! Use a pot that is at least 40 cm diameter for a dwarf tomato and at least 60cm for a full size tomato or cherry and fill with the best soil you can find. Remember you will need a strong support system for your tomato.
7. Add companions - Basil and marigolds are two of our favorites! These attract beneficial insects to eat the pests which may visit your tomatoes and can transfer disease. In addition, tomatoes and the soil microbiome love the addition of plants with different depth of roots. And its pretty!
So go set up your max/min thermometer to watch those night time lows, get your soil and support sorted and get excited about TOMATO SEASON!!!


